


【画龙迎春】使用canvas画出心中的龙 HarmonyOS 鸿蒙Next
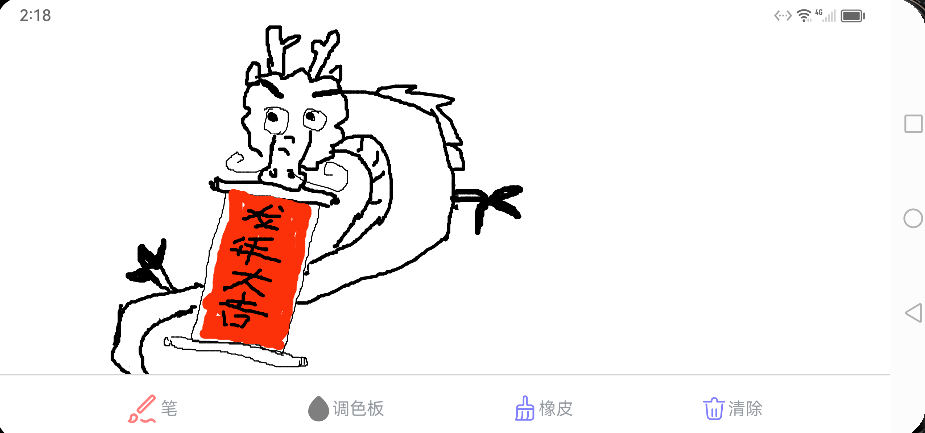
【画龙迎春】使用canvas画出心中的龙 HarmonyOS 鸿蒙Next 大家好,新年伊始,在新的一年给大家使用canvas画一个龙。祝大家龙年龙腾虎跃展宏图。
核心流程
1.1 UIAbility中获取WindowStage实例下的主窗口
onWindowStageCreate(windowStage: window.WindowStage) {
    // Main window is created, set main page for this ability
    hilog.info(0x0000, 'testTag', '%{public}s', 'Ability onWindowStageCreate');

    windowStage.getMainWindow((err, data) => {
      if (err.code) {
        hilog.info(0x0000, 'testTag', '%{public}s', '获取失败' + JSON.stringify(err));
        return;
      }
      globalThis.windowClass=data
      hilog.info(0x0000, 'testTag', '%{public}s', '获取窗口实例'+JSON.stringify(data));
    });
}
1.2 设置窗口显示方向
onPageShow() {
    // 设置旋转方向
    const orientation = window.Orientation.LANDSCAPE;
    try {
      globalThis.windowClass.setPreferredOrientation(orientation, (err) => {
        if (err.code) {
          console.error('Failed to set window orientation. Cause: ' + JSON.stringify(err));
          return;
        }
        console.info('Succeeded in setting window orientation.');
      });
    } catch (exception) {
      console.error('Failed to set window orientation. Cause: ' + JSON.stringify(exception));
    }
}
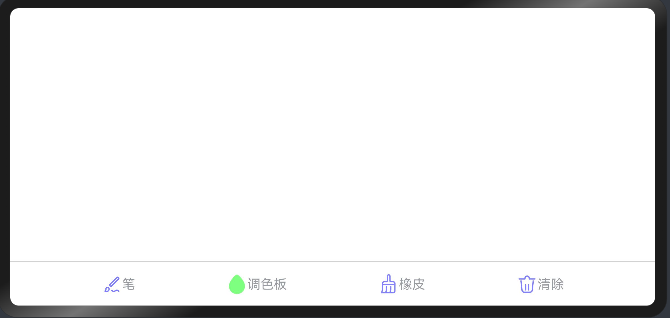
2.1 创建画布及手势事件
Canvas(this.context)
.width('100%')
.height('85%')
.backgroundColor('#FFFFFF')
.onReady(() => {
})
.gesture(
PanGesture({fingers:1,direction:PanDirection.All,distance:1})
.onActionStart((event:any) => {
this.isDown = true;
// 按下时的点作为起点
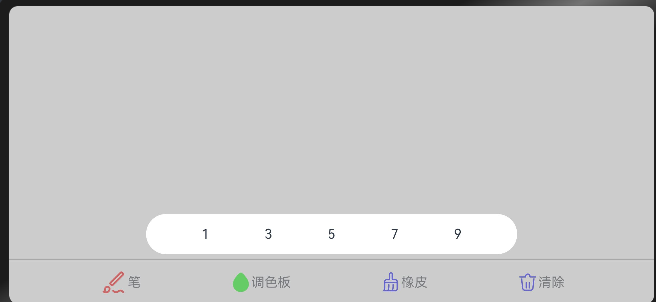
this.context.strokeStyle = this.paletteColor;
this.context.lineWidth = this.thickness;
this.startX = event.localX;
this.startY = event.localY;
})
.onActionUpdate((event:any) => {
// 没有按下就不管
if (this.isDown) {
const endX = event.localX
const endY = event.localY
// 调用绘制方法
this.draw(this.startX, this.startY, endX, endY);
// 把当前移动时的坐标作为下一次的绘制路径的起点
this.startX = endX;
this.startY = endY;
}
if(this.isErasing){
this.arc(this.startX,this.startY,10,0,2*Math.PI)
}
})
.onActionEnd(() => {
this.isDown = false
// 关闭路径
this.context.closePath();
})
)
2.2 笔和橡皮功能
draw(startX:number, startY:number, endX:number, endY:number) {
    this.context.beginPath();
    this.context.globalCompositeOperation='source-over'
    this.context.lineCap = 'round'
    this.context.moveTo(startX, startY);
    this.context.lineTo(endX, endY);
    this.context.stroke();
}

arc(x:number,y:number,radius:number,startAngle:number,endAngle:number){
    this.context.beginPath()
    this.context.arc(x,y,radius,startAngle,endAngle)
    this.context.globalCompositeOperation='destination-out'
    this.context.strokeStyle='#FFFFFF'
    this.context.stroke()
}
展示效果
3.1 对图片进行编辑-生成一个包含图片展示的URL
this.context.toDataURL('image/png', 0.92)
3.2 image 获取,通用属性的-图像效果对图片进行处理 参考:图像效果-通用属性-组件通用信息-组件参考(基于ArkTS的声明式开发范式)-ArkTS API参考-HarmonyOS应用开发
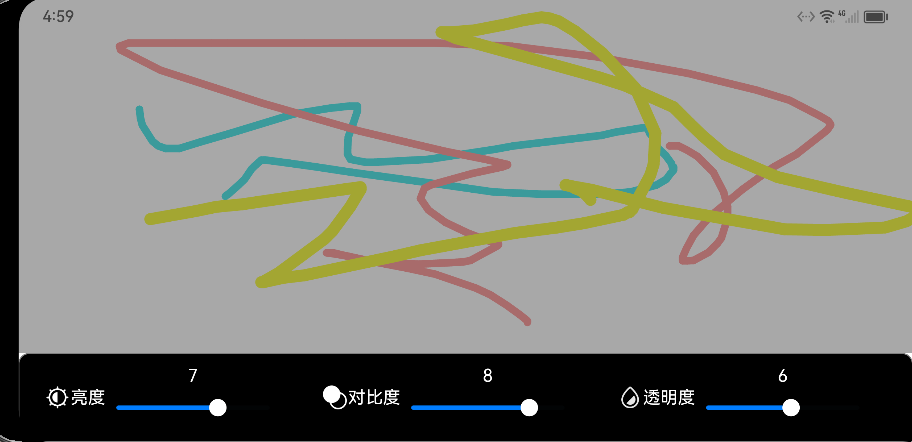
效果图:
更多关于【画龙迎春】使用canvas画出心中的龙 HarmonyOS 鸿蒙Next的实战教程也可以访问 https://www.itying.com/category-93-b0.html
6 回复

import window from '[@ohos](/user/ohos).window';
import promptAction from '[@ohos](/user/ohos).promptAction';
[@Entry](/user/Entry)
[@Component](/user/Component)
struct CanvasIndex {
private lastX: number = 0;
private lastY: number = 0;
private isDown: Boolean = false;
private isErasing: Boolean = false;
private panOption: PanGestureOptions = new PanGestureOptions({ direction: PanDirection.All, distance: 1 })
private settings: RenderingContextSettings = new RenderingContextSettings(true)
private context: CanvasRenderingContext2D = new CanvasRenderingContext2D(this.settings)
clickPen() {
this.isDown = true
this.isErasing = false
promptAction.showToast({ message: '画笔' })
}
clickRubber() {
this.isDown = false
this.isErasing = true
promptAction.showToast({ message: '橡皮' })
}
clickClear() {
this.context.clearRect(0, 0, 1200, 500)
promptAction.showToast({ message: '清空' })
}
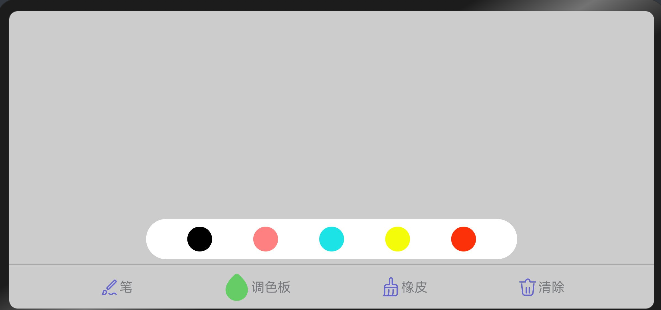
clickColor() {
promptAction.showToast({ message: '颜色板' })
}
build() {
Stack({ alignContent: Alignment.BottomStart }) {
Row() {
CanvasTools('画笔', this.clickPen.bind(this))
CanvasTools('橡皮', this.clickRubber.bind(this))
CanvasTools('清空', this.clickClear.bind(this))
CanvasTools('调色', this.clickColor.bind(this))
}.width('100%').margin({ bottom: 10 }).zIndex(2)
Canvas(this.context)
.width('100%')
.height('100%')
.backgroundColor('#c0c0c0')
.onReady(() => {
this.context.lineWidth = 3;
this.context.strokeStyle = "#0F0";
})
.gesture(
PanGesture(this.panOption)
.onActionStart((event: any) => {
this.lastX = event.localX;
this.lastY = event.localY;
})
.onActionUpdate((event: any) => {
if (this.isDown) {
const offsetX = event.localX
const offsetY = event.localY
this.draw(this.lastX, this.lastY, offsetX, offsetY);
this.lastX = offsetX;
this.lastY = offsetY;
}
if (this.isErasing) {
const offsetX = event.localX
const offsetY = event.localY
this.arc(this.lastX, this.lastY, 10, 0, 2 * Math.PI)
this.lastX = offsetX;
this.lastY = offsetY;
}
})
.onActionEnd(() => {
this.context.closePath();
})
)
}.width('100%').height('100%)
}
draw(startX, startY, endX, endY) {
this.context.beginPath();
this.context.globalCompositeOperation = 'source-over'
this.context.lineCap = 'round'
this.context.moveTo(startX, startY);
this.context.lineTo(endX, endY);
this.context.stroke();
}
arc(x: number, y: number, radius: number, startAngle: number, endAngle: number) {
this.context.beginPath()
this.context.arc(x, y, radius, startAngle, endAngle)
this.context.globalCompositeOperation = 'destination-out'
this.context.strokeStyle = '#FF0000'
this.context.stroke()
}
onPageShow() {
let orientation = window.Orientation.LANDSCAPE_INVERTED;
try {
globalThis.windowClass.setPreferredOrientation(orientation, (err) => {});
} catch (exception) {
console.error('设置失败: ' + JSON.stringify(exception));
}
}
}
[@Builder](/user/Builder) function CanvasTools(txt: string, onClick: () => void) {
Column() {
Text(txt).fontColor('#A3000000').fontSize(16).onClick(onClick)
}.layoutWeight(1)
}
我在用橡皮的时候,为什么感觉不是很跟手
更多关于【画龙迎春】使用canvas画出心中的龙 HarmonyOS 鸿蒙Next的实战系列教程也可以访问 https://www.itying.com/category-93-b0.html


在HarmonyOS鸿蒙Next中,使用Canvas绘制图形可以通过ArkUI框架中的Canvas组件实现。Canvas组件提供了2D绘图API,支持绘制路径、形状、文本、图像等操作。以下是一个简单的示例,展示如何在Canvas上绘制一条龙的基本轮廓:
- 创建Canvas组件:在ArkUI的声明式UI中,使用
Canvas标签创建画布。
Canvas(this.context)
  .width('100%')
  .height('100%')
  .onReady(() => {
    this.drawDragon();
  })
- 绘制龙的基本轮廓:在
drawDragon方法中,使用Canvas的API绘制龙的各个部分。例如,使用moveTo和lineTo绘制龙的头部、身体、尾巴等。
drawDragon() {
  const ctx = this.context.getContext('2d');

  // 绘制头部
  ctx.beginPath();
  ctx.moveTo(50, 100);
  ctx.lineTo(100, 50);
  ctx.lineTo(150, 100);
  ctx.closePath();
  ctx.stroke();

  // 绘制身体
  ctx.beginPath();
  ctx.moveTo(150, 100);
  ctx.lineTo(200, 150);
  ctx.lineTo(250, 100);
  ctx.closePath();
  ctx.stroke();

  // 绘制尾巴
  ctx.beginPath();
  ctx.moveTo(250, 100);
  ctx.lineTo(300, 50);
  ctx.lineTo(350, 100);
  ctx.closePath();
  ctx.stroke();
}
- 填充颜色和细节:可以使用
fillStyle和fill方法为龙的各个部分填充颜色,并使用arc等方法绘制细节,如眼睛、鳞片等。
// 填充头部颜色
ctx.fillStyle = '#FFD700';
ctx.fill();

// 绘制眼睛
ctx.beginPath();
ctx.arc(120, 80, 5, 0, Math.PI * 2);
ctx.fillStyle = '#000000';
ctx.fill();
通过以上步骤,可以在HarmonyOS鸿蒙Next中使用Canvas绘制出一条龙的简单轮廓。具体的绘制细节和复杂程度可以根据需求进行调整和扩展。