


HarmonyOS 鸿蒙Next中旋转效果实现
HarmonyOS 鸿蒙Next中旋转效果实现 如何在旋转-90°后之后实现第三种效果,旋转后再进行平移吗?正常旋转后是第二种效果。
示例代码:
@Entry
@Component
struct Index {
  build() {
    Column() {
      RelativeContainer() {
      }
      .width('100%')
      .height(100)
      .backgroundColor(Color.Blue)
      .rotate({ angle: -90 })
    }
  }
}

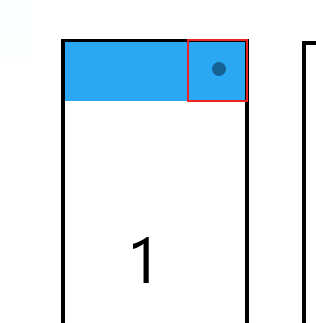
centerX应该等于 宽度 - 高度的一半,
centerY应该等于 高度的一半
如果用固定宽高很容易实现,但是百分比我也不知道怎么计算
我用centerX=“calc(100%-50)” 不生效,默认设置为0了
有没有大佬知道怎么计算的
更多关于HarmonyOS 鸿蒙Next中旋转效果实现的实战系列教程也可以访问 https://www.itying.com/category-93-b0.html

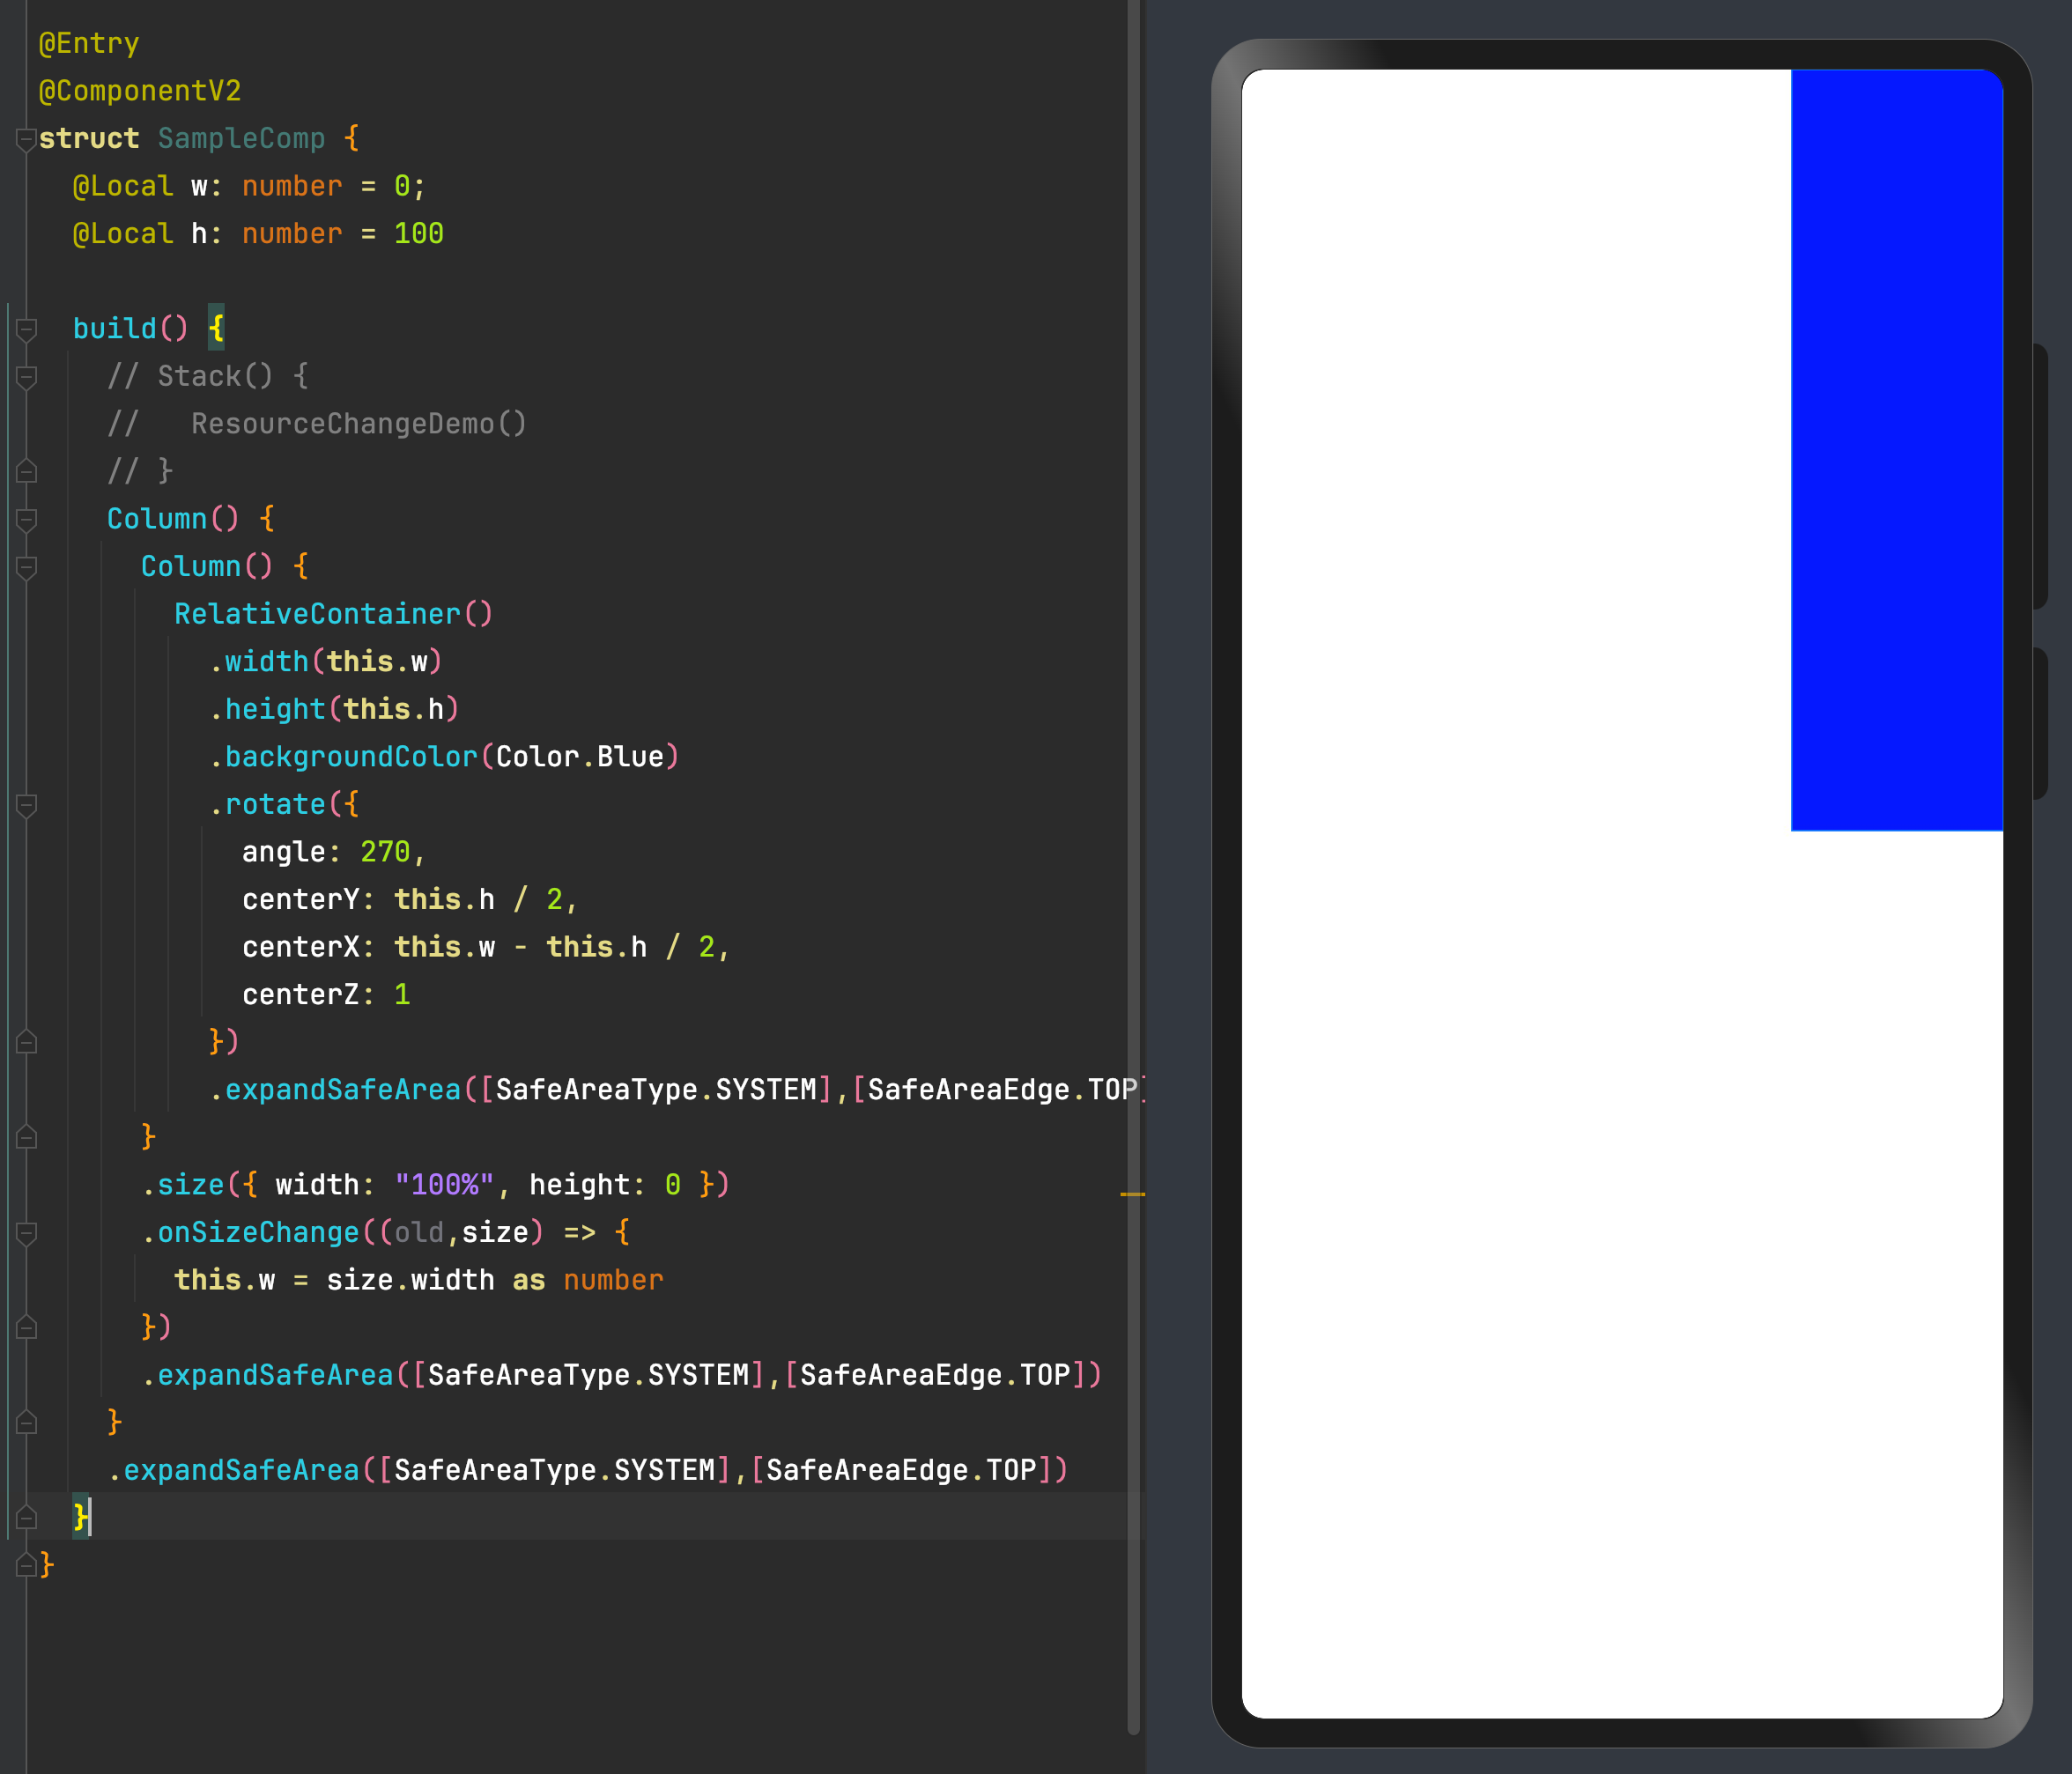
// 宽度为百分比的话可以使用获取屏幕宽度的方式计算: import sensor from ‘@ohos.sensor’; import base from ‘@ohos.base’; import { display } from ‘@kit.ArkUI’;
export function onDegree(callback: base.Callback<number>): void { sensor.on(sensor.SensorId.GRAVITY, (data: sensor.GravityResponse) => { let degree: number = -1; let rotation: number = 0; degree = CalDegree(data.x, data.y, data.z) if (degree >= 0 && (degree <= 30 || degree >= 330)) { rotation = 0; // 竖屏 } else if (degree >= 60 && degree <= 120) { rotation = 90; // 横屏 } else if (degree >= 150 && degree <= 210) { rotation = 180; // 反向竖屏 } else if (degree >= 240 && degree <= 300) { rotation = 270; // 反向横屏 } callback(rotation); }); }
function CalDegree(x: number, y: number, z: number): number { let degree: number = -1; if ((x * x + y * y) * 3 < z * z) { return degree; } degree = 90 - (Number)(Math.round(Math.atan2(y, -x) / Math.PI * 180)); return degree >= 0 ? degree % 360 : degree % 360 + 360; }
function angleConversion(rotateValue: number): number { if (rotateValue === 90) { return rotateValue = -90; } else if (rotateValue === 0) { return rotateValue = 0; } else if (rotateValue === 270) { return rotateValue = 90; } return 0; }
@Entry @Component struct Index { @State rotateValue: number = 0
aboutToAppear() { onDegree(async (rotation: number) => { this.rotateValue = angleConversion(rotation); }); }
build() { Column() { RelativeContainer() { Text(‘123’) } .id(‘layout’) .width(‘100%’) .height(100) .backgroundColor(Color.Blue) .rotate({ angle: this.rotateValue, centerX: px2vp(display.getDefaultDisplaySync().width) / 2, centerY: px2vp(display.getDefaultDisplaySync().width) / 2, }) .animation({ duration: 300 }) } } }


在HarmonyOS(鸿蒙)Next中,旋转效果可以通过使用ArkUI框架中的动画组件来实现。具体来说,可以使用rotate属性来实现元素的旋转效果。以下是一个简单的示例代码:
import { Component, State, Builder } from '@ohos.arkui';

@Builder
function RotateComponent() {
  Builder.create()
    .rotate({ x: 0, y: 0, z: 1, angle: this.angle })
    .backgroundColor('#FF0000')
    .width(100)
    .height(100)
    .onClick(() => {
      this.angle = this.angle + 90;
    });
}

@Entry
@Component
struct RotateExample {
  @State angle: number = 0;

  build() {
    Column.create() {
      RotateComponent();
    }
  }
}
在这个示例中,rotate属性用于定义元素的旋转效果。x、y和z参数分别表示旋转轴的方向,angle参数表示旋转的角度。当点击元素时,角度会增加90度,从而实现旋转效果。

在HarmonyOS鸿蒙Next中,实现旋转效果可以通过RotateAnimation或Component的rotate方法。以下是两种实现方式:
- 使用
RotateAnimation:
RotateAnimation rotateAnimation = new RotateAnimation(0, 360,
    RotateAnimation.RELATIVE_TO_SELF, 0.5f,
    RotateAnimation.RELATIVE_TO_SELF, 0.5f);
rotateAnimation.setDuration(1000); // 设置动画时长
rotateAnimation.setRepeatCount(Animation.INFINITE); // 无限重复
component.setAnimation(rotateAnimation);
rotateAnimation.start();
- 使用
Component的rotate方法:
component.setRotation(45); // 设置旋转角度
这两种方法均可实现旋转效果,选择适合场景的方式即可。