Flutter支付功能插件uni_payments的使用
Flutter支付功能插件uni_payments的使用
简介

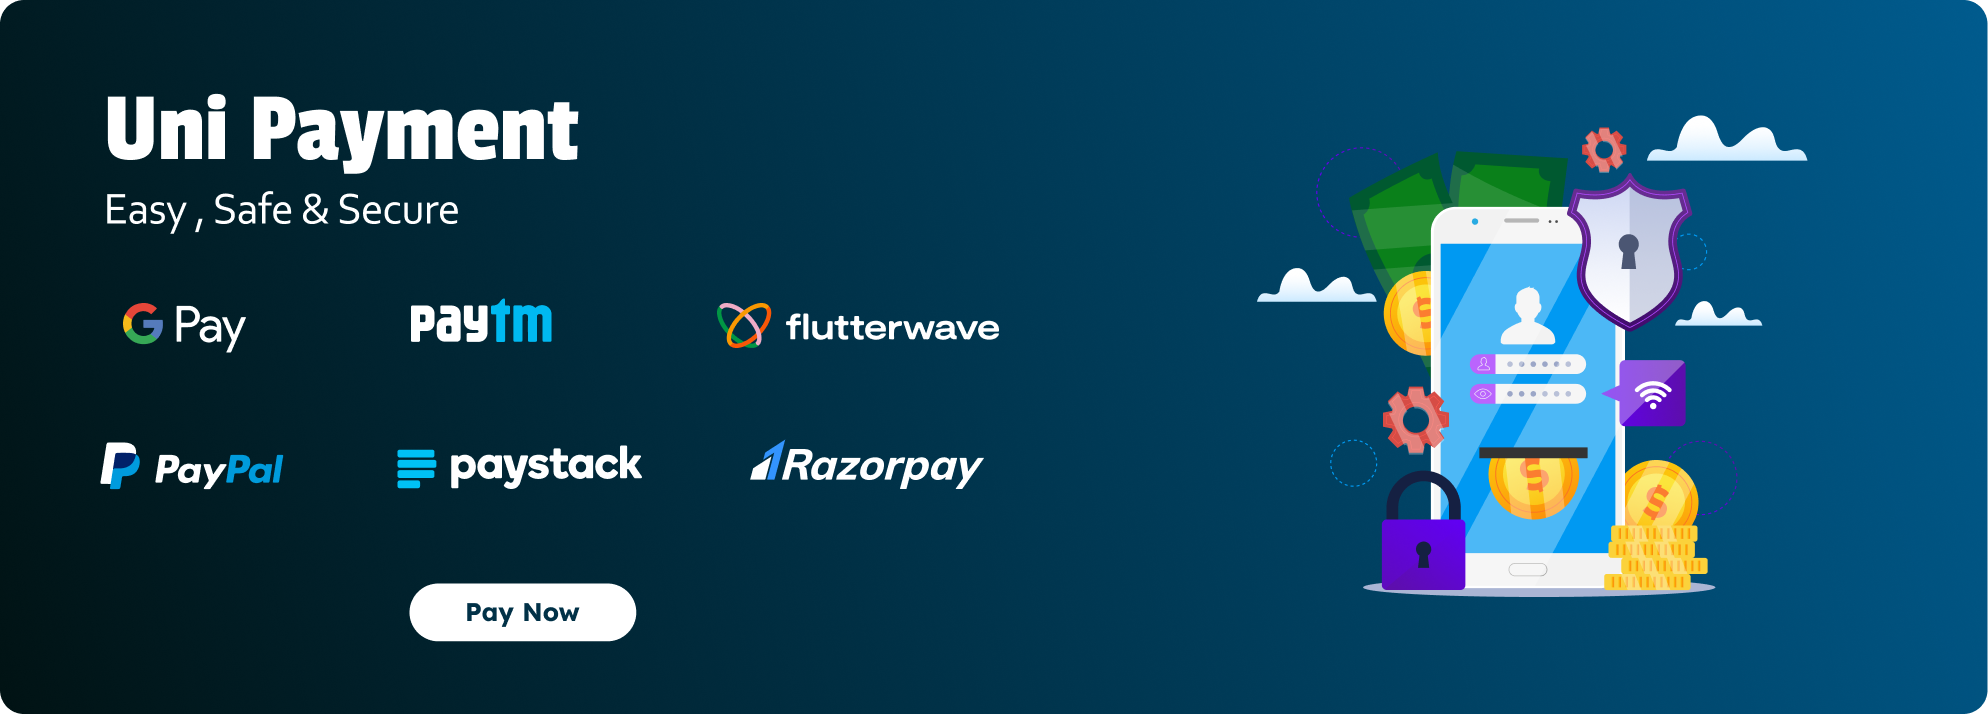
Uni Payments 提供了对多种支付网关的无缝集成,包括 Razorpay、Flutterwave、Google Pay、Paytm、Paystack 和 PayPal,确保快速、便捷且安全的交易过程。
快速开始
1. 添加依赖
在 pubspec.yaml 文件中添加以下依赖:
dependencies:
  uni_payments: ^最新版本号
然后运行以下命令以获取包:
flutter pub get
2. 导入插件
在需要使用的文件中导入插件:
import 'package:uni_payments/uni_payments.dart';
使用示例
1. Razorpay 示例
await UniPayments.razorPayPayment(
  razorpayKey: "your_razorpay_key", // 替换为您的 Razorpay Key
  contactNumber: "1234567890",
  emailId: "test@example.com",
  amount: 2500, // 单位为分(例如:2500 表示 25.00)
  userName: "uni_payments",
  colorCode: '#fcba03', // 支付按钮颜色
  description: '购买商品或服务', // 描述信息
  successListener: (UniPaymentResponse uniPaymentResponse) {
    // 支付成功回调
    bool isSuccessPayment = uniPaymentResponse.paymentStatus;
    if (isSuccessPayment) {
      print('支付成功');
      print('支付 ID: ${uniPaymentResponse.paymentId}');
    }
  },
  failureListener: (UniPaymentResponse uniPaymentResponse) {
    // 支付失败回调
    bool isFailedPayment = uniPaymentResponse.paymentStatus;
    if (isFailedPayment) {
      print('支付失败');
      print('错误信息: ${uniPaymentResponse.message}');
    }
  },
);
2. Paystack 示例
UniPaymentResponse uniPaymentResponse = await UniPayments.payStackPayment(
  context: context,
  emailId: "test@gmail.com",
  payStackKey: 'your_paystack_key', // 替换为您的 Paystack Key
  amount: 2500, // 单位为分
  uniqueRefrenceID: 'unique_reference_id', // 唯一交易标识符
  callbackUrl: 'https://your-callback-url.com', // 回调 URL
);
3. Paytm 示例
await UniPayments.paytmPayment(
  paytmMerchantId: "your_paytm_merchant_id", // 替换为您的 Paytm 商户 ID
  orderId: "order_id",
  isStaging: true, // 测试环境
  uniqueTransactionToken: "unique_token", // 唯一交易令牌
  amount: 2500, // 单位为分
  successListener: (UniPaymentResponse uniPaymentResponse) {
    // 支付成功回调
    bool isSuccessPayment = uniPaymentResponse.paymentStatus;
    if (isSuccessPayment) {
      print('支付成功');
      print('支付 ID: ${uniPaymentResponse.paymentId}');
    }
  },
  failureListener: (UniPaymentResponse uniPaymentResponse) {
    // 支付失败回调
    bool isFailedPayment = uniPaymentResponse.paymentStatus;
    if (isFailedPayment) {
      print('支付失败');
      print('错误信息: ${uniPaymentResponse.message}');
    }
  },
);
4. Flutterwave 示例
await UniPayments.flutterWavePayment(
  buildContext: context,
  publicKey: 'your_public_key', // 替换为您的公钥
  encryptionKey: 'your_encryption_key', // 替换为您的加密密钥
  currencyCode: 'NGN', // 货币代码
  amount: '2500', // 单位为分
  receiptantName: '测试用户',
  emailId: 'test@example.com',
  phoneNumber: '1234567890',
  isDebugMode: true, // 调试模式
  redirectURL: 'https://your-redirect-url.com',
  transactionRef: 'random_transaction_ref',
  successListener: (UniPaymentResponse uniPaymentResponse) {
    // 支付成功回调
    bool isSuccessPayment = uniPaymentResponse.paymentStatus;
    if (isSuccessPayment) {
      print('支付成功');
      print('支付 ID: ${uniPaymentResponse.paymentId}');
    }
  },
  failureListener: (UniPaymentResponse uniPaymentResponse) {
    // 支付失败回调
    bool isFailedPayment = uniPaymentResponse.paymentStatus;
    if (isFailedPayment) {
      print('支付失败');
      print('错误信息: ${uniPaymentResponse.message}');
    }
  },
);
5. Google Pay 示例
UniPayments.uniPaymentGooglePayButton(
  paymentConfigurationAsset: 'assets/payment_config.json', // 替换为您的配置文件路径
  height: 150,
  width: 150,
  uniPaymentItemStatus: UniPaymentItemStatus.pending,
  uniPaymentItemTypes: UniPaymentItemTypes.item,
  payableAmount: "2500", // 单位为分
  uniPaymentGoogleButtonStyle: UniPaymentGoogleButtonStyle.flat,
  uniPaymentGoogleButtonType: UniPaymentGoogleButtonType.donate,
  paymentLabel: "支付金额",
  failureListener: (UniPaymentResponse paymentResponse) {
    // 支付失败回调
    print('支付失败');
    print('错误信息: ${paymentResponse.message}');
  },
  successListener: (UniPaymentResponse paymentResponse) {
    // 支付成功回调
    print('支付成功');
    print('支付 ID: ${paymentResponse.paymentId}');
  },
  onPressed: () {
    print("Google Pay 按钮被按下");
  },
);
6. PayPal Braintree 示例
UniPaymentResponse uniPaymentResponse = await UniPayments.payPalBraintreePayment(
  tokenizationKey: "your_braintree_token_key", // 替换为您的 Braintree Token 化密钥
  amount: 5200, // 单位为分
  emailId: 'test@example.com',
  name: 'uni_payments',
  countryCode: 'US',
  currencyCode: 'USD',
);
完整示例代码
以下是一个完整的示例代码,展示了如何在 Flutter 应用中集成 uni_payments 插件。
import 'package:flutter/material.dart';
import 'package:uni_payments/uni_payments.dart';

void main() {
  WidgetsFlutterBinding.ensureInitialized();
  runApp(MyApp());
}

class MyApp extends StatelessWidget {
  [@override](/user/override)
  Widget build(BuildContext context) {
    return MaterialApp(
      home: HomeScreen(),
    );
  }
}

class HomeScreen extends StatefulWidget {
  [@override](/user/override)
  _HomeScreenState createState() => _HomeScreenState();
}

class _HomeScreenState extends State<HomeScreen> {
  void _handleRazorpayPayment() async {
    try {
      await UniPayments.razorPayPayment(
        razorpayKey: "your_razorpay_key",
        contactNumber: "1234567890",
        emailId: "test@example.com",
        amount: 2500,
        userName: "uni_payments",
        colorCode: '#fcba03',
        description: '购买商品或服务',
        successListener: (UniPaymentResponse response) {
          print('支付成功');
          print('支付 ID: ${response.paymentId}');
        },
        failureListener: (UniPaymentResponse response) {
          print('支付失败');
          print('错误信息: ${response.message}');
        },
      );
    } catch (e) {
      print('支付过程中发生错误: $e');
    }
  }

  [@override](/user/override)
  Widget build(BuildContext context) {
    return Scaffold(
      appBar: AppBar(title: Text('uni_payments 示例')),
      body: Center(
        child: ElevatedButton(
          onPressed: _handleRazorpayPayment,
          child: Text('发起支付'),
        ),
      ),
    );
  }
}
更多关于Flutter支付功能插件uni_payments的使用的实战教程也可以访问 https://www.itying.com/category-92-b0.html
更多关于Flutter支付功能插件uni_payments的使用的实战系列教程也可以访问 https://www.itying.com/category-92-b0.html
uni_payments 是一个用于 Flutter 的支付插件,它支持多种支付方式,包括微信支付、支付宝支付等。使用这个插件可以方便地在 Flutter 应用中集成支付功能。
以下是如何在 Flutter 项目中使用 uni_payments 插件的步骤:
1. 添加依赖
首先,你需要在 pubspec.yaml 文件中添加 uni_payments 插件的依赖。
dependencies:
  flutter:
    sdk: flutter
  uni_payments: ^1.0.0  # 请使用最新版本
然后运行 flutter pub get 来获取依赖。
2. 配置支付平台
根据你需要的支付平台(如微信支付、支付宝支付),你需要在项目中配置相应的平台设置。
微信支付
对于微信支付,你需要在 AndroidManifest.xml 文件中添加以下配置:
<application>
    <activity
        android:name=".wxapi.WXPayEntryActivity"
        android:exported="true"
        android:launchMode="singleTop" />
</application>
在 ios/Runner/Info.plist 文件中添加以下配置:
<key>CFBundleURLTypes</key>
<array>
    <dict>
        <key>CFBundleURLSchemes</key>
        <array>
            <string>your_app_id</string>
        </array>
    </dict>
</array>
支付宝支付
对于支付宝支付,你需要在 AndroidManifest.xml 文件中添加以下配置:
<application>
    <activity
        android:name="com.alipay.sdk.app.H5PayActivity"
        android:exported="true"
        android:launchMode="singleTop" />
</application>
3. 初始化插件
在你的 Dart 代码中,首先需要初始化 uni_payments 插件。
import 'package:uni_payments/uni_payments.dart';

void main() async {
  WidgetsFlutterBinding.ensureInitialized();
  await UniPayments.init(
    wxAppId: 'your_wx_app_id',  // 微信支付 App ID
    aliAppId: 'your_ali_app_id',  // 支付宝支付 App ID
  );
  runApp(MyApp());
}
4. 发起支付
你可以使用 UniPayments.pay 方法来发起支付。以下是一个简单的示例:
void pay() async {
  try {
    final result = await UniPayments.pay(
      paymentType: PaymentType.wechat,  // 支付类型,可以是 wechat 或 alipay
      orderInfo: 'your_order_info',  // 订单信息
    );
    if (result == PaymentResult.success) {
      print('支付成功');
    } else if (result == PaymentResult.cancel) {
      print('支付取消');
    } else {
      print('支付失败');
    }
  } catch (e) {
    print('支付异常: $e');
  }
}


