


Flutter响应式UI插件qonvex_responsive_ui的使用
Flutter响应式UI插件qonvex_responsive_ui的使用
Qonvex Responsive UI
一个用于简化开发,并减少构建具有YouTube和Facebook类似主界面的应用程序时间的Flutter包,旨在实现响应式和类似Vue的显示。
安装
该插件已经发布在Pub.dev上。你可以通过以下命令将其添加到你的pubspec.yaml文件中:
dependencies:
  qonvex_responsive_ui: ^版本号
然后运行以下命令来安装:
flutter pub get
如何使用
导入
首先,你需要导入该包到你的项目中:
import 'package:qonvex_responsive_ui/qonvex_responsive_ui.dart';
类型
以下是可用的类型及其对应的命令:
| 类型 | 命令 |
|---|---|
| YouTube | QonvexUIType.youtube |
| QonvexUIType.facebook |
注意: 默认类型为YouTube。
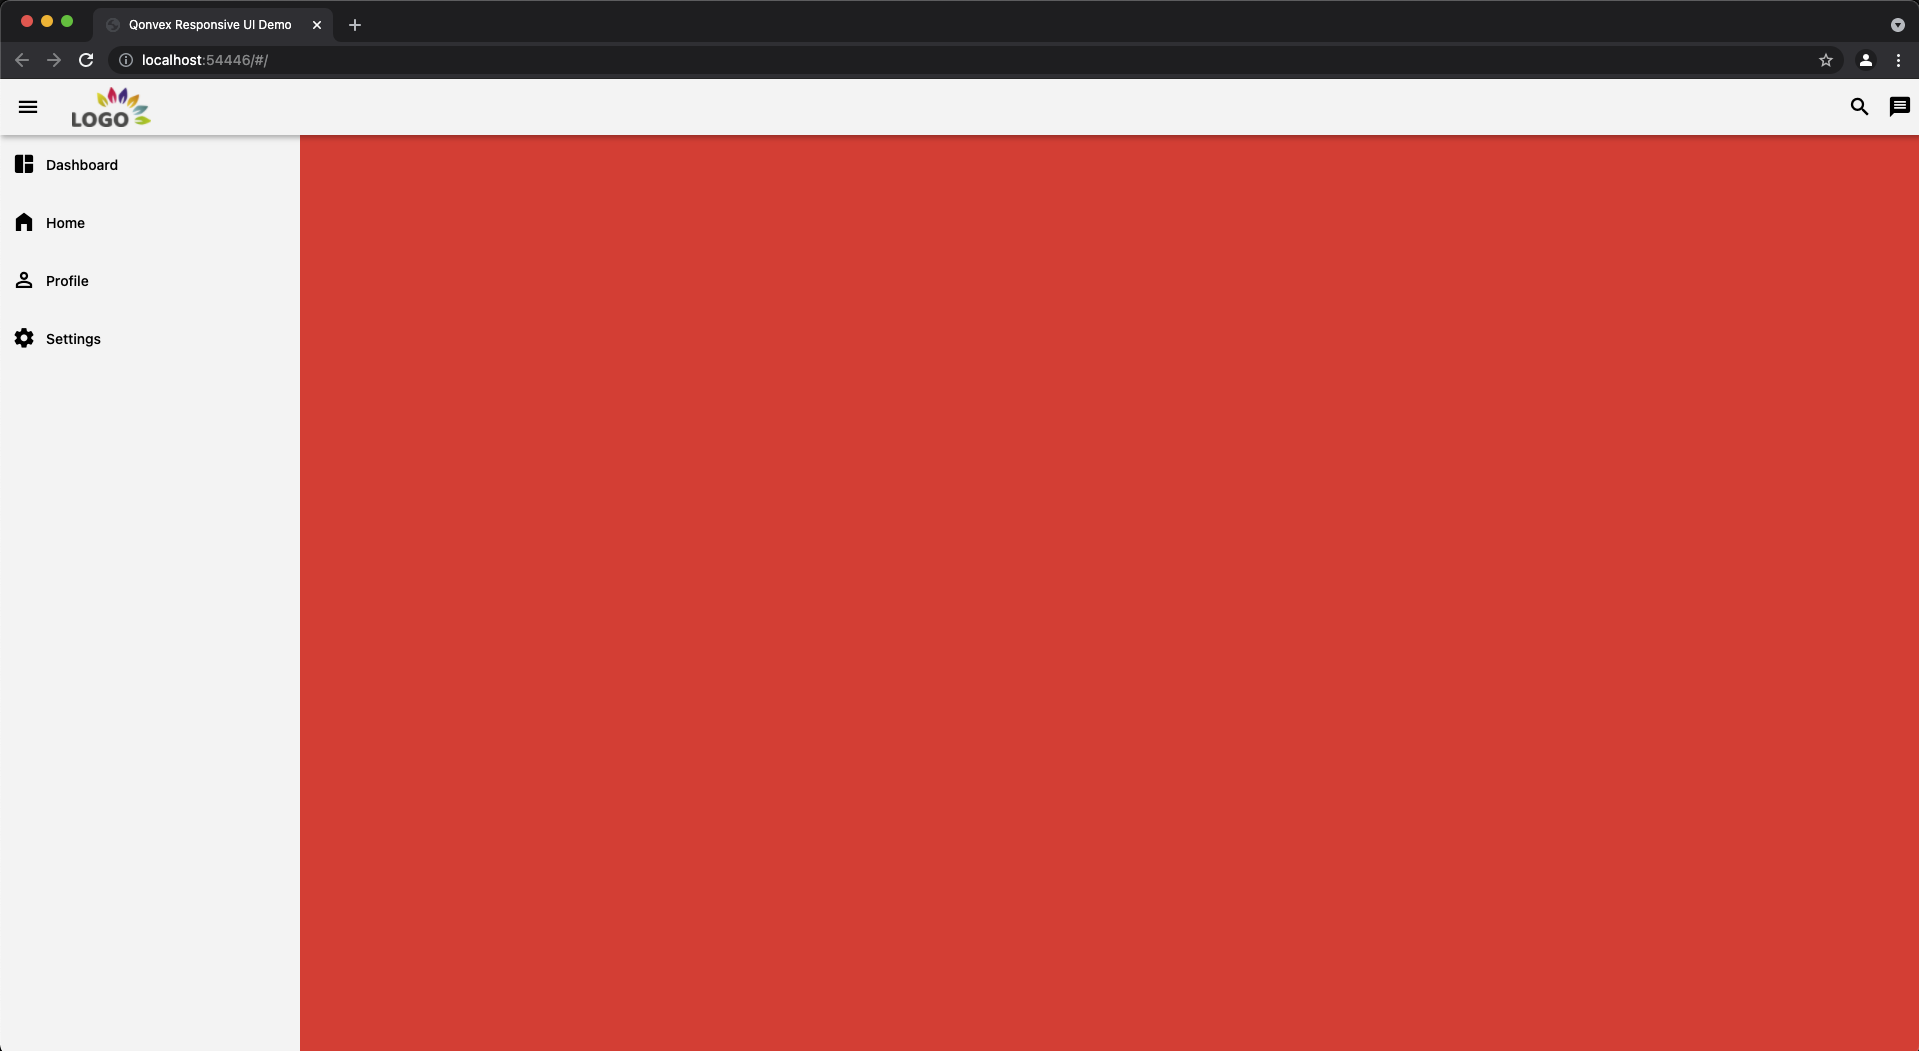
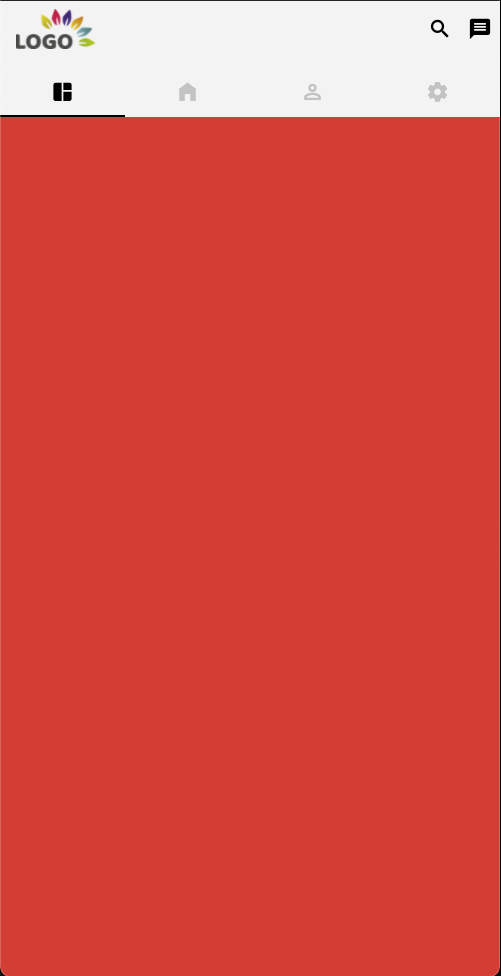
图片示例
YouTube
-
Web
-
平板

-
移动设备

-
Web

-
移动设备
调用
使用QonvexResponsiveUi组件来创建响应式UI,示例如下:
QonvexResponsiveUi(
  settings: QonvexUISettings(
    appHeaderActions: [
      // 如果你有头部操作按钮,可以在这里添加
      // 这是可选的
      IconButton(onPressed: () {}, icon: Icon(Icons.search)),
      IconButton(onPressed: () {}, icon: Icon(Icons.message))
    ],
    appLogo: NetworkImage("https://www.strunkmedia.com/wp-content/uploads/2018/05/bigstock-Print-163213010.png"),
    foregroundColor: Colors.grey.shade100,
  ),
  type: QonvexUIType.youtube, // 如果未指定,默认为YouTube
  items: [
    // 必须包含的QonvexItem
    QonvexItem(
      icon: Icons.space_dashboard,
      title: "Dashboard",
      child: Container(
        color: Colors.red,
      ),
    ),
    QonvexItem(
      icon: Icons.home_filled,
      title: "Home",
      child: Container(
        color: Colors.blue,
      ),
    ),
    QonvexItem(
      icon: Icons.person_outline,
      title: "Profile",
      child: Container(
        color: Colors.green,
      ),
    ),
    QonvexItem(
      icon: Icons.settings,
      title: "Settings",
      child: Container(
        color: Colors.orange,
      ),
    ),
  ],
);
示例代码
以下是一个完整的示例代码,展示了如何使用qonvex_responsive_ui插件来构建响应式UI:
import 'package:flutter/material.dart';
import 'package:qonvex_responsive_ui/qonvex_responsive_ui.dart';

void main() {
  runApp(MyApp());
}

class MyApp extends StatelessWidget {
  [@override](/user/override)
  Widget build(BuildContext context) {
    return MaterialApp(
      title: 'Qonvex Responsive UI Demo',
      debugShowCheckedModeBanner: false,
      theme: ThemeData(
        primarySwatch: Colors.blue,
      ),
      home: MyHomePage(title: 'Flutter Demo Home Page'),
    );
  }
}

class MyHomePage extends StatefulWidget {
  MyHomePage({Key? key, required this.title}) : super(key: key);
  final String title;

  [@override](/user/override)
  _MyHomePageState createState() => _MyHomePageState();
}

class _MyHomePageState extends State<MyHomePage> {
  [@override](/user/override)
  Widget build(BuildContext context) {
    return QonvexResponsiveUi(
      settings: QonvexUISettings(
        appHeaderActions: [
          IconButton(onPressed: () {}, icon: Icon(Icons.search)),
          IconButton(onPressed: () {}, icon: Icon(Icons.message))
        ],
        appLogo: NetworkImage(
            "https://www.strunkmedia.com/wp-content/uploads/2018/05/bigstock-Print-163213010.png"),
        foregroundColor: Colors.grey.shade100,
      ),
      type: QonvexUIType.youtube,
      items: [
        QonvexItem(
          icon: Icons.space_dashboard,
          title: "Dashboard",
          child: Container(
            color: Colors.red,
          ),
        ),
        QonvexItem(
          icon: Icons.home_filled,
          title: "Home",
          child: Container(
            color: Colors.blue,
          ),
        ),
        QonvexItem(
          icon: Icons.person_outline,
          title: "Profile",
          child: Container(
            color: Colors.green,
          ),
        ),
        QonvexItem(
          icon: Icons.settings,
          title: "Settings",
          child: Container(
            color: Colors.orange,
          ),
        ),
      ],
    );
  }
}
更多关于Flutter响应式UI插件qonvex_responsive_ui的使用的实战教程也可以访问 https://www.itying.com/category-92-b0.html

更多关于Flutter响应式UI插件qonvex_responsive_ui的使用的实战系列教程也可以访问 https://www.itying.com/category-92-b0.html
qonvex_responsive_ui 是一个用于 Flutter 的响应式 UI 插件,旨在帮助开发者更容易地创建适应不同屏幕尺寸和方向的应用程序。它提供了一些工具和组件,使得在不同设备上构建响应式布局变得更加简单。
安装
首先,你需要在 pubspec.yaml 文件中添加 qonvex_responsive_ui 依赖:
dependencies:
  flutter:
    sdk: flutter
  qonvex_responsive_ui: ^1.0.0  # 请检查最新版本
然后运行 flutter pub get 来安装依赖。
基本用法
1. 初始化
在使用 qonvex_responsive_ui 之前,你需要在应用的入口处初始化它。通常是在 main.dart 文件中:
import 'package:flutter/material.dart';
import 'package:qonvex_responsive_ui/qonvex_responsive_ui.dart';

void main() {
  runApp(MyApp());
}

class MyApp extends StatelessWidget {
  [@override](/user/override)
  Widget build(BuildContext context) {
    return MaterialApp(
      title: 'Responsive UI Example',
      home: ResponsiveWrapper(
        child: HomeScreen(),
      ),
    );
  }
}
ResponsiveWrapper 是一个包装器,它会在内部处理屏幕尺寸的变化,并通知子组件进行相应的调整。
2. 使用响应式组件
qonvex_responsive_ui 提供了一些响应式组件,例如 ResponsiveContainer、ResponsiveRow、ResponsiveColumn 等,这些组件可以根据屏幕尺寸自动调整布局。
class HomeScreen extends StatelessWidget {
  [@override](/user/override)
  Widget build(BuildContext context) {
    return Scaffold(
      appBar: AppBar(
        title: Text('Responsive UI Example'),
      ),
      body: ResponsiveContainer(
        padding: EdgeInsets.all(16.0),
        child: ResponsiveRow(
          children: [
            ResponsiveColumn(
              child: Container(
                color: Colors.blue,
                height: 100,
                child: Center(child: Text('Column 1')),
              ),
            ),
            ResponsiveColumn(
              child: Container(
                color: Colors.green,
                height: 100,
                child: Center(child: Text('Column 2')),
              ),
            ),
          ],
        ),
      ),
    );
  }
}
在这个例子中,ResponsiveRow 和 ResponsiveColumn 会根据屏幕宽度自动调整列的数量和大小。
3. 响应式断点
qonvex_responsive_ui 还提供了一些预定义的断点,用于在不同屏幕尺寸下应用不同的布局。你可以使用 ResponsiveBreakpoints 来获取当前屏幕的断点信息。
class HomeScreen extends StatelessWidget {
  [@override](/user/override)
  Widget build(BuildContext context) {
    final breakpoint = ResponsiveBreakpoints.of(context).breakpoint;

    return Scaffold(
      appBar: AppBar(
        title: Text('Responsive UI Example'),
      ),
      body: Center(
        child: Text('Current Breakpoint: $breakpoint'),
      ),
    );
  }
}
ResponsiveBreakpoints 提供了 breakpoint 属性,可以返回当前屏幕的断点信息,例如 mobile、tablet、desktop 等。
4. 自定义断点
你还可以自定义断点,以适应你的应用需求。在初始化 ResponsiveWrapper 时,可以传入自定义的断点配置:
void main() {
  runApp(MyApp());
}

class MyApp extends StatelessWidget {
  [@override](/user/override)
  Widget build(BuildContext context) {
    return MaterialApp(
      title: 'Responsive UI Example',
      home: ResponsiveWrapper(
        breakpoints: ResponsiveBreakpoints(
          mobile: 600,
          tablet: 900,
          desktop: 1200,
        ),
        child: HomeScreen(),
      ),
    );
  }
}