


HarmonyOS鸿蒙Next中swiper+nextMargin属性
HarmonyOS鸿蒙Next中swiper+nextMargin属性
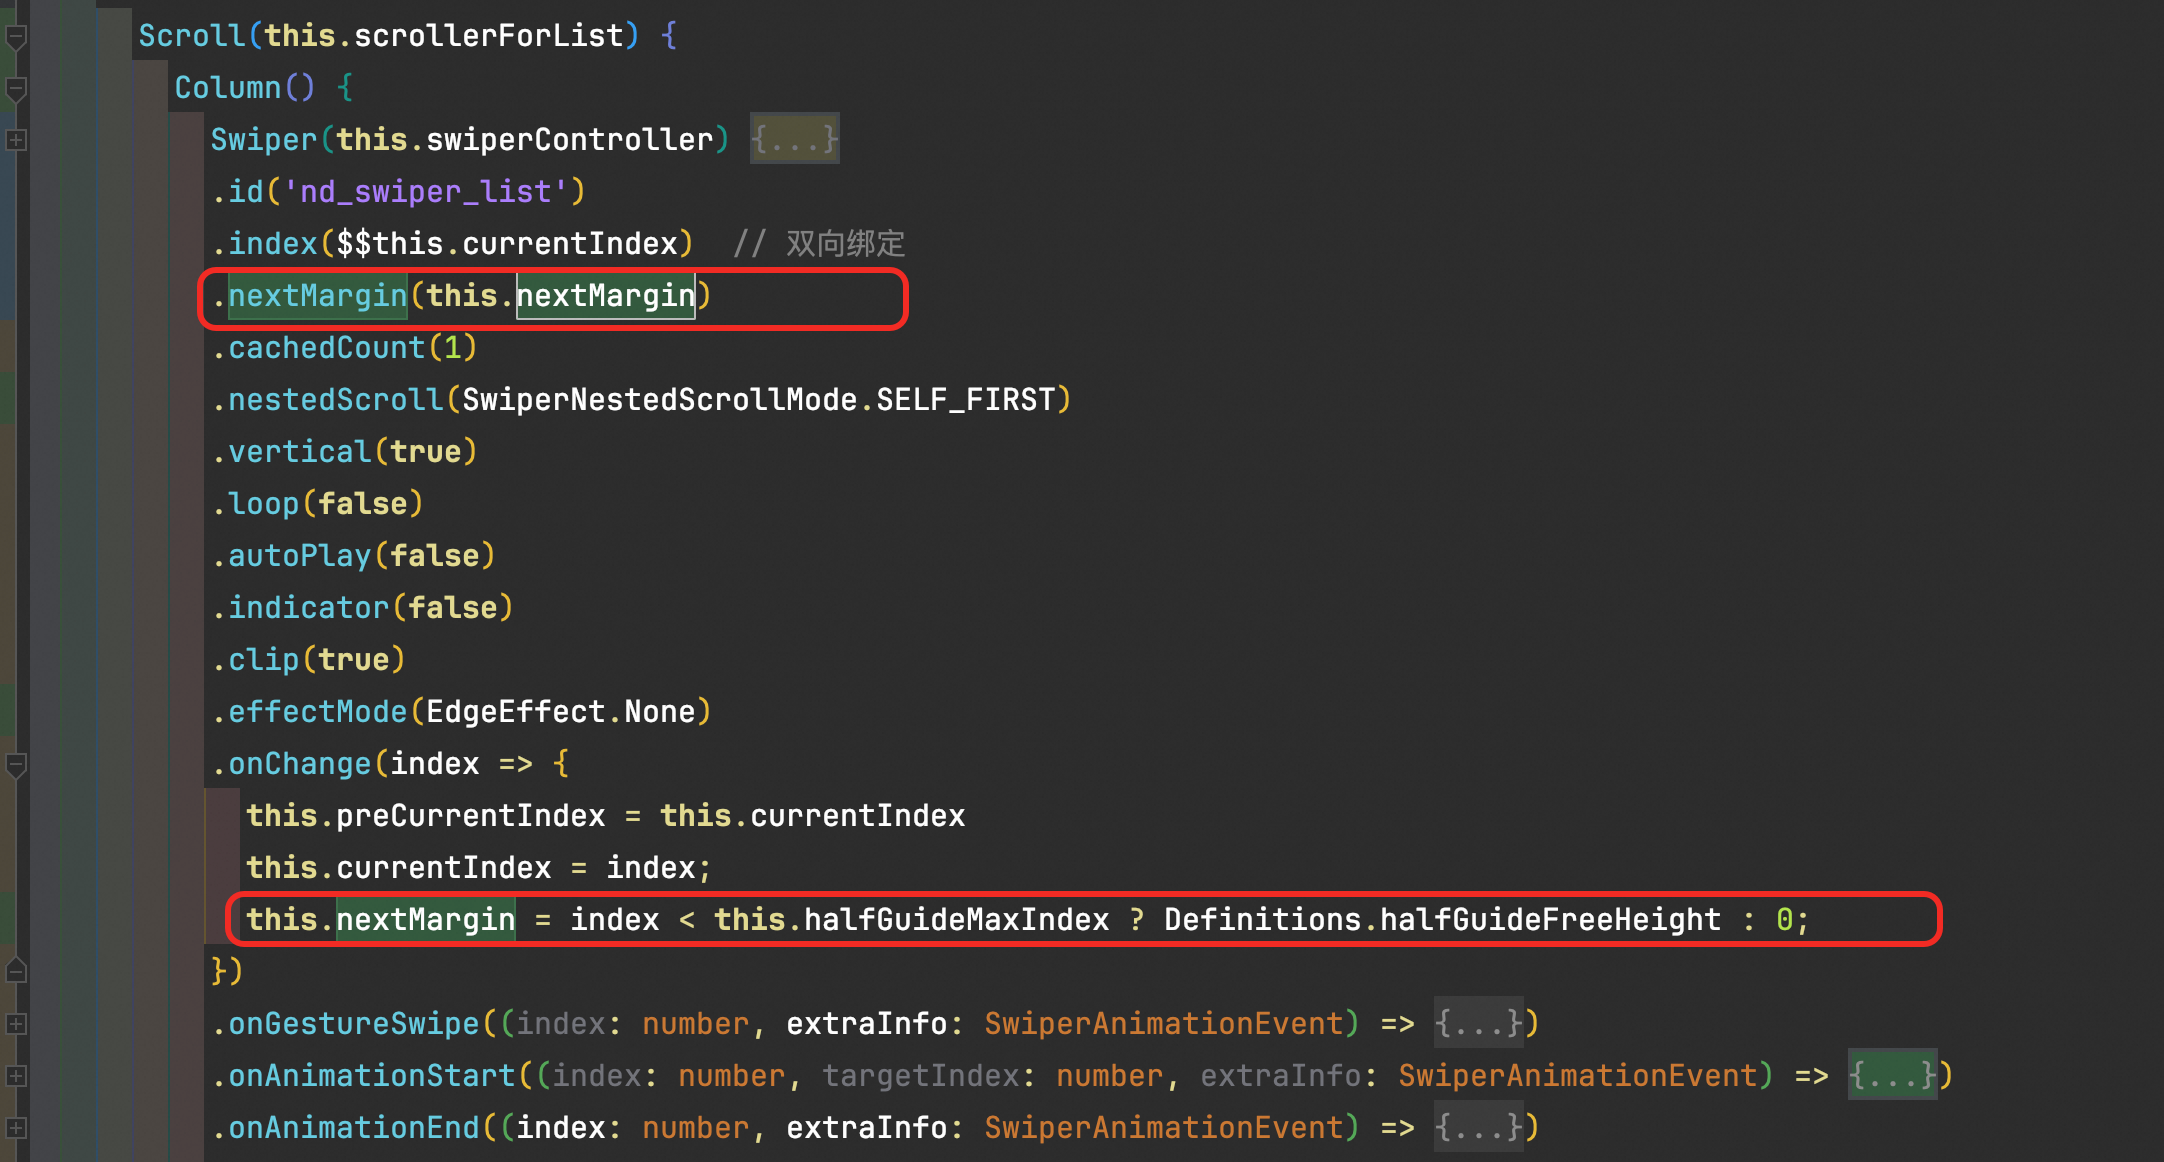
Swiper的loop属性为false。Swiper组件动态设置属性nextMargin,期望前三张具有nextMargin,后面卡片nextMargin为0,通过onChange会有明显的动画延迟,有没有其他更优雅的方式
更多关于HarmonyOS鸿蒙Next中swiper+nextMargin属性的实战教程也可以访问 https://www.itying.com/category-93-b0.html
6 回复


.onAnimationStart((index: number, targetIndex: number) => { }) .onAnimationEnd((index: number) => {
})
用这两个联合起来,动画延迟就没那么明显,刚刚做了这个功能

在HarmonyOS Next中,Swiper组件的nextMargin属性用于设置后一个项目(右侧/下方)的露出距离。该属性接受数值型参数,单位为vp。例如设置nextMargin="50vp"会使下一个项目露出50vp宽度的部分。该属性与prevMargin配合使用可实现"预览"效果,适用于图片浏览、卡片滑动等场景。使用时需注意:
- 该属性仅在水平/垂直滑动模式下生效;
- 露出部分不可交互;
- 实际显示效果可能受父容器尺寸限制。

在HarmonyOS Next中,当Swiper的loop=false时,使用onChange动态修改nextMargin确实会导致动画延迟问题。建议采用以下更优方案:
- 改用Swiper的itemExtent属性结合clipChildren=false实现类似效果:
Swiper({
  itemExtent: '80%',
  clipChildren: false,
  // 其他配置...
})
- 如果必须使用nextMargin,可以预先定义两个Swiper样式类:
.swiper-with-margin {
  next-margin: 20%;
}
.swiper-no-margin {
  next-margin: 0%;
}
- 通过数据驱动方式控制样式切换,而非在onChange中频繁修改:
@State swiperClass: string = 'swiper-with-margin';

// 在数据变化时更新class
updateSwiperStyle(currentIndex: number) {
  this.swiperClass = currentIndex < 3 ? 'swiper-with-margin' : 'swiper-no-margin';
}
这种方法避免了频繁的属性修改带来的性能损耗,能有效减少动画延迟现象。