


HarmonyOS鸿蒙NEXT中病虫害AI诊断页面布局build实现
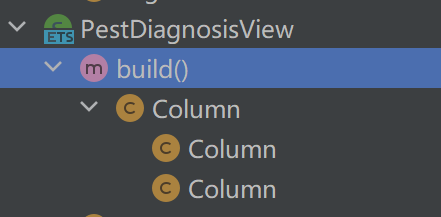
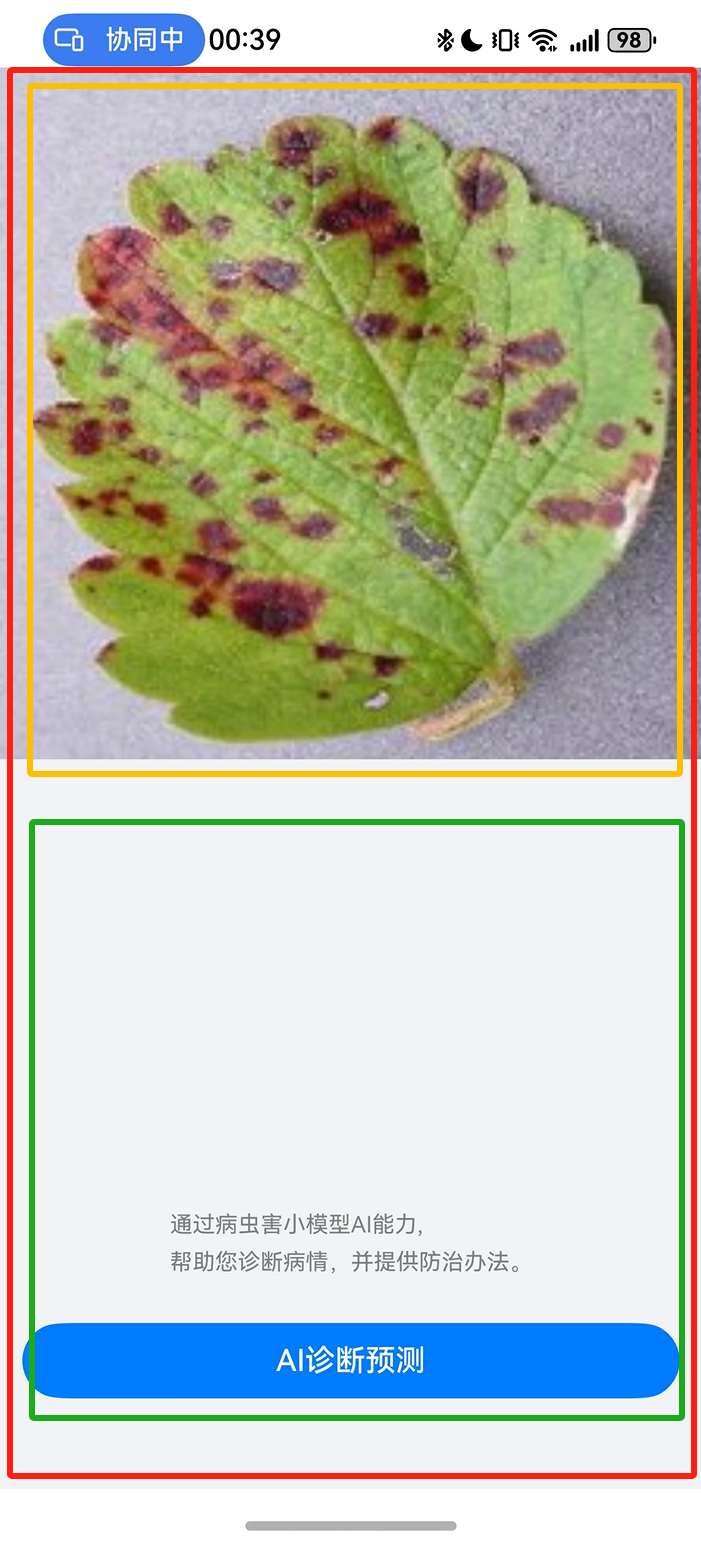
HarmonyOS鸿蒙NEXT中病虫害AI诊断页面布局build实现 页面布局结构包括三个colum列布局容器组件,分别是红、黄、绿色框,如下图所示:
打开我们前面新建的PestInfoPage.ets文件,自定义一个AI诊断页面组件PestDiagnosisView,接收2个参数:病虫害实体对象和图片占满屏幕宽度。代码如下:
@Component
struct PestDiagnosisView{
  private pestObj?:PestModel;
  private imgWidth?:number;

  build(){
    Column(){
      // 病害图片
      Column(){
        Image(this.pestObj?.Img)
          .width(this.imgWidth)
          .objectFit(ImageFit.Contain)
          .onClick(() => {
            router.back();
          })
      }
      .layoutWeight(1)
      .backgroundColor($r('sys.color.ohos_id_color_sub_background'))

      Column(){
        // 提示文字
        Text('通过病虫害小模型AI能力' + '\n' +'帮助您诊断病情,并提供防治办法。')
          .fontColor($r('sys.color.ohos_id_color_text_secondary'))
          .fontFamily($r('sys.string.ohos_id_text_font_family_regular'))
          .fontSize($r('sys.float.ohos_id_text_size_body3'))
          .fontWeight(FontWeight.Regular)
          .lineHeight(20)
          .opacity(0.8)
          .margin({bottom:24})

        // 诊断按钮
        Button('AI诊断预测')
          .width('100%')
          .height(40)
          .fontSize(16)
          .fontWeight(FontWeight.Medium)
          .backgroundColor('#007DFF')
          .margin({bottom:48})
          .onClick(() => {
            // TODO:  调用云端AI图像识别能力接口
            // /
          })
      }
      .height('30%')
      .backgroundColor($r('sys.color.ohos_id_color_sub_background'))
      .padding({left:12,right:12})
      .align(Alignment.Bottom)
      .justifyContent(FlexAlign.End)
    }
  }
}
PestInfoPage页面中加载自定义的组件,定义手机设备宽度变量和图片宽度变量,并在aboutToAppear()方法内获取设备宽度及赋值。代码如下:
import PestModel from '../models/PestModel'
import { display, router } from '@kit.ArkUI';
import Constants from '../utils/Constants'

@Entry
@Component
struct PestInfoPage {
  pestObj:PestModel =router.getParams() as PestModel;
  @State deviceWidth:number =Constants.DEVICE_DEFAULT_WIDTH;
  @State imgWidth:number =this.deviceWidth;

  aboutToAppear(): void {
    let displayClass:display.Display=display.getDefaultDisplaySync();
    let width=displayClass?.width/displayClass.densityPixels ?? Constants.DEVICE_DEFAULT_WIDTH;
    this.deviceWidth=width;
    this.imgWidth =this.deviceWidth;
  }

  build(){
    Column(){
      PestDiagnosisView({pestObj:this.pestObj,imgWidth:this.imgWidth});
    }
  }
}
下一篇:自定义病虫害信息页面组件。
更多关于HarmonyOS鸿蒙NEXT中病虫害AI诊断页面布局build实现的实战教程也可以访问 https://www.itying.com/category-93-b0.html
2 回复

在HarmonyOS NEXT中实现病虫害AI诊断页面布局,使用ArkTS开发。通过@Entry@Component构建页面,采用Column、Row等基础容器组件布局。顶部用Image组件展示作物图片,中间使用Text显示诊断结果,底部用Button组件放置操作按钮。关键代码示例:
[@Entry](/user/Entry)
[@Component](/user/Component)
struct PestDiagnosisPage {
  build() {
    Column() {
      Image($r('app.media.crop'))
        .width(200)
        .height(200)

      Text('诊断结果')
        .fontSize(20)
        .margin(10)

      Button('开始检测')
        .width(150)
    }
    .width('100%')
    .padding(20)
  }
}
布局采用响应式设计,适配不同设备尺寸。
更多关于HarmonyOS鸿蒙NEXT中病虫害AI诊断页面布局build实现的实战系列教程也可以访问 https://www.itying.com/category-93-b0.html

在HarmonyOS NEXT中实现病虫害AI诊断页面布局,可以采用以下优化方案:
- 布局结构优化:
- 使用Column作为根容器,包含图片区域和操作区域两个子Column
- 图片区域使用layoutWeight(1)自动填充剩余空间
- 操作区域固定高度为30%,包含提示文本和诊断按钮
- 关键实现点:
- 图片自适应:通过ImageFit.Contain保持图片比例,宽度设为设备宽度
- 响应式设计:在aboutToAppear中获取设备实际宽度
- 样式规范:使用系统资源($r)保持UI一致性
- 代码改进建议:
- 操作区域建议使用Stack布局替代Column,便于后续扩展
- 可考虑添加加载状态处理
- 按钮样式建议使用系统预定义样式
当前实现已满足基本需求,后续可考虑添加:
- 诊断结果展示区域
- 加载动画效果
- 错误处理机制
这种布局方式能很好适应不同尺寸设备,保持UI一致性。