


HarmonyOS 鸿蒙Next中Navigation和Tabs如何组合实现沉浸式效果
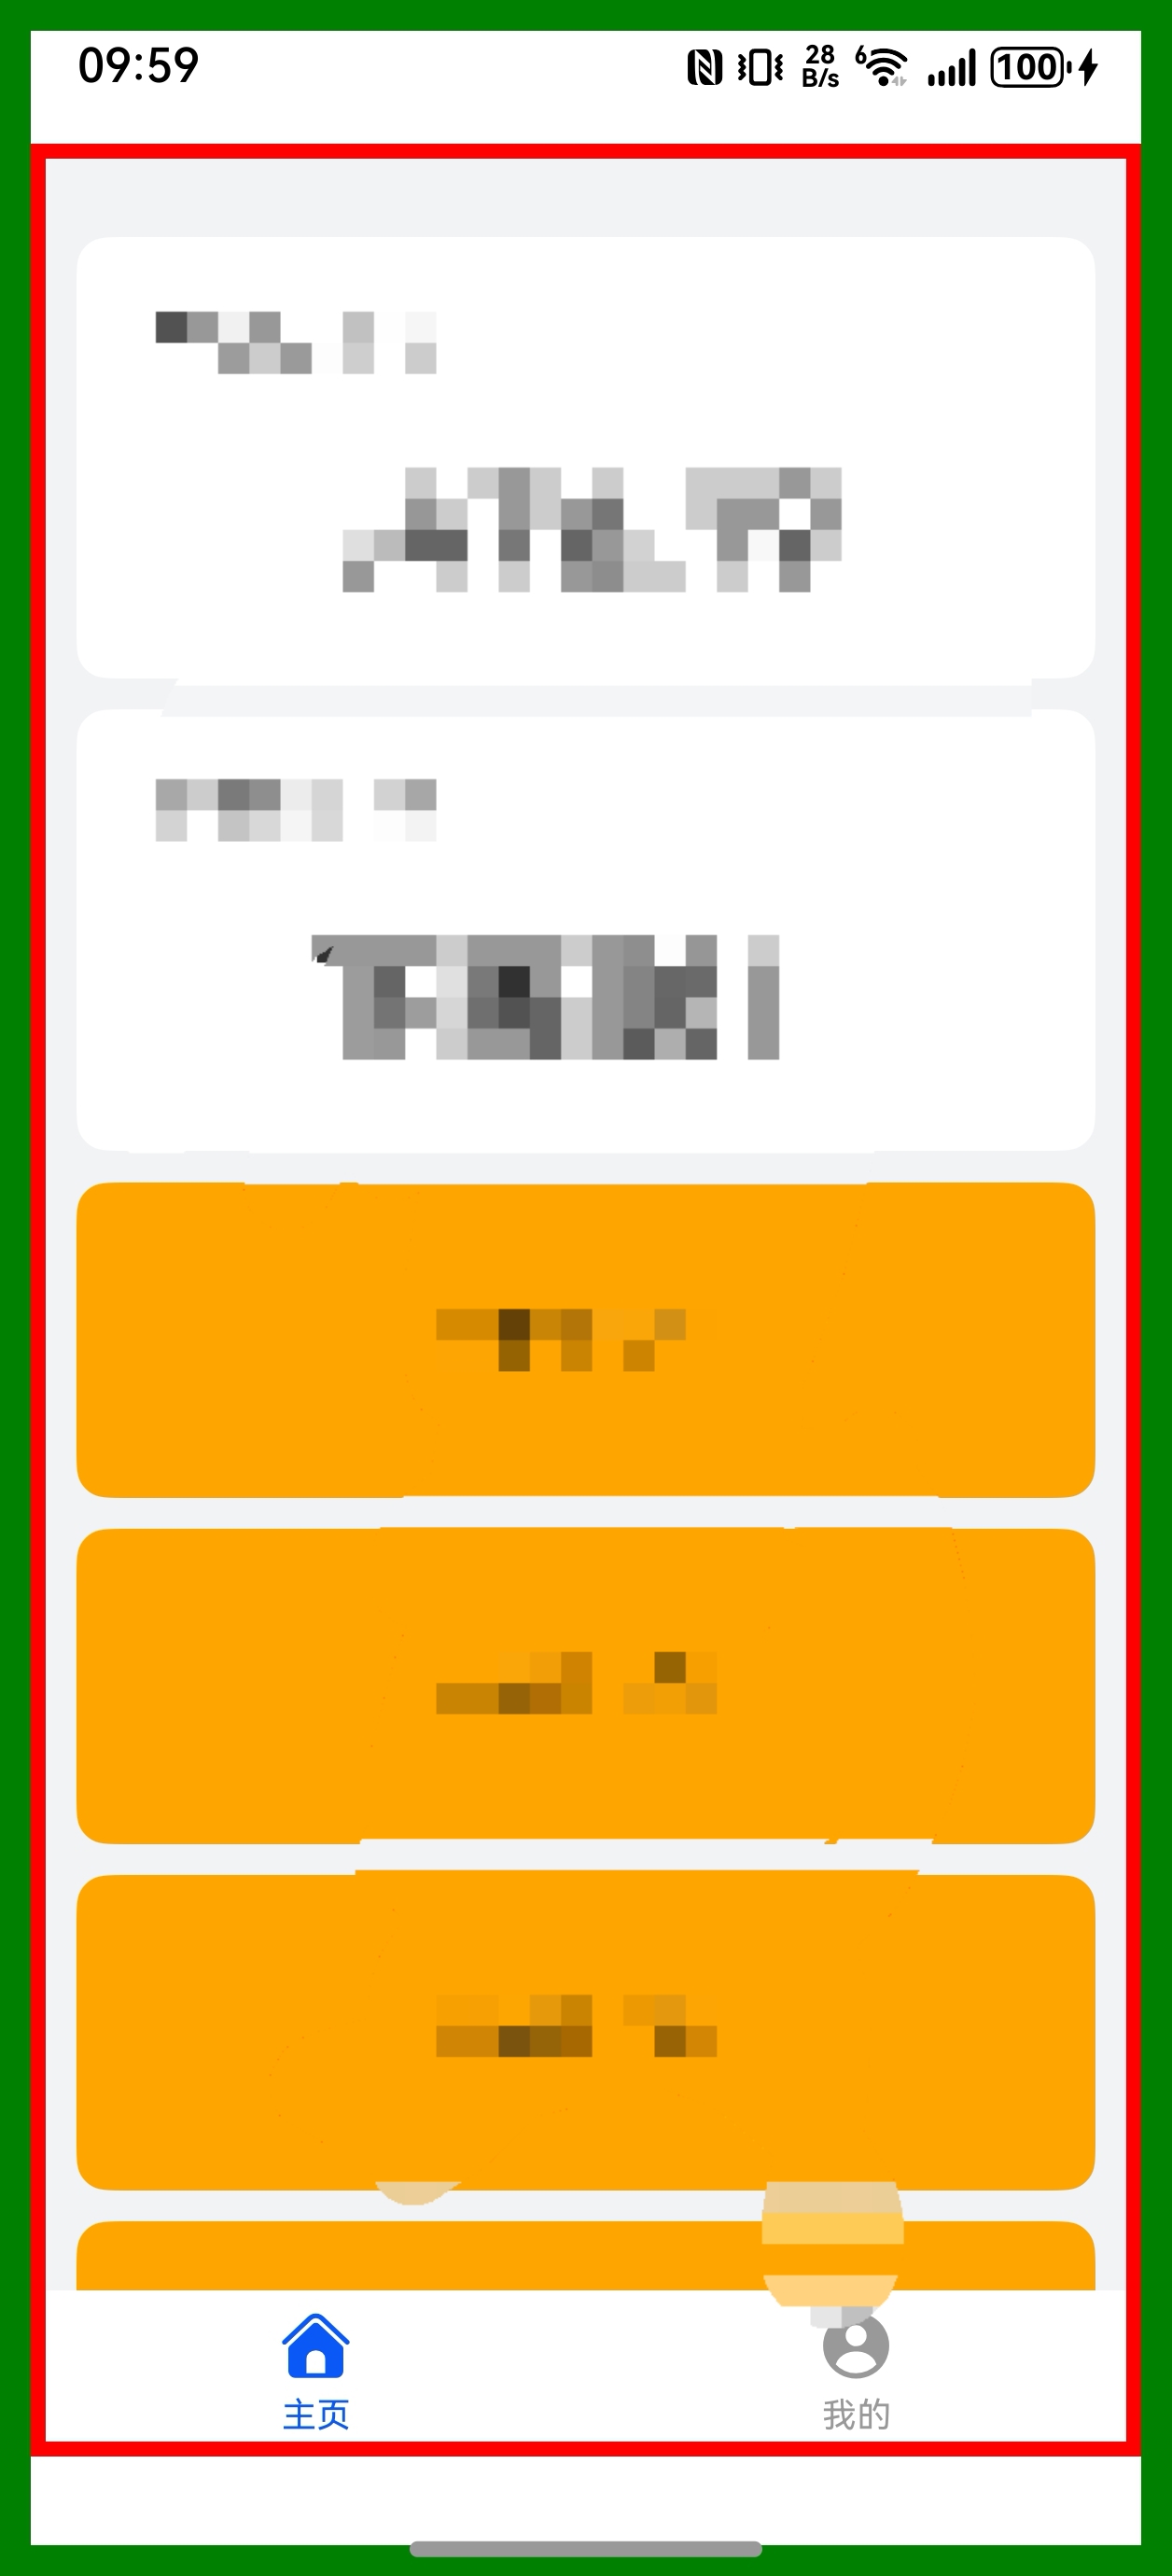
HarmonyOS 鸿蒙Next中Navigation和Tabs如何组合实现沉浸式效果 如图,我的navigation包裹Tabs组件,发现navigation组件是充满屏幕的,而tabs组件则被限制在安全区内。如图(绿色边框是navigation,红色边框是Tabs)。问,如何实现沉浸式效果?
更多关于HarmonyOS 鸿蒙Next中Navigation和Tabs如何组合实现沉浸式效果的实战教程也可以访问 https://www.itying.com/category-93-b0.html

1.楼主使用的navigation是原生的还是封装过后的,我使用的事HMRouter的内部是正常的直接突破顶部
示例代码:
Tabs() {
  TabContent() {
    Column().width('100%').height('100%').backgroundColor(Color.Pink)
  }.tabBar(SubTabBarStyle.of(this.text))

  TabContent() {
    Column().width('100%').height('100%').backgroundColor(Color.Green)
  }.tabBar(SubTabBarStyle.of(this.text))

  TabContent() {
    Column().width('100%').height('100%').backgroundColor(Color.Blue)
  }.tabBar(SubTabBarStyle.of(this.text))
}
.height('100%')
.backgroundColor('#ff6cff37')
.barMode(BarMode.Fixed)

/*     MapComponent({ mapOptions: this.mapOptions, mapCallback: this.callback })
       .width('100%')
       .height('100%')
     Column() {
       Button('').onClick((event: ClickEvent) => {
       })
     }*/
}
.width('100%')
.height('100%')
.alignContent(Alignment.Bottom)
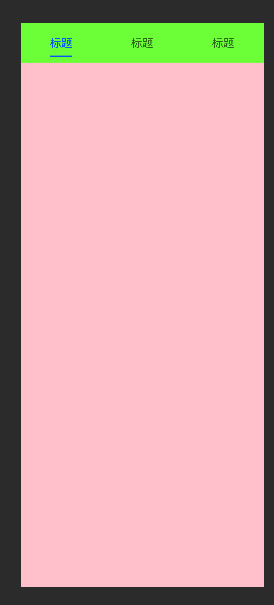
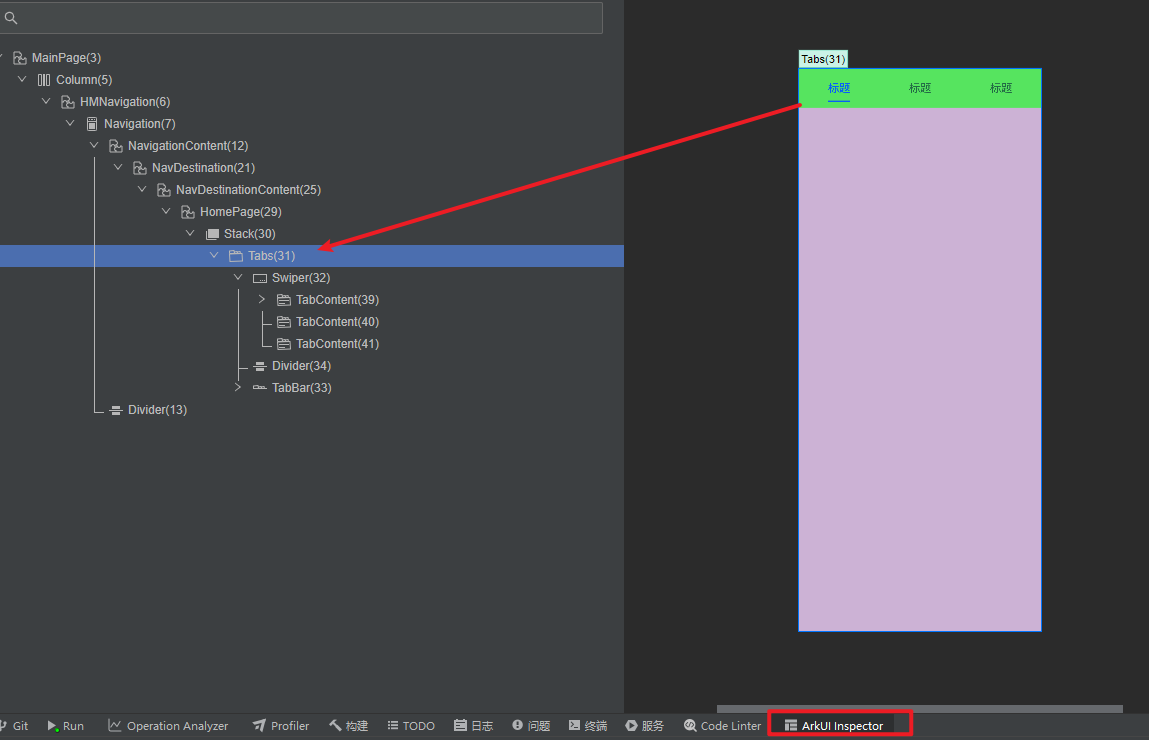
2.排查路径,楼主可以尝试在编译器上排查,使用ArkUI Inspector排查布局问题
更多关于HarmonyOS 鸿蒙Next中Navigation和Tabs如何组合实现沉浸式效果的实战系列教程也可以访问 https://www.itying.com/category-93-b0.html

适合单个页面沉浸式的:通过expandSafeArea属性扩展组件绘制区域至安全区外,同时保持子组件布局在安全区内–
// 在Navigation组件上扩展顶部安全区

Navigation(this.navPathStack) {

  Tabs() {

    // Tab内容...

  }

}

.backgroundColor(Color.White)

.expandSafeArea([SafeAreaType.SYSTEM], [SafeAreaEdge.TOP]) // 延伸至状态栏
适合全局沉浸式的:设置窗口全屏模式突破安全区限制,手动处理避让逻辑。
// 设置窗口全屏

import window from '@kit.WindowKit';

window.getLastWindow(this.context).then(windowClass => {

  windowClass.setWindowLayoutFullScreen(true); // 全屏模式

});

// 获取导航条高度并设置避让

let avoidArea = windowClass.getWindowAvoidArea(AvoidAreaType.TYPE_NAVIGATION_INDICATOR);

let bottomHeight = px2vp(avoidArea.bottomRect.height);

Tabs() {

  // Tab内容...

}

.margin({ bottom: bottomHeight }) // 避让底部导航条

这边有一个文档 你可以先参考参考
沉浸式页面实现-窗口与屏幕管理-应用框架 - 华为HarmonyOS开发者
-
开发步骤
-
方案一:使用expandSafeArea属性扩展背景组件安全区域。
给设置背景色的组件设置expandSafeArea([SafeAreaType.SYSTEM], [SafeAreaEdge.TOP, SafeAreaEdge.BOTTOM]),使背景色延伸到状态栏和导航条。由于expandSafeArea属性不影响子组件的布局,所以Tabs组件内的内容默认在安全区域布局,避让状态栏和导航条。
// features/shopping/src/main/ets/views/Index.ets
Tabs({ barPosition: BarPosition.End }) {
  // ...
}
.backgroundColor('#F1F3F5')
.expandSafeArea([SafeAreaType.SYSTEM], [SafeAreaEdge.TOP, SafeAreaEdge.BOTTOM])
- 方案二:使用Window.setWindowLayoutFullScreen()方法设置窗口全屏模式。
// features/shopping/src/main/ets/views/ShoppingFullScreen.ets
UIContext = this.getUIContext();
uiAbilityContext = this.UIContext.getHostContext() as common.UIAbilityContext;
private windowClass = this.uiAbilityContext.windowStage.getMainWindowSync();
@State avoidArea: AvoidArea = { topRectHeight: 0, bottomRectHeight: 0 };

onShown() {
  this.windowClass.setWindowLayoutFullScreen(true);
  this.setAvoidArea()
  this.windowClass.on('avoidAreaChange', this.onAvoidAreaChange)
}

// ...

setAvoidArea() {
  // status bar area
  const statusBarArea = this.windowClass.getWindowAvoidArea(statusBarType);
  this.avoidArea.topRectHeight = statusBarArea.topRect.height;
  // navigation bar area
  const navBarArea = this.windowClass.getWindowAvoidArea(navBarType);
  this.avoidArea.bottomRectHeight = navBarArea.bottomRect.height;
}

onAvoidAreaChange = (data: window.AvoidAreaOptions) => {
  if (data.type === statusBarType) {
    this.avoidArea.topRectHeight = data.area.topRect.height;
  } else if (data.type === navBarType) {
    this.avoidArea.bottomRectHeight = data.area.bottomRect.height;
  }
}
在HarmonyOS Next中,通过Navigation和Tabs组合实现沉浸式效果,需使用Navigation组件作为根容器管理页面栈,Tabs组件嵌套在Navigation的某个页面内处理底部导航。使用windowClass设置窗口属性,结合preferWindowStyle和windowLayoutFullscreen实现全屏布局。状态栏和导航栏可通过window模块调节透明度和隐藏,确保内容延伸至系统UI区域。具体属性需在UI上下文配置中定义。

在HarmonyOS Next中,要实现Navigation和Tabs组合的沉浸式效果,需要确保Tabs组件能够扩展到整个屏幕,包括安全区之外。可以通过以下方式实现:
- 使用
edgeToEdge属性:在Navigation组件的属性中启用edgeToEdge,使其扩展到屏幕边缘。 - 调整Tabs布局:通过设置Tabs组件的
layoutWidth和layoutHeight为match_parent,并配合padding或margin调整,确保其充满Navigation容器。 - 安全区适配:使用
safeArea属性或fitSystemWindows来管理安全区插入,避免内容被遮挡。
示例代码片段:
Navigation() {
  Tabs() {
    // Tab内容
  }
  .width('100%')
  .height('100%')
}
.edgeToEdge(true)
这样可以使Tabs覆盖整个Navigation区域,实现沉浸式效果。