


HarmonyOS 鸿蒙Next中V2装饰器的示例很少,有完整的项目是使用V2装饰器的么?
HarmonyOS 鸿蒙Next中V2装饰器的示例很少,有完整的项目是使用V2装饰器的么? 如题,目前开发用到的最多和最常用的,都是v1装饰器,v2装饰器几乎没有用过。不过看官方文档说V2装饰器的一些特性会更强,那么具体强在哪里,有没有相关的案例项目给看看呢?

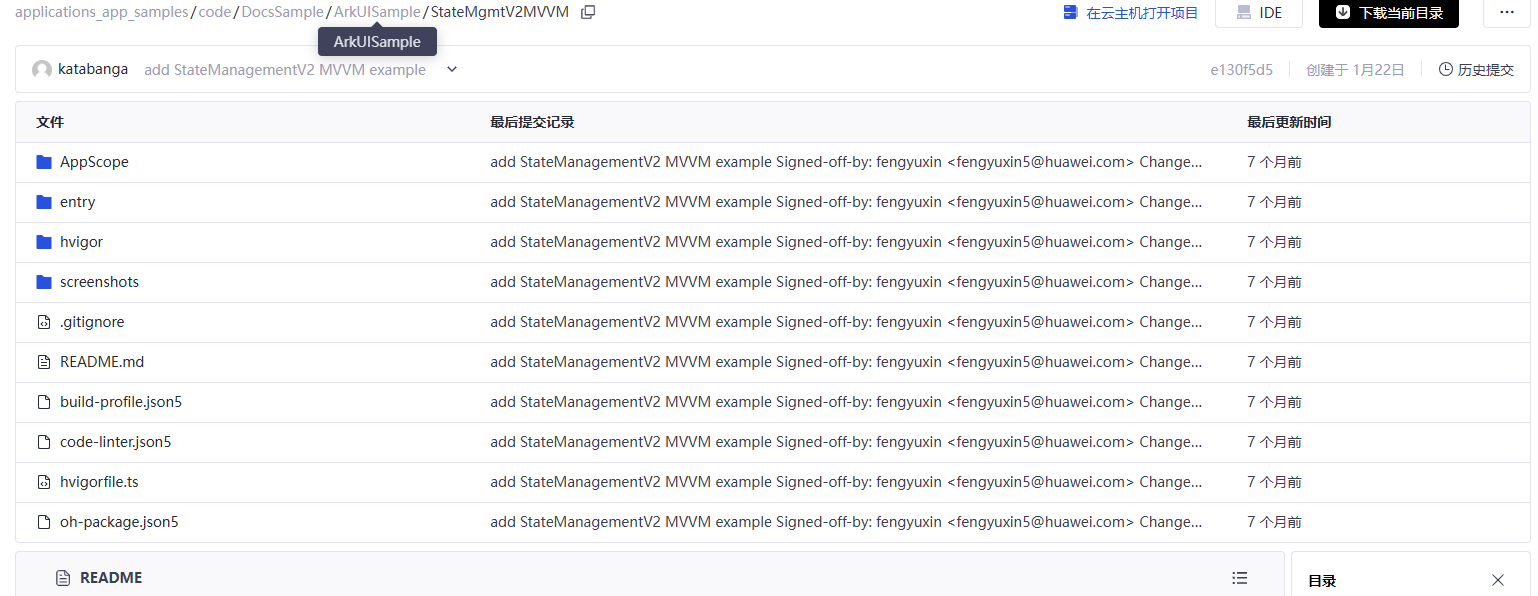
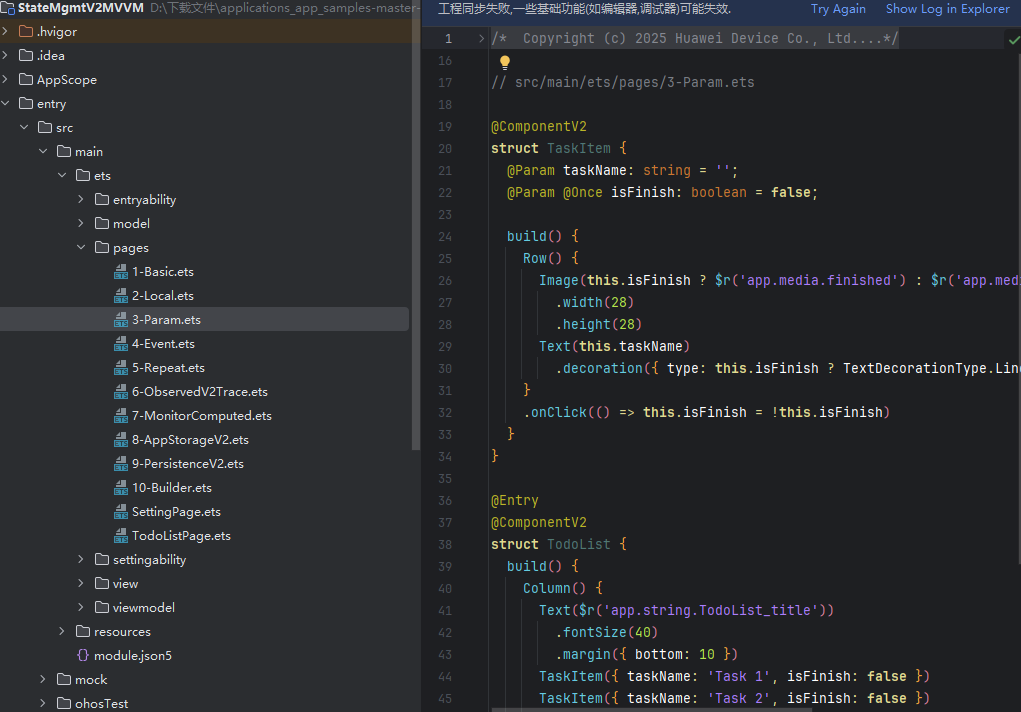
1.楼主想要参考V2的写法可以参考这个仓库,我看了这个仓库里面都是用V2写的
仓库地址:GitCode - 全球开发者的开源社区,开源代码托管平台
2.关于V2装饰器的使用,楼主还可以参考这个文档,自己建立需求进行练习,也可以参考官方V1的示例尝试用V2实现一下,在这过程中遇到问题解决问题,楼主对V2 的掌握以及V1 的区别自然就熟悉了
参考文档:https://developer.huawei.com/consumer/cn/doc/harmonyos-guides/arkts-mvvm-v2#代码示例
V2所属装饰器-状态管理(V2)-学习UI范式状态管理-UI开发 (ArkTS声明式开发范式)-ArkUI(方舟UI框架)-应用框架 - 华为HarmonyOS开发者
更多关于HarmonyOS 鸿蒙Next中V2装饰器的示例很少,有完整的项目是使用V2装饰器的么?的实战系列教程也可以访问 https://www.itying.com/category-93-b0.html


项目代码示例可以参考:MVVM模式(状态管理V2)。
【背景知识】
ArkUI提供了状态管理V1和V2用于应用开发中状态变量的管理。状态管理V1使用代理观察数据,当创建一个状态变量时,同时也创建了一个数据代理观察者。状态管理V2将观察能力增强到数据本身,数据本身就是可观察的,更改数据会触发相应的视图的更新。两种状态管理方式存在部分能力对比以及各自优缺点。
【解决方案】
针对应用开发过程中常见的场景,汇总如下表:
| 场景 | 状态管理选择说明 |
|---|---|
| 深度状态观测 | 为了对嵌套类对象属性直接观测,推荐使用V2。 |
| 计算属性重复计算 | 为了避免重用属性而重复计算导致的性能问题,推荐使用V2。 |
| 状态变量修改监听 | 为了对状态变量具有深度监听的能力,且能获取到变化前的值,推荐使用V2。 |
| 使用animateTo实现动画 | 由于在状态管理V2中使用animateTo可能出现动画效果异常,推荐使用V1。 |
| 使用高级组件 | 由于在低版本API中状态管理V2中未提供部分高级组件,推荐使用V1。 从API version 18开始,系统预置UI组件支持在状态管理V2组件中使用。 |
| 自定义局部页面主题 | 由于在低版本API中状态管理V2中未提供WithTheme组件,推荐使用V1。从API version 18开始,该接口支持在状态管理V2组件中使用。 |
| 自定义组件复用 | 由于在低版本API中状态管理V2中未提供@Reusable装饰器,推荐使用V1。从API version 18开始,该装饰器支持在状态管理V2组件中使用。 |
一、状态管理V2的优势与适用场景
1. 深度状态观测: V2通过@ObservedV2和@Trace装饰器,支持对嵌套类对象属性的直接观测,无需像V1那样依赖@ObjectLink和自定义组件封装。例如,当修改对象的深层属性(如obj.a.b)时,V2能自动触发UI更新,而V1需要手动处理或依赖额外逻辑。
- 场景案例对比:
使用V1监控嵌套类对象属性的变化:
@Observed
class Father {
  son: Son;

  constructor(name: string, age: number) {
    this.son = new Son(name, age);
  }
}

@Observed
class Son {
  name: string;
  age: number;

  constructor(name: string, age: number) {
    this.name = name;
    this.age = age;
  }
}

@Component
struct Child {
  @ObjectLink son: Son;

  build() {
    Row() {
      Column() {
        Text(`name: ${this.son.name} age: ${this.son.age}`)
          .fontSize(50)
          .fontWeight(FontWeight.Bold)
          .onClick(() => {
            this.son.age++;
          })
      }
      .width('100%')
    }
    .height('100%')
  }
}

@Entry
@Component
struct Index {
  [@State](/user/State) father: Father = new Father("John", 8);

  build() {
    Column() {
      Child({ son: this.father.son })
    }
  }
}
使用V2监控嵌套类对象属性的变化:
[@ObservedV2](/user/ObservedV2)
class Son {
  [@Trace](/user/Trace) age: number = 100;
  name: string;

  constructor(name: string, age: number) {
    this.name = name;
    this.age = age;
  }
}

class Father {
  son: Son;

  constructor(name: string, age: number) {
    this.son = new Son(name, age);
  }
}

@Entry
[@ComponentV2](/user/ComponentV2)
struct Index {
  father: Father = new Father("John", 8);

  build() {
    Row() {
      Column() {
        Text(`name: ${this.father.son.name} age: ${this.father.son.age}`)
          .fontSize(50)
          .fontWeight(FontWeight.Bold)
          .onClick(() => {
            this.father.son.age++;
          })
      }
      .width('100%')
    }
    .height('100%')
  }
}
总结: 通过V1这种方式虽然能够实现对嵌套类中属性变化的观测,但是当嵌套层级较深时,代码将会变得十分复杂,易用性差。采用V2的话,使用@ObservedV2装饰的嵌套类中被@Trace装饰的属性具有被观测变化的能力,当该属性值变化时,会触发该属性绑定的UI组件刷新,代码较简洁。
2. 属性重复计算优化: V2通过@Computed计算属性在被计算的值变化的时候,只会计算一次,解决V1中多次重用该属性从而重复计算导致的性能问题。
- 场景案例对比:
使用V1重用属性导致重复计算:
@Entry
@Component
struct Index {
  [@State](/user/State) firstName: string = 'Li';
  [@State](/user/State) lastName: string = 'Hua';

  build() {
    Column() {
      Text(this.firstName + ' ' + this.lastName)
      Text(this.firstName + ' ' + this.lastName)
      Button('changed lastName').onClick(() => {
        this.lastName += 'a';
      })
    }
  }
}
使用V2计算属性解决重复计算:
@Entry
[@ComponentV2](/user/ComponentV2)
struct Index {
  [@Local](/user/Local) firstName: string = 'Li';
  [@Local](/user/Local) lastName: string = 'Hua';

  [@Computed](/user/Computed)
  get fullName() {
    console.info('---------Computed----------');
    return this.firstName + ' ' + this.lastName;
  }

  build() {
    Column() {
      Text(this.fullName)
      Text(this.fullName)
      Button('changed lastName').onClick(() => {
        this.lastName += 'a';
      })
    }
  }
}
总结: 通过V1这种方式,对于前两个Text组件,this.lastName + ’ '+ this.firstName这段逻辑被求解了两次。如果UI中有多处重复计算,会产生较大的性能开销。采用V2的话,this.fullName被绑定在两个Text组件上,计算只发生了一次,解决UI多次重用该属性从而重复计算导致的性能问题。
3. 全面的状态变量修改监听: V2引入的@Monitor状态变量修改监听装饰器,使得状态变量具有深度监听的能力。现有状态管理V1版本无法实现对对象、数组中某一单个属性或数组项变化的监听,且无法获取变化前的值。而V2中@Monitor可以监听深层属性的变化,并能够根据更改前后的值处理。
- 场景案例对比:
- 使用V1中@Watch监听状态变量修改:
@Observed
class Info {
  name: string = "Tom";
  age: number = 25;
}

@Entry
@Component
struct Index {
  [@State](/user/State) [@Watch](/user/Watch)('onInfoChange') info: Info = new Info();

  onInfoChange() {
    console.log(`info after change name: ${this.info.name}, age: ${this.info.age} `);
  }

  build() {
    Row() {
      Column() {
        Button("change info name")
          .onClick(() => {
            this.info.name = "Jack";
          })
        Button("change info age")
          .onClick(() => {
            this.info.age = 30;
          })
      }
      .width('100%')
    }
    .height('100%')
  }
}
- 使用V2中@Monitor监听状态变量修改:
[@ObservedV2](/user/ObservedV2)
class Info {
  [@Trace](/user/Trace) name: string = "Tom";
  [@Trace](/user/Trace) age: number = 25;

  [@Monitor](/user/Monitor)("name")
  onNameChange(monitor: IMonitor) {
    console.log(`name change from ${monitor.value()?.before} to ${monitor.value()?.now}`);
  }

  [@Monitor](/user/Monitor)("age")
  onAgeChange(monitor: IMonitor) {
    console.log(`age change from ${monitor.value()?.before} to ${monitor.value()?.now}`);
  }

  constructor(name: string, age: number) {
    this.name = name;
    this.age = age;
  }
}

@Entry
[@ComponentV2](/user/ComponentV2)
struct Index {
  [@Local](/user/Local) info: Info = new Info("Tom", 25);

  build() {
    Row() {
      Column() {
        Button("change info name")
          .onClick(() => {
            this.info.name = "Jack";
          })
        Button("change info age")
          .onClick(() => {
            this.info.age = 30;
          })
      }
      .width('100%')
    }
    .height('100%')
  }
}
总结: 通过V1这种方式,更改info中的name或age属性时,均会触发info注册的@Watch回调。在这个回调中,由于无法获取数据更改前的值,在业务逻辑更加复杂的场景下,无法准确知道是哪一个属性或元素发生了变化而触发了@Watch事件,这不便于开发者对变量的更改进行准确监听。而对于通过V2的实现方式,准确监听了对象中每个属性的变化及其变化前后的值。
4. 更灵活的装饰器设计: V2提出使用@Local替代@State,明确区分组件内部状态(不可由外部初始化)。采用@Param表示组件从外部传入的状态,使得父子组件之间的数据能够进行同步,统一了V1中@Prop、@Link等复杂的传参逻辑。为了实现子组件向父组件要求更新@Param装饰变量的能力,V2还提出了@Event装饰器。
- 场景案例对比:
- 使用V1在父子组件之间同步数据:
@Entry
@Component
struct Index {
  [@State](/user/State) title: string = "Title One";
  [@State](/user/State) fontColor: Color = Color.Red;

  build() {
    Column() {
      Child({
        title: this.title,
        fontColor: this.fontColor
      })
    }
  }
}

@Component
struct Child {
  [@Link](/user/Link) title: string;
  [@Prop](/user/Prop) fontColor: Color = Color.Black;

  build() {
    Column() {
      Text(`${this.title}`)
        .fontColor(this.fontColor)
      Button("change to Title Two")
        .onClick(() => {
          this.changeFactory(2);
        })
      Button("change to Title One")
        .onClick(() => {
          this.changeFactory(1);
        })
    }
  }

  changeFactory(type: number) {
    if (type == 1) {
      this.title = "Title One";
    } else if (type == 2) {
      this.title = "Title Two";
    }
  }
}
- 使用V2在父子组件之间同步数据:
@Entry
[@ComponentV2](/user/ComponentV2)
struct Index {
  [@Local](/user/Local) title: string = "Title One";
  [@Local](/user/Local) fontColor: Color = Color.Red;

  build() {
    Column() {
      Child({
        title: this.title,
        fontColor: this.fontColor,
        changeFactory: (type: number) => {
          if (type == 1) {
            this.title = "Title One";
          } else if (type == 2) {
            this.title = "Title Two";
          }
        }
      })
    }
  }
}

[@ComponentV2](/user/ComponentV2)
struct Child {
  [@Param](/user/Param) title: string = '';
  [@Param](/user/Param) fontColor: Color = Color.Black;
  [@Event](/user/Event) changeFactory: (x: number) => void = (x: number) => {
  };

  build() {
    Column() {
      Text(`${this.title}`)
        .fontColor(this.fontColor)
      Button("change to Title Two")
        .onClick(() => {
          this.changeFactory(2);
        })
      Button("change to Title One")
        .onClick(() => {
          this.changeFactory(1);
        })
    }
  }
}
总结: V1通过@Link实现了父子组件双向数据绑定,子组件可以直接修改父组件的状态,无需额外的事件处理,但可能会导致状态流向不清晰,尤其是在复杂组件中,维护成本较高。而V2使用@Param用于单向数据传递,子组件无法直接修改父组件的状态。为了实现父子组件双向同步的能力,通过事件驱动的方式实现,状态流向更加明确,代码结构更加清晰,维护成本较低。
二、状态管理V2的局限性及注意事项
1. 部分场景不支持animateTo动画: 在状态管理V2中使用animateTo可能出现动画效果异常。场景案例如下:
@Entry
[@ComponentV2](/user/ComponentV2)
struct Index {
  [@Local](/user/Local) w: number = 50; // 宽度
  [@Local](/user/Local) h: number = 50; // 高度
  [@Local](/user/Local) message: string = 'Hello';

  build() {
    Column() {
      Button('change size')
        .margin(20)
        .onClick(() => {
          // 在执行动画前,存在额外的修改
          this.w = 100;
          this.h = 100;
          this.message = 'Hello World';
          animateTo({
            duration: 1000
          }, () => {
            this.w = 200;
            this.h = 200;
            this.message = 'Hello ArkUI';
          })
        })
      Column() {
        Text(`${this.message}`)
      }
      .backgroundColor('#ff17a98d')
      .width(this.w)
      .height(this.h)
    }
  }
}
上面的代码中,由于当前animateTo与V2在刷新机制上暂不兼容,在执行动画前额外的修改并不会生效,因此实际显示的动画为绿色矩形从长宽50变化成200,字符串从Hello变化成Hello ArkUI。
2. 在低版本API中高级组件缺失: V2版本的部分高级功能在低版本API中未提供,仍在持续优化。例如:DownloadFileButton、ProgressButton、SegmentButton。从API version 18开始,系统预置UI组件支持在状态管理V2组件中使用。
3. 在低版本API中无法自定义局部页面主题: V2版本在低版本API未提供WithTheme组件,因此无法设置应用局部页面自定义主题风格。从API version 18开始,该接口支持在状态管理V2组件中使用。
4. 在低版本API中组件复用能力受限: V2版本在低版本API未提供@Reusable装饰器,无法复用自定义组件。因此,如果大量自定义组件从组件树上被移除,组件和其对应的JSView对象无法被放入复用缓存中,后续创建新自定义组件节点时,会消耗大量组件重新创建的时间。从API version 18开始,可以使用@ReusableV2装饰@ComponentV2装饰的自定义组件。


V2状态管理优势
深度状态观测能力:V2通过@ObservedV2和@Trace装饰器,直接支持嵌套类属性的自动观测。比如修改obj.a.b这类深层属性时,不用手动拆解对象(V1需依赖@ObjectLink),UI会自动更新
属性重复计算优化:V2的@Computed装饰器通过缓存计算结果,避免多次重复计算。比如当某一属性被多处UI绑定时,V1会导致重复计算,而V2仅计算一次
全面的状态监听能力:V2引入@Monitor装饰器,支持监听状态变量(包括深层属性)变化前后的值,而V1的@Watch仅能监听变量本身的变化
V2装饰器案例:下面这个是官方迁移指南中的代码示例
嵌套对象观测:
// 直接观测深层属性

@ObservedV2

class User {

  @Trace name: string;

  @Trace address: { city: string };

}

@ComponentV2

struct UserProfile {

  @Local user: User = new User();

  build() {

    Text(this.user.address.city) // 修改city自动触发UI更新

  }

}
计算属性优化:
// 避免重复计算

@ComponentV2

struct Profile {

  @Local firstName: string = '张';

  @Local lastName: string = '三';

  [@Computed](/user/Computed)

  get fullName(): string {

    return this.lastName + this.firstName;

  }

  build() {

    Column() {

      Text(this.fullName) // 计算一次,多处复用

      Text(this.fullName)

    }

  }

}


