


HarmonyOS 鸿蒙Next中使用@State/@Prop实现父子组件状态传递
HarmonyOS 鸿蒙Next中使用@State/@Prop实现父子组件状态传递
如何使用@State/@Prop实现父子组件状态传递?
在ArkUI开发中,父子组件间的状态传递是构建复杂应用的基础。[@State](/user/State)和[@Prop](/user/Prop)装饰器是实现这一功能的核心工具,它们分别用于管理组件内部状态和接收父组件传递的状态。
1. @State装饰器
[@State](/user/State)装饰的变量是组件内部的状态数据,当状态改变时,会触发所在组件的UI刷新。
基本用法:
[@State](/user/State) count: number = 0
特点:
- 支持多种类型:number、string、boolean、class、Array等
- 状态变化会自动更新UI
- 只能在当前组件内部修改
2. @Prop装饰器
[@Prop](/user/Prop)装饰的变量用于接收父组件传递的状态,建立单向数据绑定。
基本用法:
[@Prop](/user/Prop) count: number
特点:
3. 父子组件状态传递示例
父组件(ParentComponent)
@Component
struct ParentComponent {
    [@State](/user/State) parentCount: number = 0

    build() {
        Column() {
            Text(`父组件计数: ${this.parentCount}`)
                .fontSize(20)

            Button('增加计数')
                .onClick(() => {
                    this.parentCount++
                })

            // 传递状态给子组件
            ChildComponent({ childCount: this.parentCount })
        }
    }
}
子组件(ChildComponent)
@Component
struct ChildComponent {
    [@Prop](/user/Prop) childCount: number

    build() {
        Column() {
            Text(`子组件接收的计数: ${this.childCount}`)
                .fontSize(18)
                .margin(10)

            Button('子组件修改')
                .onClick(() => {
                    // 这里修改不会影响父组件的parentCount
                    this.childCount += 10
                })
        }
    }
}
4. 使用场景对比
| 装饰器 | 数据流向 | 可修改性 | 更新机制 |
|---|---|---|---|
| @State | 组件内部 | 组件内部可修改 | 自动UI刷新 |
| @Prop | 父→子 | 子组件可修改(不影响父) | 父更新时自动同步 |
5. 最佳实践
6. 常见问题
Q: @Prop修改后为什么父组件状态不变? A: @Prop建立的是单向数据绑定,子组件的修改不会同步回父组件。如果需要双向绑定,应使用@Link装饰器。
Q: 什么时候使用@State,什么时候使用@Prop? A: 如果状态只在当前组件使用,用@State;如果需要从父组件接收状态,用@Prop。
更多关于HarmonyOS 鸿蒙Next中使用@State/@Prop实现父子组件状态传递的实战教程也可以访问 https://www.itying.com/category-93-b0.html

更多关于HarmonyOS 鸿蒙Next中使用@State/@Prop实现父子组件状态传递的实战系列教程也可以访问 https://www.itying.com/category-93-b0.html

代码实现思路:
因为HarmonyOS 5 的状态管理遵循单向数据流原则,所以父组件通过 @State 定义可变状态;子组件通过 @Prop 只读接收父状态;因此当我们对父组件修改 @State 时,系统会自动触发子组件重建。
实现步骤:
父组件定义 [@State](/user/State) 状态
[@State](/user/State) count: number = 0; // 父组件自身状态
子组件通过 [@Prop](/user/Prop) 接收状态
@Component
struct CounterDisplay {
  [@Prop](/user/Prop) count: number;

  build() {
    Text(`当前值: ${this.count}`)
      .fontSize(20)
  }
}
父组件传递状态并更新
Column() {
  CounterDisplay({ count: this.count }) // 传递状态

  Button('+1')
    .onClick(() => {
      this.count++;
    })
}
完整示例代码
@Entry
@Component
struct ParentComponent {
  [@State](/user/State) count: number = 0;

  build() {
    Column({ space: 20 }) {
      Text('[@State](/user/State)/[@Prop](/user/Prop) 状态传递')
        .fontSize(18)
        .fontWeight(FontWeight.Bold)

      // 传递状态给子组件
      CounterDisplay({ count: this.count })

      Button('增加计数')
        .onClick(() => {
          this.count++; //  仅父组件修改状态
        })
    }
    .padding(30)
    .width('100%')
    .height('100%')
  }
}

// 子组件
@Component
struct CounterDisplay {
  [@Prop](/user/Prop) count: number;

  build() {
    Text(`当前值: ${this.count}`)
      .fontSize(20)
      .fontColor(Color.Blue)
      .padding(10)
      .backgroundColor('#E6F7FF')
      .borderRadius(8)
  }
}
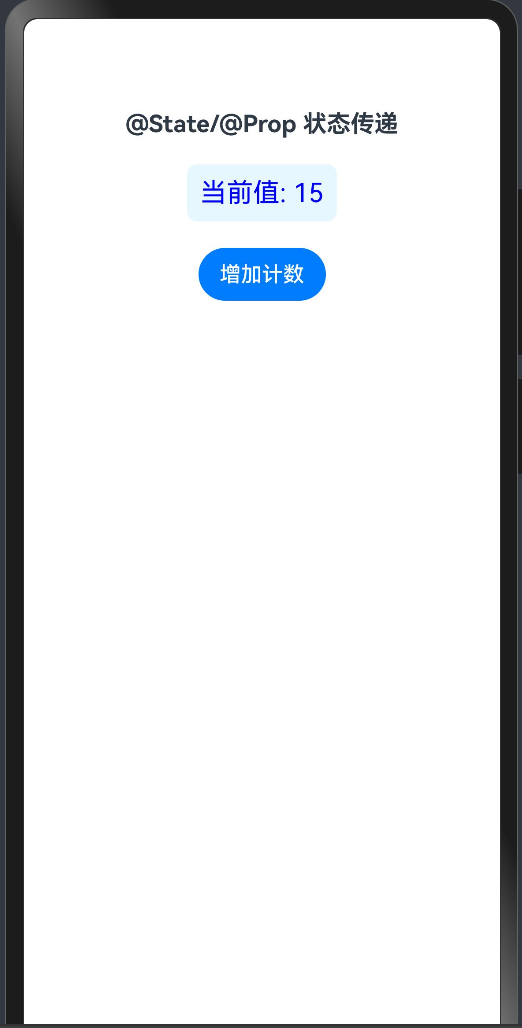
实现效果图:


在HarmonyOS Next中,[@State](/user/State)和[@Prop](/user/Prop)是ArkUI框架实现父子组件状态传递的核心装饰器。
核心机制:
- @State:用于组件内部管理的私有状态。当状态变化时,会触发所在组件的UI更新。
- @Prop:用于接收来自父组件的状态,建立单向数据绑定。当父组件中对应的
[@State](/user/State)变化时,[@Prop](/user/Prop)会自动同步更新并触发子组件UI渲染。
基本使用模式:
- 父组件:使用
[@State](/user/State)声明状态变量。 - 子组件:使用
[@Prop](/user/Prop)声明同名(或通过参数名映射)变量来接收该状态。 - 传递方式:父组件在调用子组件时,通过属性绑定的方式将
[@State](/user/State)变量传递给子组件的[@Prop](/user/Prop)变量。
示例代码:
// 子组件
@Component
struct ChildComponent {
  [@Prop](/user/Prop) message: string // 接收父组件传递的状态

  build() {
    Text(this.message)
  }
}

// 父组件
@Entry
@Component
struct ParentComponent {
  [@State](/user/State) parentMessage: string = 'Hello from Parent' // 父组件自有状态

  build() {
    Column() {
      // 将父组件的[@State](/user/State)变量传递给子组件的[@Prop](/user/Prop)变量
      ChildComponent({ message: this.parentMessage })
      Button('Update')
        .onClick(() => {
          this.parentMessage = 'Updated message' // 修改父组件状态
        })
    }
  }
}
关键特性:
- 单向数据流:数据只能从父组件通过
[@Prop](/user/Prop)流向子组件,子组件不能直接修改[@Prop](/user/Prop)值。 - 自动同步:父组件
[@State](/user/State)变化会自动同步到子组件[@Prop](/user/Prop)。 - 局部更新:只有状态变化的组件及其子组件会触发UI更新,性能高效。
注意事项:
[@Prop](/user/Prop)变量在子组件内部是只读的,尝试直接赋值会导致编译错误。- 如果需要子组件向父组件通信,应使用
@Link装饰器或事件回调机制。 - 对于复杂对象,
[@Prop](/user/Prop)进行的是深拷贝,子组件修改对象属性不会影响父组件源数据。
这种设计确保了数据流的可预测性和组件的可复用性,符合现代UI框架的最佳实践。