


HarmonyOS鸿蒙Next中ArkWeb怎么接入华为一键登录的半模态弹窗?
HarmonyOS鸿蒙Next中ArkWeb怎么接入华为一键登录的半模态弹窗?
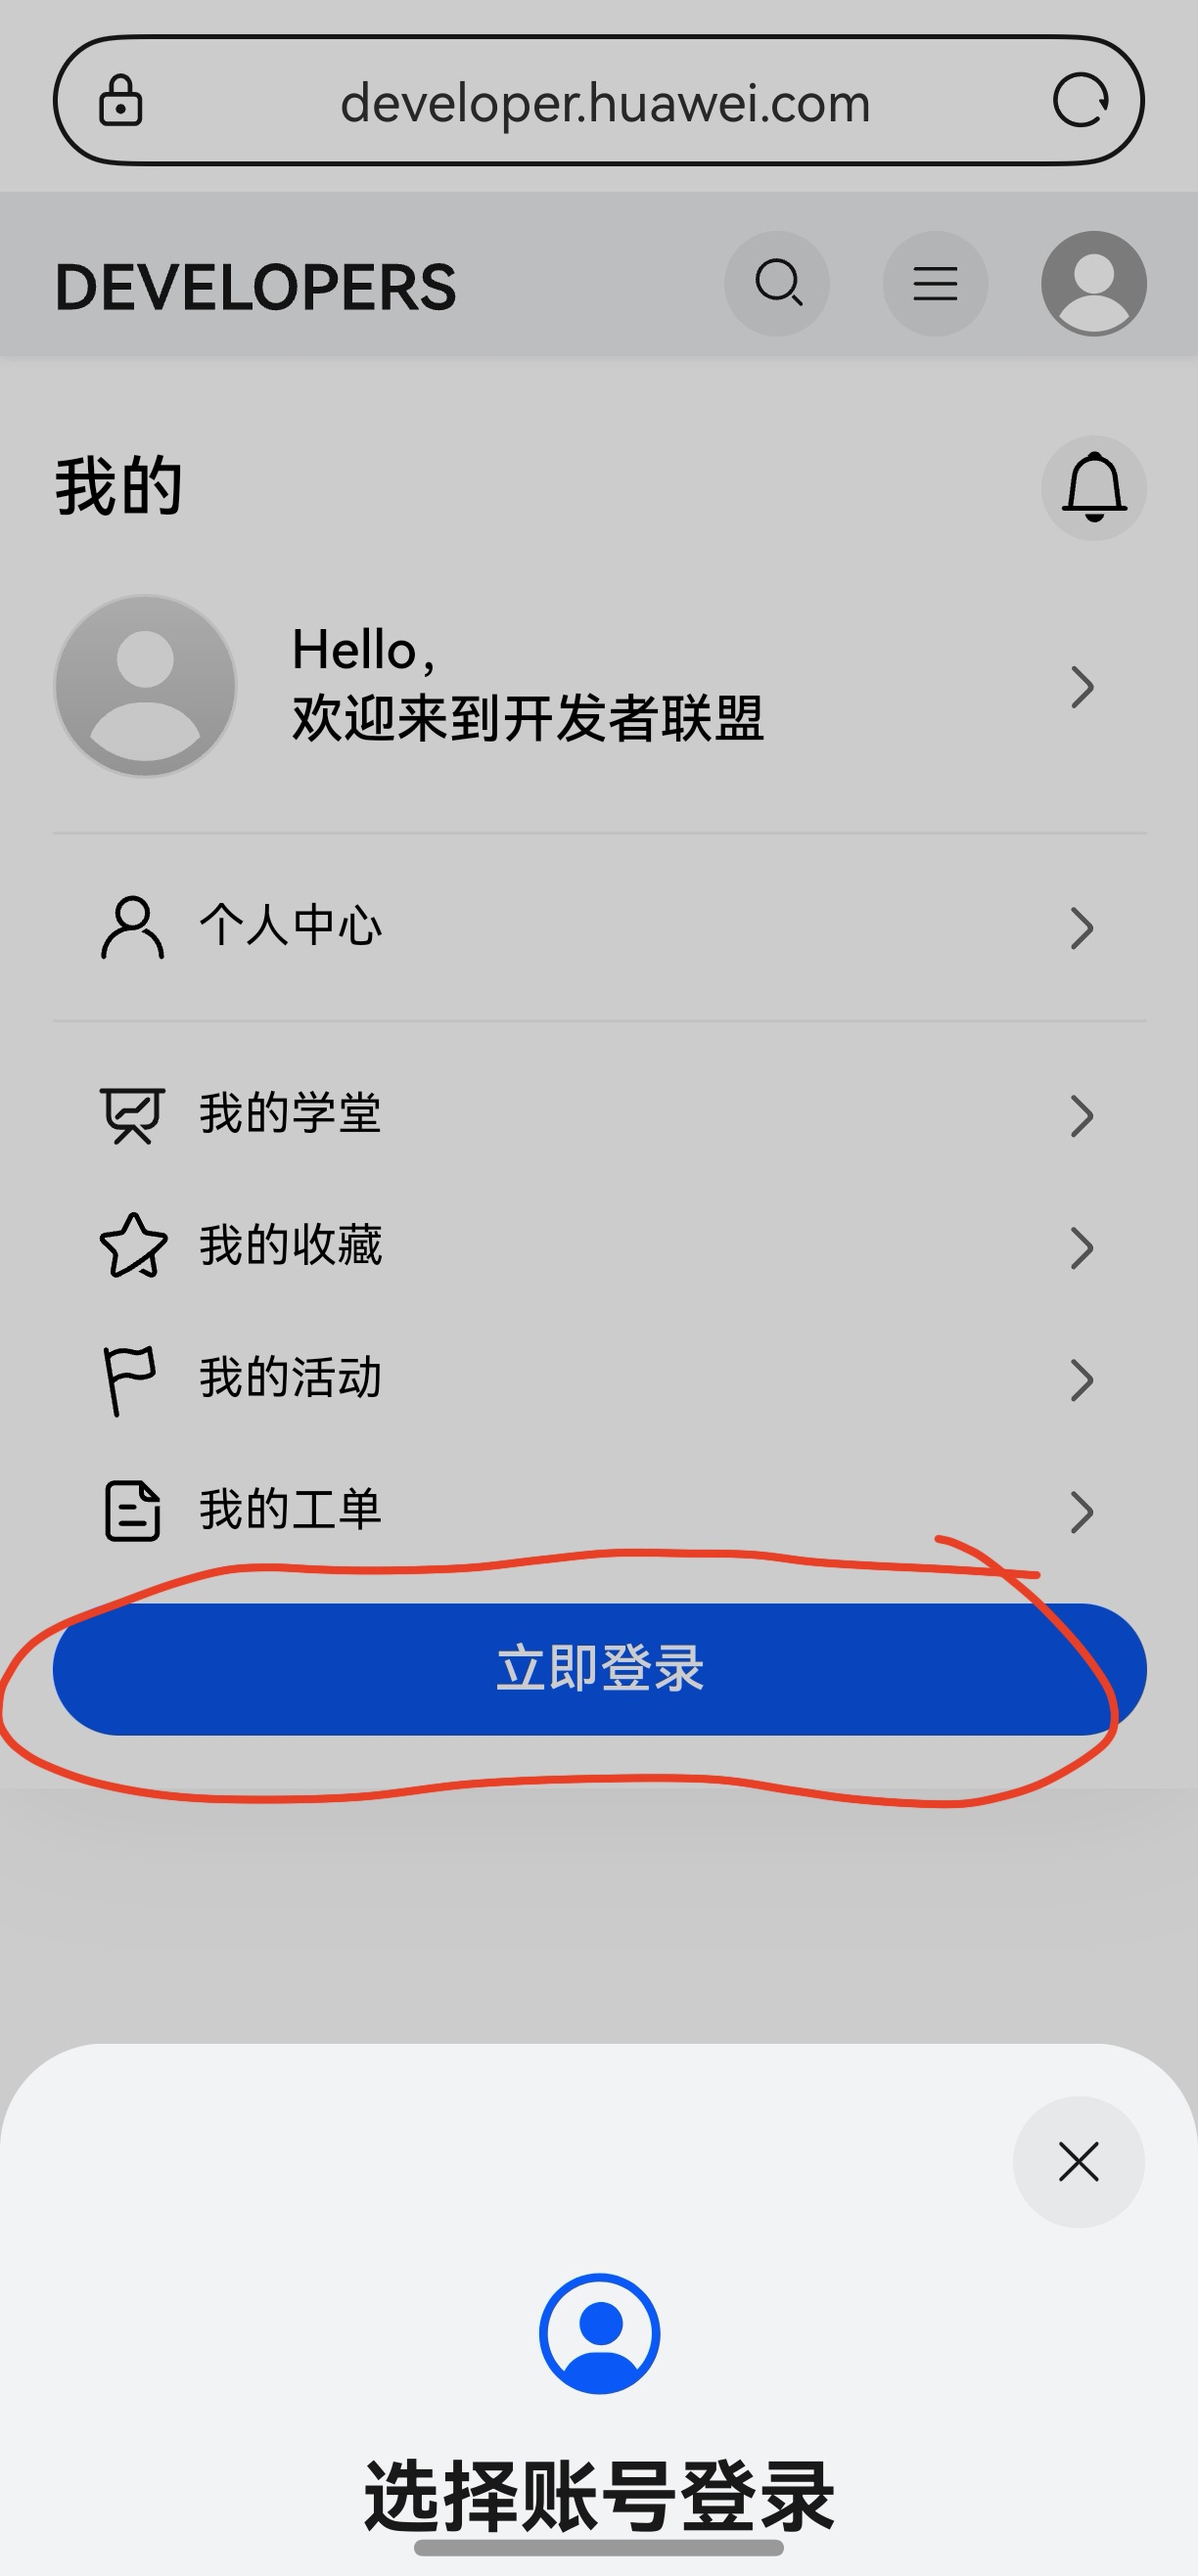
目前开发者社区在华为浏览器里,能直接拉起账号登录,这是怎么实现的?

更多关于HarmonyOS鸿蒙Next中ArkWeb怎么接入华为一键登录的半模态弹窗?的实战教程也可以访问 https://www.itying.com/category-93-b0.html

说简单点就是基于ArkWeb的同层渲染功能:
1、渲染H5页面依赖的是ArkWeb能力。
2、将一键登录Button直接渲染到H5页面,依赖的ArkWeb同层渲染。
3、应用侧(arkTs)与前端页面(H5)的数据交互请参考建立应用侧与前端页面数据通道。
这里有个demo项目,可以帮到你:https://gitcode.com/HarmonyOS_Samples/accountkit-samplecode-clientdemo-h5

更多关于HarmonyOS鸿蒙Next中ArkWeb怎么接入华为一键登录的半模态弹窗?的实战系列教程也可以访问 https://www.itying.com/category-93-b0.html


如何实现一个优雅的倒计时组件
1. 设计思路
倒计时组件需要实现以下核心功能:
- 支持设置目标时间
- 实时显示剩余时间
- 时间格式化显示
- 倒计时结束回调
2. 代码实现
2.1 HTML结构
<div class="countdown-container">
  <div class="countdown-display">
    <div class="time-unit">
      <span class="time-value" id="days">00</span>
      <span class="time-label">天</span>
    </div>
    <div class="time-unit">
      <span class="time-value" id="hours">00</span>
      <span class="time-label">时</span>
    </div>
    <div class="time-unit">
      <span class="time-value" id="minutes">00</span>
      <span class="time-label">分</span>
    </div>
    <div class="time-unit">
      <span class="time-value" id="seconds">00</span>
      <span class="time-label">秒</span>
    </div>
  </div>
</div>
2.2 CSS样式
.countdown-container {
  display: flex;
  justify-content: center;
  align-items: center;
  padding: 20px;
}

.countdown-display {
  display: flex;
  gap: 15px;
}

.time-unit {
  display: flex;
  flex-direction: column;
  align-items: center;
  background: #f5f5f5;
  padding: 10px 15px;
  border-radius: 8px;
  min-width: 60px;
}

.time-value {
  font-size: 2rem;
  font-weight: bold;
  color: #333;
}

.time-label {
  font-size: 0.9rem;
  color: #666;
  margin-top: 5px;
}
2.3 JavaScript逻辑
class Countdown {
  constructor(targetDate, onComplete) {
    this.targetDate = new Date(targetDate).getTime();
    this.onComplete = onComplete;
    this.timer = null;
    this.isRunning = false;
  }

  start() {
    if (this.isRunning) return;

    this.isRunning = true;
    this.updateCountdown();
    this.timer = setInterval(() => this.updateCountdown(), 1000);
  }

  stop() {
    this.isRunning = false;
    if (this.timer) {
      clearInterval(this.timer);
      this.timer = null;
    }
  }

  updateCountdown() {
    const now = new Date().getTime();
    const distance = this.targetDate - now;

    if (distance < 0) {
      this.stop();
      if (this.onComplete) this.onComplete();
      return;
    }

    const days = Math.floor(distance / (1000 * 60 * 60 * 24));
    const hours = Math.floor((distance % (1000 * 60 * 60 * 24)) / (1000 * 60 * 60));
    const minutes = Math.floor((distance % (1000 * 60 * 60)) / (1000 * 60));
    const seconds = Math.floor((distance % (1000 * 60)) / 1000);

    this.updateDisplay(days, hours, minutes, seconds);
  }

  updateDisplay(days, hours, minutes, seconds) {
    const pad = (num) => num.toString().padStart(2, '0');

    document.getElementById('days').textContent = pad(days);
    document.getElementById('hours').textContent = pad(hours);
    document.getElementById('minutes').textContent = pad(minutes);
    document.getElementById('seconds').textContent = pad(seconds);
  }
}

// 使用示例
const countdown = new Countdown('2024-12-31T23:59:59', () => {
  console.log('倒计时结束!');
});

countdown.start();
3. 功能扩展
3.1 添加暂停/继续功能
class EnhancedCountdown extends Countdown {
  constructor(targetDate, onComplete) {
    super(targetDate, onComplete);
    this.remainingTime = 0;
    this.isPaused = false;
  }

  pause() {
    if (!this.isRunning || this.isPaused) return;

    this.isPaused = true;
    clearInterval(this.timer);
    this.remainingTime = this.targetDate - new Date().getTime();
  }

  resume() {
    if (!this.isPaused) return;

    this.isPaused = false;
    this.targetDate = new Date().getTime() + this.remainingTime;
    this.timer = setInterval(() => this.updateCountdown(), 1000);
  }
}
3.2 添加自定义格式化
class CustomCountdown extends Countdown {
  formatTime(days, hours, minutes, seconds) {
    if (days > 0) {
      return `${days}天 ${hours}小时 ${minutes}分钟 ${seconds}秒`;
    } else if (hours > 0) {
      return `${hours}小时 ${minutes}分钟 ${seconds}秒`;
    } else {
      return `${minutes}分钟 ${seconds}秒`;
    }
  }
}
4. 注意事项
- 时区处理:目标时间需要考虑时区差异
- 性能优化:避免频繁的DOM操作
- 内存管理:及时清理定时器
- 错误处理:验证输入的时间格式
5. 浏览器兼容性
- 支持所有现代浏览器
- IE10+需要polyfill
- 移动端兼容良好
6. 总结
通过以上实现,我们创建了一个功能完整、样式优雅的倒计时组件。该组件具有以下特点:
- 模块化设计,易于维护
- 支持扩展和自定义
- 良好的用户体验
- 完善的错误处理
可以根据具体需求进一步扩展功能,如添加动画效果、支持多种时间格式等。

在HarmonyOS Next中,ArkWeb接入华为一键登录半模态弹窗需使用@ohos.web.webview与@ohos.account.appAccount能力。通过Web组件JavaScript桥接,调用appAccount模块的createAuthIntent接口创建认证意图,并利用startAbility以半模态形式启动。需在module.json5中声明ohos.permission.APP_ACCOUNT_MANAGER权限。
在HarmonyOS Next中,ArkWeb组件可以通过WebMessagePort与H5页面进行双向通信,从而实现调用华为账号服务(Account Kit)的一键登录半模态弹窗。具体实现步骤如下:
-
配置Account Kit:在App的
module.json5中声明ohos.permission.ACCOUNT_MANAGER权限,并确保已正确集成Account Kit SDK。 -
ArkWeb与H5建立通信:
- 在ArkTS侧,通过
WebMessagePort创建通信端口。 - 使用
registerJavaScriptProxy或postMessage将端口传递给H5页面,建立双向通信通道。
- 在ArkTS侧,通过
-
H5页面发送登录请求:
- H5页面通过接收到的端口,向ArkTS侧发送一个特定的消息(例如
{action: "triggerHuaweiLogin"})。
- H5页面通过接收到的端口,向ArkTS侧发送一个特定的消息(例如
-
ArkTS调用Account Kit:
- ArkTS侧在
onMessage回调中监听H5的消息。当接收到登录请求时,调用Account Kit的accountManager.getAuthResult()方法,触发半模态弹窗。 - 弹窗的样式和行为由Account Kit服务提供,符合HarmonyOS规范。
- ArkTS侧在
-
返回登录结果:
- 登录成功后,Account Kit返回授权结果(如access token)。
- ArkTS侧通过
WebMessagePort将结果回传给H5页面,完成登录流程。
关键代码示例(ArkTS侧):
// 创建WebMessagePort
let webMessagePort: WebMessagePort[] = webviewController.createWebMessagePorts(1);
// 将端口传递给H5
webviewController.postMessage('initPort', [webMessagePort[0]], '*');

// 监听H5消息
webMessagePort[0].onmessage = (event: MessageEvent) => {
  if (event.data?.action === 'triggerHuaweiLogin') {
    // 调用Account Kit
    accountManager.getAuthResult().then(authResult => {
      // 将登录结果传回H5
      webMessagePort[0].postMessage({token: authResult.accessToken});
    });
  }
};
注意事项:
- 确保H5页面与ArkTS侧约定的消息格式一致。
- 半模态弹窗的UI由系统服务管理,开发者无需自定义样式。
- 需在真机或支持Account Kit的模拟器上测试。
这种方式实现了ArkWeb与原生账号服务的无缝衔接,用户体验流畅。