


HarmonyOS鸿蒙Next中需要自定义一个脉冲时间动画实现效果,具体步骤有哪些?
HarmonyOS鸿蒙Next中需要自定义一个脉冲时间动画实现效果,具体步骤有哪些? 需要自定义一个脉冲时间打卡动画实现效果,具体步骤有哪些?

开发者你好,可以参考以下方案:
【背景知识】
- 层叠布局用于在屏幕上预留一块区域来显示组件中的元素,提供元素可以重叠的布局。层叠布局通过Stack容器组件实现位置的固定定位与层叠,容器中的子元素依次入栈,后一个子元素覆盖前一个子元素,子元素可以叠加,也可以设置位置。animateTo用于显式动画接口。在需要动画时,显式调用该接口改变状态以产生动画。
【解决方案】
场景一:水波纹。 使用Stack组件来给按钮添加类似水波纹扩散效果,点击按钮,添加动画,效果为透明度0.8->0,半径扩大到6倍,持续时间无限。再次点击按钮,则用持续时间为0的动画来打断持续时间无限的动画。示例代码如下:
import { Scale } from '@kit.ArkUI';

@Entry
@Component
struct scan_effect_test {
  @State isListening: boolean = false;
  uiContext: UIContext | undefined = undefined;

  aboutToAppear() {
    this.uiContext = this.getUIContext();
  }

  build() {
    Column() {
      ButtonWithWaterRipples({ isListening: this.isListening });
    }
    .backgroundColor(Color.Black)
    .justifyContent(FlexAlign.Center)
    .width('100%')
    .height('100%');
  }
}

@Component
struct ButtonWithWaterRipples {
  @Link isListening: boolean;
  @State immediatelyOpacity: number = 0.8; // 立刻触发动画的Stack初始透明度
  @State immediatelyScale: Scale = { x: 1, y: 1 }; // 立刻触发动画的Stack初始缩放度
  private readonly BUTTON_SIZE: number = 120; // 按钮大小
  private readonly BUTTON_CLICK_SCALE: number = 0.8; // 按钮点击时缩放比例
  private readonly ANIMATION_DURATION: number = 1300; // 动画持续时间

  @Styles
  ripplesStyle() {
    .width(this.BUTTON_SIZE * this.BUTTON_CLICK_SCALE)
    .height(this.BUTTON_SIZE * this.BUTTON_CLICK_SCALE)
    .borderRadius(this.BUTTON_SIZE * this.BUTTON_CLICK_SCALE / 2)
    .backgroundColor(Color.White);
  }

  build() {
    Stack() {
      Stack()
        .ripplesStyle()
        .opacity(this.immediatelyOpacity)
        .scale(this.immediatelyScale);
      Button() {
        Text(this.isListening ? '结束' : '开始')
          .fontSize(30);
      }
      .clickEffect({ level: ClickEffectLevel.HEAVY, scale: this.BUTTON_CLICK_SCALE })
      .backgroundColor($r('app.color.start_window_background'))
      .type(ButtonType.Circle)
      .width(this.BUTTON_SIZE)
      .height(this.BUTTON_SIZE)
      .zIndex(1)
      .onClick(() => {
        this.isListening = !this.isListening;
        if (this.isListening) {
          // 生成透明度0.8->0和扩大1->6倍半径的动画,iterations设置为-1表示无限重复
          this.getUIContext()?.animateTo({ duration: this.ANIMATION_DURATION, iterations: -1, curve: Curve.EaseInOut },
            () => {
              this.immediatelyOpacity = 0;
              this.immediatelyScale = { x: 6, y: 6 };
            });
        } else {
          // 设置duration为0动画打断扩散的特效
          this.getUIContext()?.animateTo({ duration: 0 }, () => {
            this.immediatelyOpacity = 0.8;
            this.immediatelyScale = { x: 1, y: 1 };
          });
        }
      });
    };
  }
}
更多关于HarmonyOS鸿蒙Next中需要自定义一个脉冲时间动画实现效果,具体步骤有哪些?的实战系列教程也可以访问 https://www.itying.com/category-93-b0.html

水波纹脉冲动画实现分析
一、效果描述
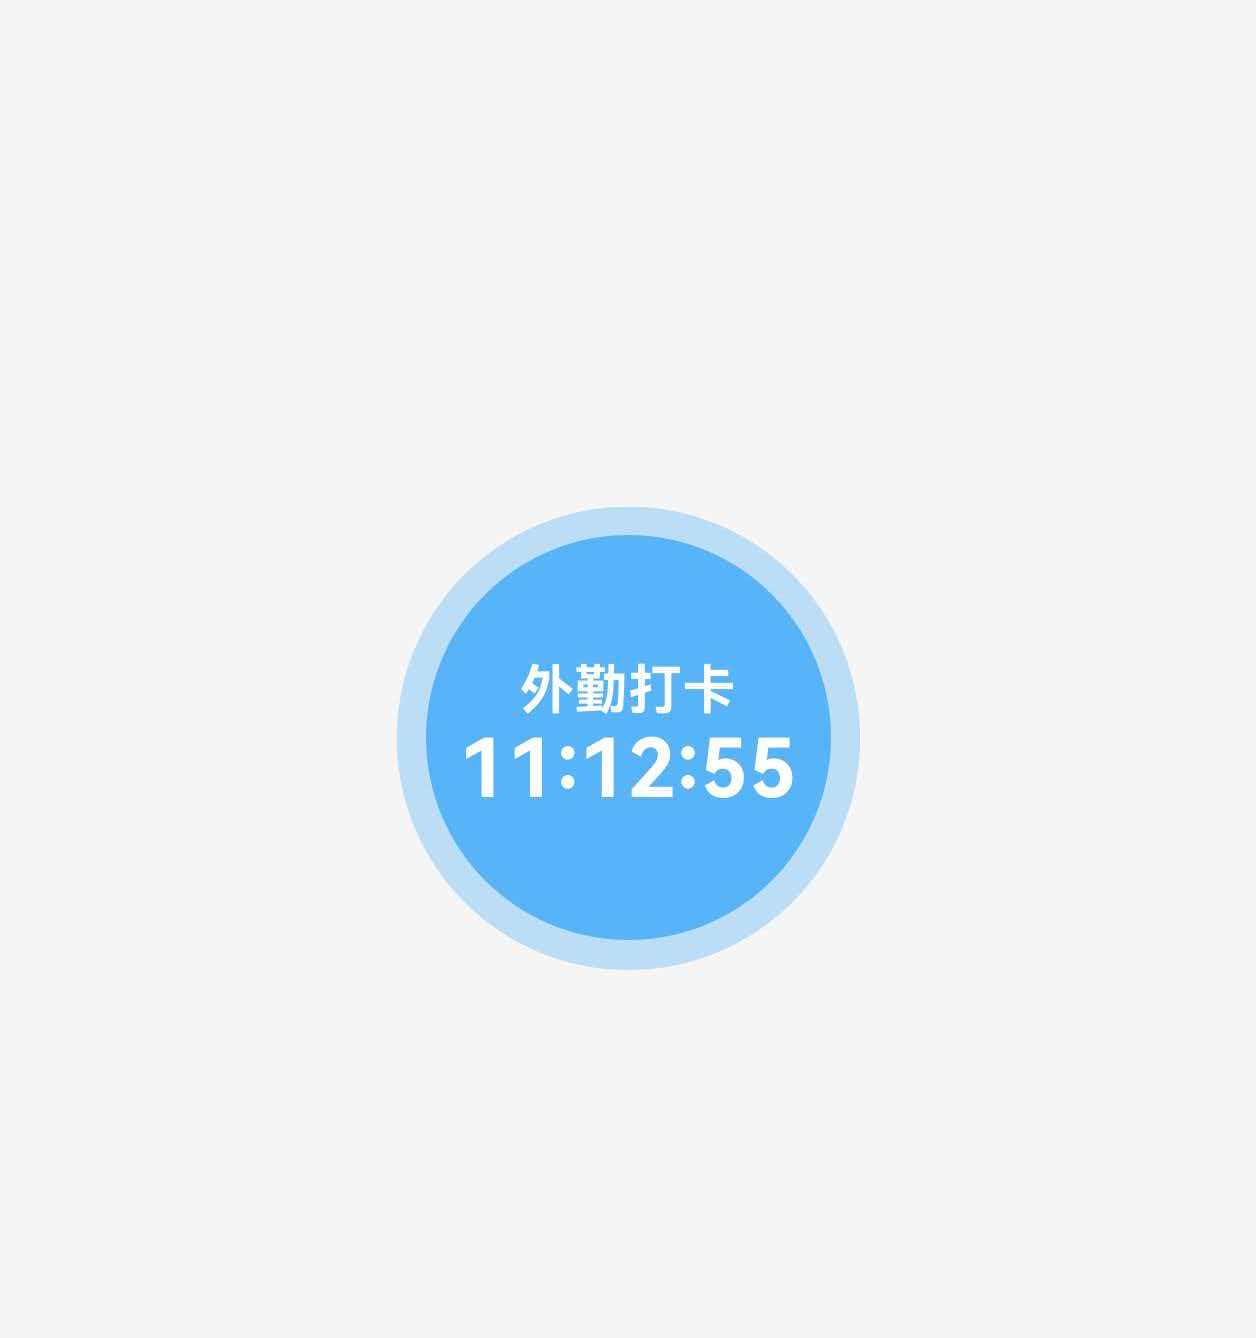
水波纹脉冲动画是一种视觉效果,模拟水面被扰动后产生的层层波纹向外扩散的效果。在 ClockInPage 中,这个动画围绕中心的时间显示区域,形成了三层同心圆脉冲效果。
具体表现为:
- 三个同心圆层以不同时间间隔依次扩散
- 圆形逐渐变大,同时透明度逐渐降低
- 动画循环播放,形成连续的波纹效果
- 使用EaseOut缓动函数使动画更加自然
二、问题抛出
在实现水波纹脉冲动画时,需要解决以下几个关键技术问题:
- 动画同步问题
- 如何确保三个脉冲层按照特定时间间隔启动
- 如何控制每个脉冲的动画周期和节奏
- 状态管理问题
- 如何管理每个脉冲圆的大小和透明度状态
- 如何在动画结束后重置状态以准备下一轮动画
- 性能优化问题
- 如何避免动画影响页面其他功能的性能
- 如何合理使用内存资源管理多个定时器
- 视觉一致性问题
- 如何确保动画在不同设备上表现一致
- 如何处理动画暂停和恢复等边界情况
三、解决方案
- 状态变量定义
使用多个状态变量来控制每层脉冲的大小和透明度:
@State rippleSize1: number = this.mSize; // 第一层脉冲大小

@State rippleOpacity1: number = 1; // 第一层脉冲透明度

@State rippleSize2: number = this.mSize; // 第二层脉冲大小

@State rippleOpacity2: number = 1; // 第二层脉冲透明度

@State rippleSize3: number = this.mSize; // 第三层脉冲大小

@State rippleOpacity3: number = 1; // 第三层脉冲透明度
- 动画启动函数
通过 startRippleAnimation() 函数控制整个水波动画的启动和调度:
startRippleAnimation(): void {

  // 第一层脉冲动画
  setInterval(() => {
    animateTo({
      duration: 3000,
      curve: Curve.EaseOut
    }, () => {
      this.rippleSize1 = this.maxRadius;
      this.rippleOpacity1 = 0;
    });
    // 重置状态
    setTimeout(() => {
      this.rippleSize1 = this.minRadius;
      this.rippleOpacity1 = 1;
    }, 3000);
  }, 4500);

  // 第二层脉冲动画,延迟150ms启动
  setTimeout(() => {
    setInterval(() => {
      animateTo({
        duration: 3000,
        curve: Curve.EaseOut
      }, () => {
        this.rippleSize2 = this.maxRadius;
        this.rippleOpacity2 = 0;
      });
      // 重置状态
      setTimeout(() => {
        this.rippleSize2 = this.minRadius;
        this.rippleOpacity2 = 1;
      }, 3000);
    }, 4500);
  }, 1500);

  // 第三层脉冲动画,延迟3000ms启动
  setTimeout(() => {
    setInterval(() => {
      animateTo({
        duration: 3000,
        curve: Curve.EaseOut
      }, () => {
        this.rippleSize3 = this.maxRadius;
        this.rippleOpacity3 = 0;
      });
      // 重置状态
      setTimeout(() => {
        this.rippleSize3 = this.minRadius;
        this.rippleOpacity3 = 1;
      }, 3000);
    }, 4500);
  }, 3000);
}
- UI 构建
使用 Stack 布局将多个脉冲层叠在一起,并通过状态变量控制其外观:
// 打卡时间展示
Stack() {
  // 基础圆形
  Column()
    .width(this.mSize)
    .height(this.mSize)
    .backgroundColor(this.color)
    .borderRadius(this.mSize / 2)
    .justifyContent(FlexAlign.Center);
  // 第一层脉冲
  Column()
    .width(this.rippleSize1)
    .height(this.rippleSize1)
    .backgroundColor(this.color)
    .borderRadius(this.rippleSize1 / 2)
    .opacity(this.rippleOpacity1)
    .justifyContent(FlexAlign.Center);
  // 第二层脉冲
  Column()
    .width(this.rippleSize2)
    .height(this.rippleSize2)
    .backgroundColor(this.color)
    .borderRadius(this.rippleSize2 / 2)
    .opacity(this.rippleOpacity2)
    .justifyContent(FlexAlign.Center);
  // 第三层脉冲
  Column()
    .width(this.rippleSize3)
    .height(this.rippleSize3)
    .backgroundColor(this.color)
    .borderRadius(this.rippleSize3 / 2)
    .opacity(this.rippleOpacity3)
    .justifyContent(FlexAlign.Center);
  // 中心文字内容
  Column() {
    Text("外勤打卡")
      .fontSize($r('app.float.font_size_16'))
      .fontColor($r('app.color.public_color_white'))
      .fontWeight(FontWeight.Bold);
    TextClock()
      .fontSize($r('app.float.font_size_24'))
      .fontColor($r('app.color.public_color_white'))
      .fontWeight(FontWeight.Bold)
      .format("HH:mm:ss")
      .dateTimeOptions({ hour: "2-digit" });
  }
}
- 动画初始化
在组件的 aboutToAppear 生命周期方法中初始化动画参数并启动动画:
async aboutToAppear(): Promise<void> {
  // 初始化水波动画参数
  this.rippleSize1 = this.minRadius;
  this.rippleOpacity1 = 1;
  this.rippleSize2 = this.minRadius;
  this.rippleOpacity2 = 1;
  this.rippleSize3 = this.minRadius;
  this.rippleOpacity3 = 1;

  // 启动水波纹动画
  this.startRippleAnimation();

  // ... 其他初始化代码
}
这种实现方式的优势在于:
- 分层控制:每层脉冲独立控制,便于调整各自的效果
- 时间差设计:通过不同延迟启动各层动画,营造立体感
- 状态驱动:利用ArkTS的状态管理机制自动更新UI
- 循环播放:使用 setInterval 实现动画的无限循环
效果如图:


在HarmonyOS Next中实现自定义脉冲时间动画,可通过以下步骤完成:
- 使用
@AnimatableExtend装饰器定义自定义组件动画,通过animate方法控制属性变化。 - 在自定义组件内利用
animateTo关键帧动画,设置curve参数为Curves.easeInOut等曲线,调节脉冲节奏。 - 结合
animation和onFinish回调精确控制脉冲持续时间与循环。 - 通过状态变量驱动动画触发,利用ArkTS的响应式更新实现动态效果。

在HarmonyOS Next中实现自定义脉冲时间动画,可通过以下步骤完成:
-
定义动画属性:使用
@AnimatableExtend装饰器定义自定义动画组件,通过animate方法控制脉冲效果的时间、缩放比例等关键参数。 -
配置关键帧:在
animate方法中设置关键帧动画,例如:.animate({ duration: 1000, // 脉冲周期 curve: Curve.EaseInOut, // 缓动曲线 iterations: Infinity, // 无限循环 onPlay: () => { // 设置缩放从1.0到1.2再回到1.0 this.scale = { x: 1.2, y: 1.2 }; }, onFinish: () => { this.scale = { x: 1.0, y: 1.0 }; } }) -
绑定动画状态:将动画属性与组件状态关联,通过状态变化触发动画执行。
-
控制动画启停:使用
animationController控制动画的播放、暂停和停止,确保与打卡事件同步。 -
优化性能:对于连续脉冲效果,建议使用
animateTo的onFinish回调实现循环,避免过多动画实例占用资源。
注意:HarmonyOS Next的动画系统基于声明式UI设计,需结合状态管理精确控制动画时序。