


HarmonyOS鸿蒙Next中Canvas绘图能否导出为PNG或JPEG文件?如何保存到相册?
HarmonyOS鸿蒙Next中Canvas绘图能否导出为PNG或JPEG文件?如何保存到相册? 在我的绘画 App 中创作完成后,希望保存作品到相册。Canvas 内容怎么转成图片文件?

- 使用OffscreenCanvas创建一个屏幕外渲染的画布,获取OffscreenCanvas组件的绘图上下文,在离屏画布中绘制图案;
- 通过getPixelMap获取指定区域内的像素创建PixelMap对象;
- 使用ImagePacker中的packToData方法,将像素重新编码为png格式,确保没有绘制的区域为透明;
- 通过文件管理接口,创建并打开新的文件,将png图片数据写入到文件中,关闭文件。
- 使用 showAssetsCreationDialog 获取相册保存权限的URI,再将沙箱图片写入相册。
- 实现代码如下:
import { image } from '@kit.ImageKit';
import { fileIo, fileUri, ReadOptions, WriteOptions } from '@kit.CoreFileKit';
import { photoAccessHelper } from '@kit.MediaLibraryKit';
@Entry
@Component
export struct Index {
@State message: string = 'hello world!'
private settings: RenderingContextSettings = new RenderingContextSettings(true)
private context: CanvasRenderingContext2D = new CanvasRenderingContext2D(this.settings)
private offCanvas: OffscreenCanvas = new OffscreenCanvas(300, 300)
private offContext?: OffscreenCanvasRenderingContext2D
build() {
Column() {
Canvas(this.context)
.height(300)
.width('100%')
.onReady(() => {
this.offContext = this.offCanvas.getContext('2d', this.settings)
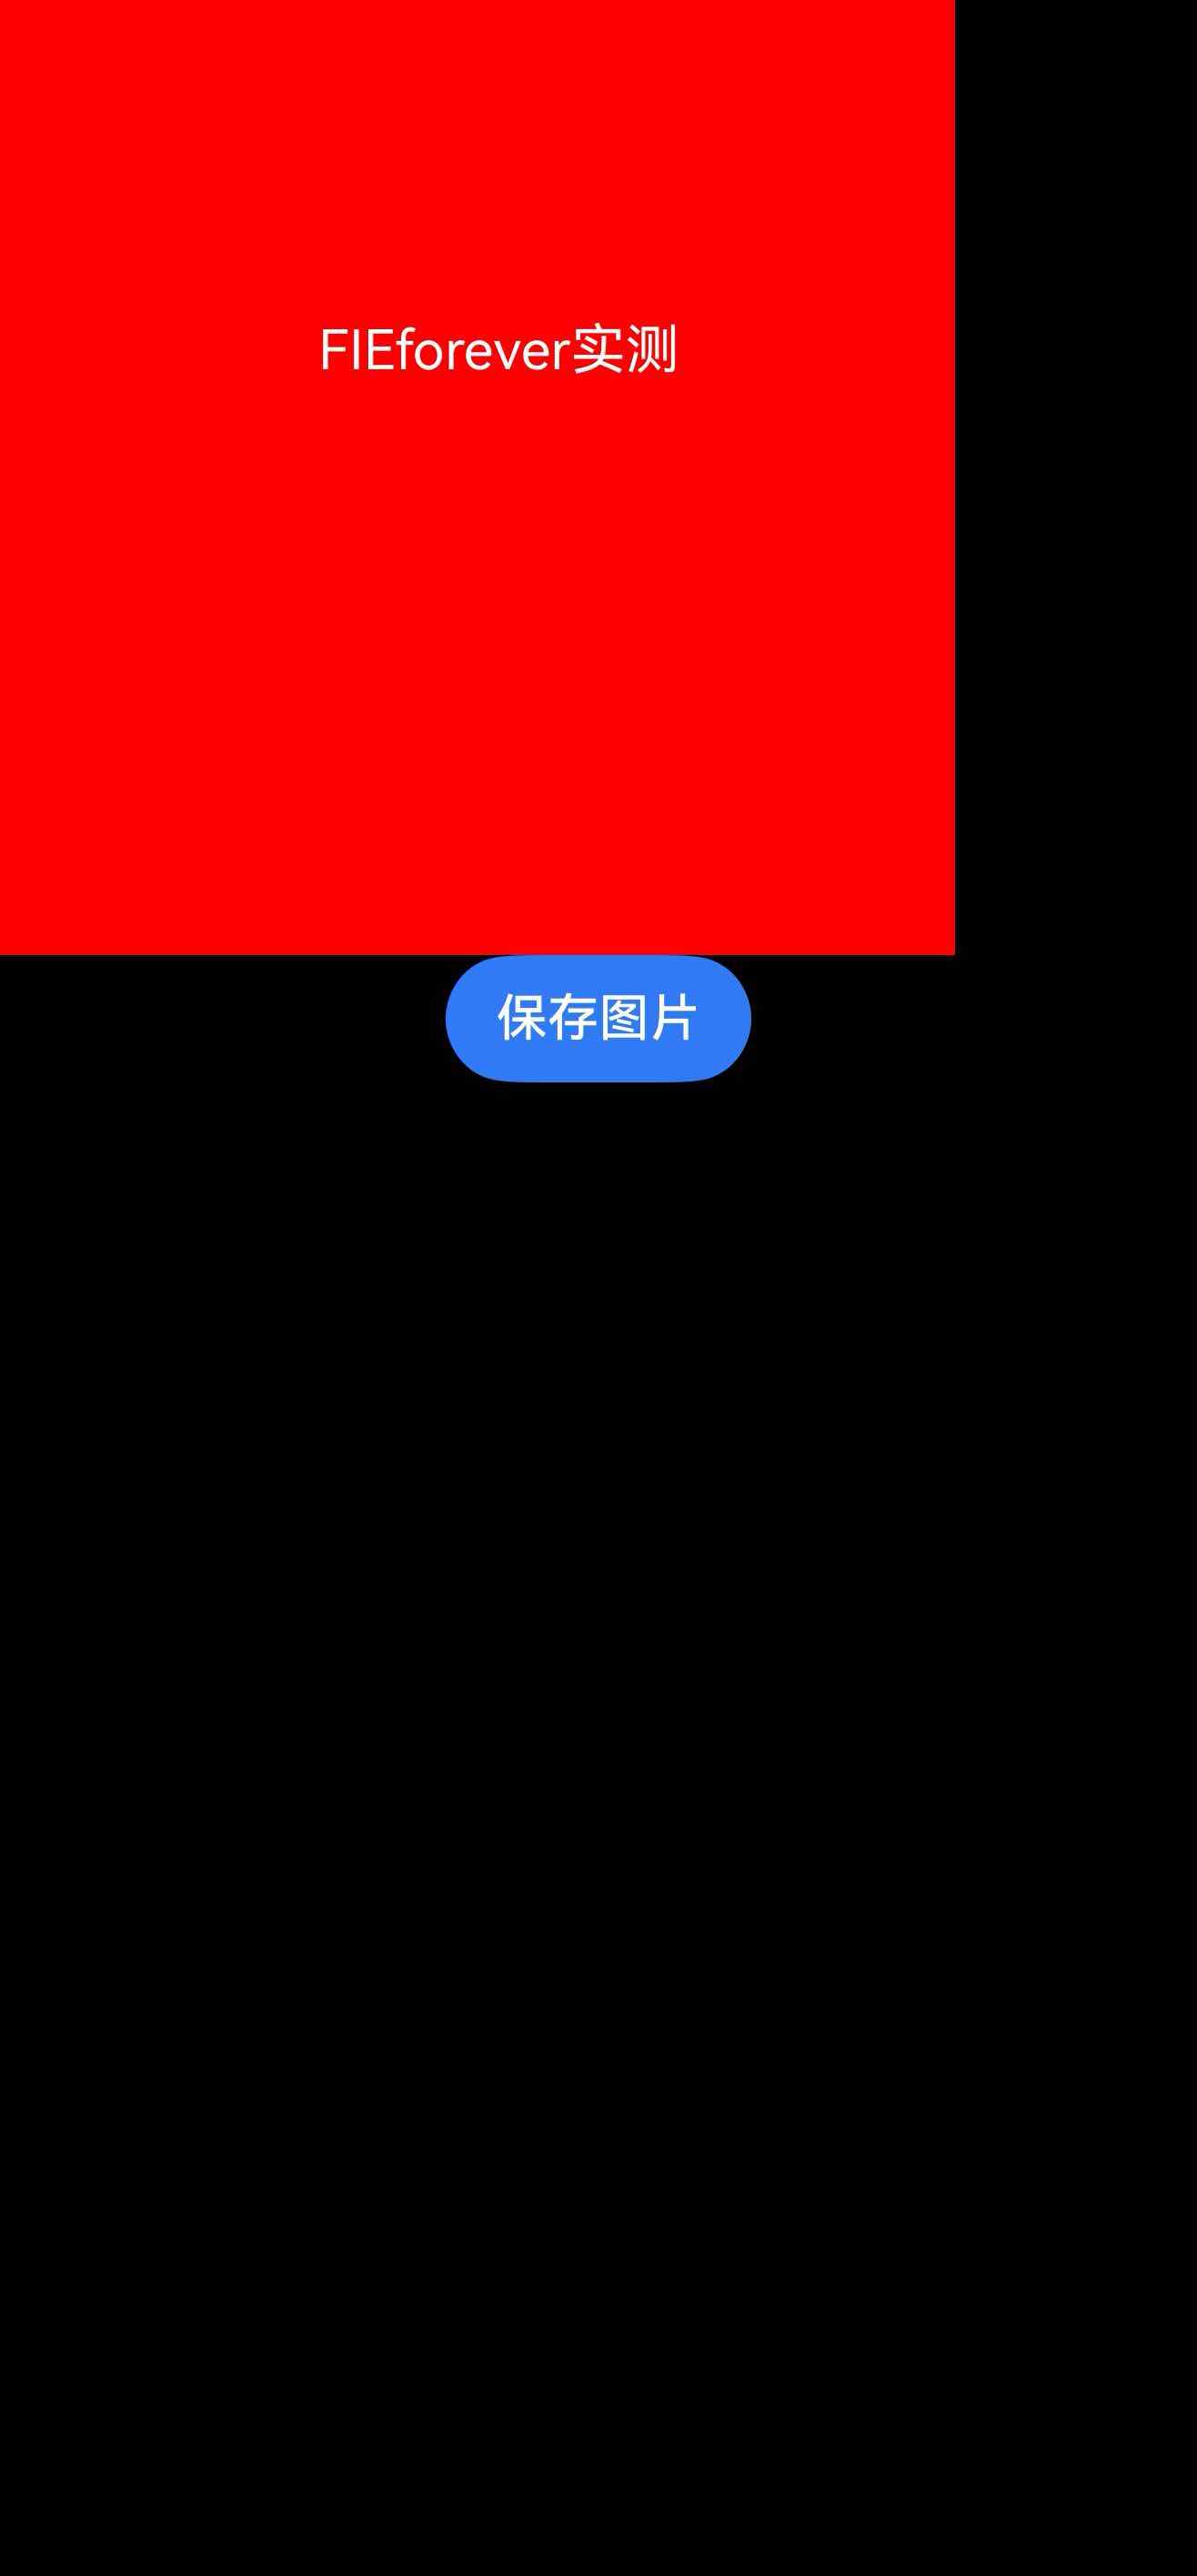
this.offContext.fillStyle = 'rgb(255,0,0)';
this.offContext.fillRect(0, 0, this.context.width, this.context.height);
this.offContext.fillStyle = 'rgb(255,255,255)';
this.offContext.font = '60px sans-serif'
this.offContext.textAlign = 'start'
this.offContext.textBaseline = 'top'
this.offContext.fillText(this.message, 100, 100)
this.context.transferFromImageBitmap(this.offCanvas.transferToImageBitmap())
})
Button('保存图片')
.onClick(() => {
this.onSave()
})
}
.alignItems(HorizontalAlign.Center)
}
async onSave() {
if (this.offContext) {
const pixelMap: image.PixelMap =
this.offContext.getPixelMap(0, 0, 300, 300)
const imagePackerApi = image.createImagePacker();
const buffer = await imagePackerApi.packToData(pixelMap, { format: 'image/png', quality: 100 })
const filePath = this.getUIContext().getHostContext()?.filesDir + `/${(new Date).getTime()}.png`
try {
const file = fileIo.openSync(filePath, fileIo.OpenMode.READ_WRITE | fileIo.OpenMode.CREATE)
fileIo.writeSync(file.fd, buffer)
fileIo.closeSync(file.fd)
const config: photoAccessHelper.PhotoCreationConfig[] = []
config.push({
fileNameExtension: 'png',
photoType: photoAccessHelper.PhotoType.IMAGE,
})
const phAccessHelper = photoAccessHelper.getPhotoAccessHelper(this.getUIContext().getHostContext())
const srcUri = [fileUri.getUriFromPath(filePath)]
const desUris = await phAccessHelper.showAssetsCreationDialog(srcUri, config)
this.copyToPhoto(filePath, desUris[0])
} catch (error) {
console.error(JSON.stringify(error))
}
}
}
// 保存到指定路径
copyToPhoto(srcFilePath: string, destFilePath: string) {
const srcFile = fileIo.openSync(srcFilePath, fileIo.OpenMode.READ_WRITE | fileIo.OpenMode.CREATE)
const destFile = fileIo.openSync(destFilePath, fileIo.OpenMode.READ_WRITE | fileIo.OpenMode.CREATE)
// 读取源文件内容并写入至目的文件
const stat = fileIo.statSync(srcFilePath)
const bufSize = stat.size;
let readSize = 0;
const buf = new ArrayBuffer(bufSize);
const readOptions: ReadOptions = {
offset: readSize,
length: bufSize
};
let readLen = fileIo.readSync(srcFile.fd, buf, readOptions);
while (readLen > 0) {
readSize += readLen;
let writeOptions: WriteOptions = {
length: readLen
};
fileIo.writeSync(destFile.fd, buf, writeOptions);
readOptions.offset = readSize;
readLen = fileIo.readSync(srcFile.fd, buf, readOptions);
}
// 关闭文件
fileIo.closeSync(srcFile);
fileIo.closeSync(destFile);
}
}
更多关于HarmonyOS鸿蒙Next中Canvas绘图能否导出为PNG或JPEG文件?如何保存到相册?的实战系列教程也可以访问 https://www.itying.com/category-93-b0.html


背景知识:
方法一:
直接 Canvas 的绘制方法,将 OffscreenCanvasRenderingContext2D 对象生成一个 PixelMap 对象,将其对象存储到相册中。
方法二:
还可以使用 组件截图 通过 componentSnapshot.get(“root”, (error: Error, pixmap: image.PixelMap) =>{})来获取一个 PixelMap 对象
问题解决:
代码实例:
import { thermal } from '@kit.BasicServicesKit';
import { image } from '@kit.ImageKit';
import { AppUtils } from '../utils/AppUtils';
import { common } from '@kit.AbilityKit';
import { componentSnapshot } from '@kit.ArkUI';


@Entry
@Component
struct CommonPage {
    @State message: string = 'Hello componentSnapshot';
    @State message2: string = 'development';
    private baseContext = this.getUIContext().getHostContext() as common.UIAbilityContext
    timeoutIndex: number = 0
    private settings: RenderingContextSettings = new RenderingContextSettings(true)
    private context: CanvasRenderingContext2D = new CanvasRenderingContext2D(this.settings)
    private offCanvas: OffscreenCanvas = new OffscreenCanvas(300, 300)
    private offContext?: OffscreenCanvasRenderingContext2D

    private snapshotPixmap:image.PixelMap | undefined


    build() {
        Column() {
            //使用 Canvas绘制一个图片
            Canvas(this.context)
                .width(300)
                .height(300)
                .backgroundColor('#ffff00')
                .onReady(() => {
                    this.offContext = this.offCanvas.getContext('2d', this.settings)
                    //设置一个区域
                    this.offContext.fillRect(0, 0, this.context.width, this.context.height)
                    //设置背景颜色
                    this.offContext.fillStyle = "#F0F0F0"
                    // ctx.font = 'font-style font-weight font-size font-family'
                    this.offContext.font = "18vp"
                    this.offContext.textAlign = "start"
                    this.offContext.textBaseline = "middle"
                    this.offContext.fillText(this.message, 100, 100)
                    this.offContext.fillText(this.message2, 100, 200)
                    let image = this.offCanvas.transferToImageBitmap()
                    this.context.transferFromImageBitmap(image)

                }).id("myCanvas")

            //方法一: 使用offContext的PixelMap
            Button("保存 Canvas")
                .fontSize(20)
                .fontColor(Color.White)
                .fontWeight(FontWeight.Bold)
                .onClick(() => {
                    const image = this.offContext?.getPixelMap(0,0,300,300)
                    AppUtils.savePixelMapToAlbum(this.baseContext,image!!)

                })

            方法二:使用componentSnapshot来获取
            Button("保存 componentSnapshot")
                .fontSize(20)
                .fontColor(Color.White)
                .fontWeight(FontWeight.Bold)
                .onClick(() => {
                    //注意:这里的id必须添加
                    componentSnapshot.get("myCanvas", (error: Error, pixmap: image.PixelMap) => {
                        if (error) {
                            console.error("error: " + JSON.stringify(error))
                            return;
                        }
                        this.snapshotPixmap = pixmap
                        AppUtils.savePixelMapToAlbum(this.baseContext,this.snapshotPixmap)
                    }, { scale: 2, waitUntilRenderFinished: true })
                })

        }
        .height('100%')
        .width('100%')
    }
}


//工具类:
import { image } from "@kit.ImageKit";
import { bundleManager, common } from "@kit.AbilityKit";
import { photoAccessHelper } from "@kit.MediaLibraryKit";
import { fileIo, fileUri, ReadOptions, WriteOptions } from "@kit.CoreFileKit";


export class AppUtils {

    static async savePixelMapToAlbum(context: common.UIAbilityContext, pixelMap: image.PixelMap) {
        try {

            const imagePackerApi = image.createImagePacker();
            const buffer = await imagePackerApi.packToData(pixelMap, { format: 'image/png', quality: 100 })
            const filePath = context?.filesDir + `/${(new Date).getTime()}.png`
            try {
                const file = fileIo.openSync(filePath, fileIo.OpenMode.READ_WRITE | fileIo.OpenMode.CREATE)
                fileIo.writeSync(file.fd, buffer)
                fileIo.closeSync(file.fd)

                const config: photoAccessHelper.PhotoCreationConfig[] = []
                config.push({
                    fileNameExtension: 'png',
                    photoType: photoAccessHelper.PhotoType.IMAGE,
                })

                const phAccessHelper = photoAccessHelper.getPhotoAccessHelper(context)
                const srcUri = [fileUri.getUriFromPath(filePath)]
                const desUris = await phAccessHelper.showAssetsCreationDialog(srcUri, config)
                AppUtils.copyToPhoto(filePath, desUris[0])

            } catch (error) {
                console.error(JSON.stringify(error))
            }

        } catch (error) {
            console.error(`操作失败: ${error.code}, ${error.message}`);
        }

    }

    // 保存到指定路径
    private static copyToPhoto(srcFilePath: string, destFilePath: string) {
        const srcFile = fileIo.openSync(srcFilePath, fileIo.OpenMode.CREATE | fileIo.OpenMode.READ_WRITE)
        const destFile = fileIo.openSync(destFilePath, fileIo.OpenMode.CREATE | fileIo.OpenMode.READ_WRITE)
        // 读取源文件内容并写入至目的文件
        const stat = fileIo.statSync(srcFilePath)
        const bufSize = stat.size;
        let readSize = 0;
        const buf = new ArrayBuffer(bufSize);
        const readOptions: ReadOptions = {
            offset: readSize,
            length: bufSize
        };
        let readLen = fileIo.readSync(srcFile.fd, buf, readOptions);
        while (readLen > 0) {
            readSize += readLen;
            let writeOptions: WriteOptions = {
                length: readLen
            };
            fileIo.writeSync(destFile.fd, buf, writeOptions);
            readOptions.offset = readSize;
            readLen = fileIo.readSync(srcFile.fd, buf, readOptions);
        }
        // 关闭文件
        fileIo.closeSync(srcFile);
        fileIo.closeSync(destFile);
    }
}
演示:
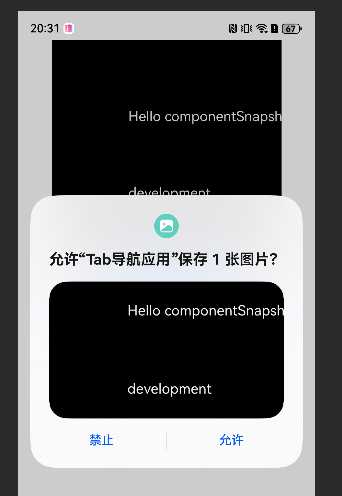
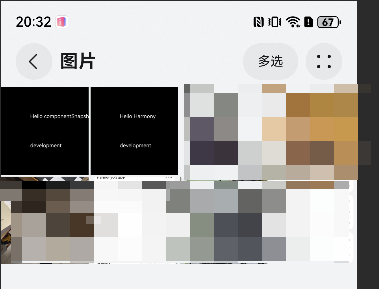
实测了一下仙银的代码,保存成功,
- 保存操作:
onSave方法在用户点击按钮时被调用。- 检查
offContext是否存在,如果存在,则获取像素数据并打包为PNG格式。 - 使用文件IO API打开一个文件,将打包后的数据写入文件。
- 使用
photoAccessHelper将文件保存到相册中。


在HarmonyOS Next中,Canvas绘图可以导出为PNG或JPEG文件。通过Canvas组件的getPixelMap()方法获取PixelMap图像数据,再使用imagePacker接口将PixelMap编码为PNG或JPEG格式的ArrayBuffer。保存到相册需使用媒体库管理接口,通过photoAccessHelper.createAsset()将图像数据写入设备相册。

在HarmonyOS Next中,Canvas绘图内容可以导出为PNG或JPEG格式的图片文件,并保存到设备相册。具体实现步骤如下:
-
Canvas转图片数据:使用Canvas的
toDataURL()方法获取Base64编码的图片数据,或通过toBlob()方法获取二进制数据。 -
写入应用沙箱:将图片数据写入应用沙箱目录(例如
temp或cache目录),生成临时图片文件。 -
保存到相册:通过
PhotoAccessHelper系统能力,将临时图片文件移动到公共相册目录。关键步骤包括:- 申请
ohos.permission.READ_IMAGEVIDEO和ohos.permission.WRITE_IMAGEVIDEO权限。 - 使用
PhotoAccessHelper.getPhotoAccessHelper()获取助手实例。 - 通过
createAsset()方法在相册中创建资源,并写入图片数据。
- 申请
-
示例代码片段:
// 获取Canvas元素并导出Base64数据
const canvas = this.$refs.canvas;
const dataURL = canvas.toDataURL('image/png');

// 将Base64数据转换为Uint8Array
const buffer = base64ToUint8Array(dataURL.split(',')[1]);

// 使用PhotoAccessHelper保存到相册
const phAccessHelper = photoAccessHelper.getPhotoAccessHelper(context);
const options = {
  title: '我的画作.png'
};
phAccessHelper.createAsset(photoAccessHelper.PhotoType.IMAGE, 'png', options, (err, uri) => {
  if (!err) {
    // 将图片数据写入uri对应的文件
  }
});
注意:需在module.json5中声明所需权限和PhotoAccessHelper的依赖。此方法适用于HarmonyOS Next的Stage模型。