


HarmonyOS鸿蒙Next中页面的沉浸式有哪些实现方案?
HarmonyOS鸿蒙Next中页面的沉浸式有哪些实现方案? 【问题描述】
想要实现页面的沉浸式效果,除了可以通过调用 setWindowLayoutFullScreen ,并通过padding来实现状态栏和导航条的避让,还有什么实现方案呢?

页面沉浸式的效果实现方案:
1、通过 setWindowLayoutFullScreen:https://developer.huawei.com/consumer/cn/doc/harmonyos-references/arkts-apis-window-window#setwindowlayoutfullscreen9 开启页面沉浸式效果。然后通过getWindowAvoidArea()和on(‘avoidAreaChange’)获取并动态监听避让区域的变更信息,页面内部通过padding来使组件中的交互区域避让导航条和状态栏。
2、也可以采用组件扩展安全区域的方案来实现。所谓安全区域即除去状态栏和导航条的页面区域,通过设置组件的属性 expandSafeArea:https://developer.huawei.com/consumer/cn/doc/harmonyos-references/ts-universal-attributes-expand-safe-area#expandsafearea 将组件的安全区域扩展到状态栏和导航条区域,以实现沉浸式。
具体的可以参考开发应用沉浸式效果:https://developer.huawei.com/consumer/cn/doc/harmonyos-guides/arkts-develop-apply-immersive-effects
更多关于HarmonyOS鸿蒙Next中页面的沉浸式有哪些实现方案?的实战系列教程也可以访问 https://www.itying.com/category-93-b0.html

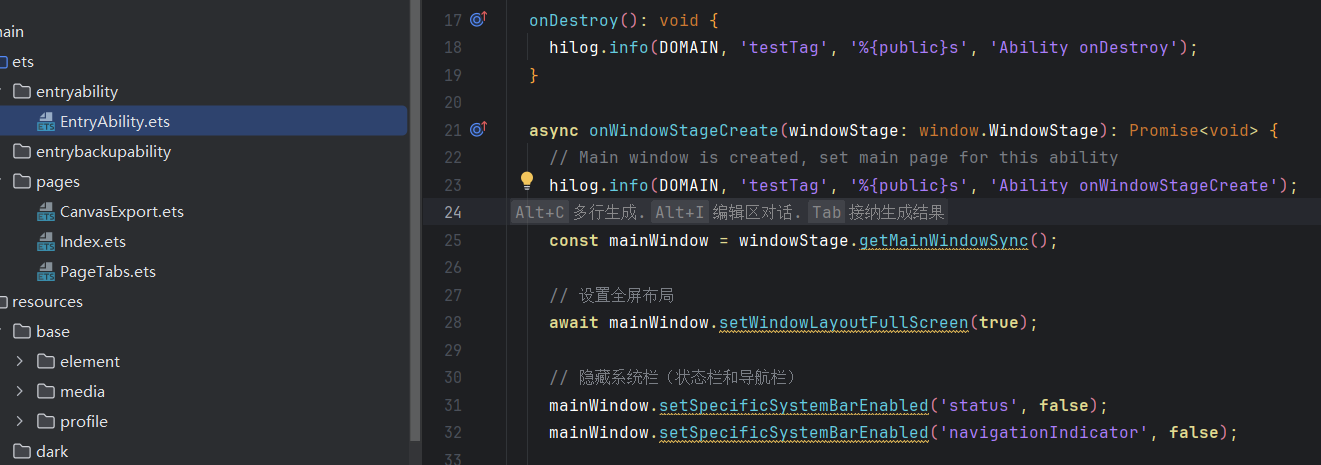
const mainWindow = windowStage.getMainWindowSync();

// 设置全屏布局
await mainWindow.setWindowLayoutFullScreen(true);

// 隐藏系统栏(状态栏和导航栏)
mainWindow.setSpecificSystemBarEnabled('status', false);
mainWindow.setSpecificSystemBarEnabled('navigationIndicator', false);
组件级扩展安全区域 (expandSafeArea)
默认布局是在安全区内的,但允许某个特定的组件(比如背景图)“溢出”到安全区外。
这种方式不需要写任何 window 相关的代码,也不需要计算高度,非常声明式。
代码实现
@Entry
@Component
struct ExpandSafeAreaDemo {
  build() {
    Stack() {
      // 1. 背景图:我希望它铺满全屏,包括状态栏
      Image($r('app.media.bg_image'))
        .width('100%')
        .height('100%')
        .objectFit(ImageFit.Cover)
        // 核心 API:允许延伸到 顶部(TOP) 和 底部(BOTTOM) 的安全区外
        .expandSafeArea([SafeAreaType.SYSTEM], [SafeAreaEdge.TOP, SafeAreaEdge.BOTTOM])

      // 2. 内容区域:默认依然在安全区内,不会被遮挡
      Column() {
        Text("我是安全区内的内容")
          .fontSize(20)
          .fontColor(Color.White)
      }
      .width('100%')
      .height('100%')
      .justifyContent(FlexAlign.Center)
    }
  }
}
- 优点:代码极其简洁,无需手动计算高度,自动适配。
- 缺点:灵活性稍弱,适合“背景沉浸,内容安全”的常见场景。


鸿蒙Next中实现页面沉浸式主要有以下方案:
-
状态栏沉浸:通过
window.setWindowSystemBarEnable()方法设置状态栏透明,结合window.setWindowLayoutFullScreen()实现全屏显示。 -
导航栏沉浸:使用
window.setWindowSystemBarProperties()配置导航栏透明属性,配合页面布局适配。 -
窗口能力配置:在
module.json5中配置"window"字段的"fullScreen"属性为true。 -
动态沉浸控制:通过
Window实例的setWindowSystemBarEnable()和setWindowLayoutFullScreen()方法实时调整沉浸状态。 -
安全区域适配:使用
safeArea组件或getWindowAvoidArea()接口处理刘海屏等异形屏适配。
在HarmonyOS Next中,实现页面沉浸式效果主要有以下几种方案:
-
使用系统默认的沉浸式API:除了你提到的
setWindowLayoutFullScreen方法,更推荐使用windowClass.setWindowSystemBarEnable()来控制系统栏(状态栏和导航栏)的显示与隐藏。结合windowClass.setWindowLayoutFullScreen(true)可以实现全屏布局,然后通过安全区域(Safe Area)来调整内容布局,避免内容被遮挡。 -
通过窗口能力配置实现:在
module.json5配置文件的abilities中,通过window属性进行沉浸式配置。例如:"window": { "fullScreen": true, "layoutFullScreen": true, "systemBarEnable": false }这种方式可以在应用启动时即实现沉浸式效果。
-
使用安全区域组件:在ArkUI中,可以使用
SafeArea组件或safeArea属性自动处理系统栏的避让问题。例如在Column或Row组件上设置safeArea属性,系统会自动添加适当的内边距。 -
状态栏和导航栏透明方案:通过设置窗口样式实现:
windowClass.setWindowSystemBarProperties({
  statusBarContentColor: '#FFFFFF',
  navigationBarContentColor: '#FFFFFF',
  statusBarBackgroundColor: '#00000000',
  navigationBarBackgroundColor: '#00000000'
})
这样可以将系统栏设置为透明,然后通过布局的内边距来确保内容不被遮挡。
-
结合媒体查询与安全区域:使用
mediaQuery和safeAreaManager获取系统栏的具体尺寸,进行精确的布局计算,适用于需要自定义沉浸式交互的场景。
这些方案可以根据具体需求选择使用,通常推荐使用安全区域组件或属性,由系统自动处理布局适配,兼容性更好。