


HarmonyOS鸿蒙Next中flutter项目插件适配: google_mlkit_face_detection / 或有什么替代方案
HarmonyOS鸿蒙Next中flutter项目插件适配: google_mlkit_face_detection / 或有什么替代方案 【问题描述】:flutter项目插件适配: google_mlkit_face_detection / 或有什么替代方案
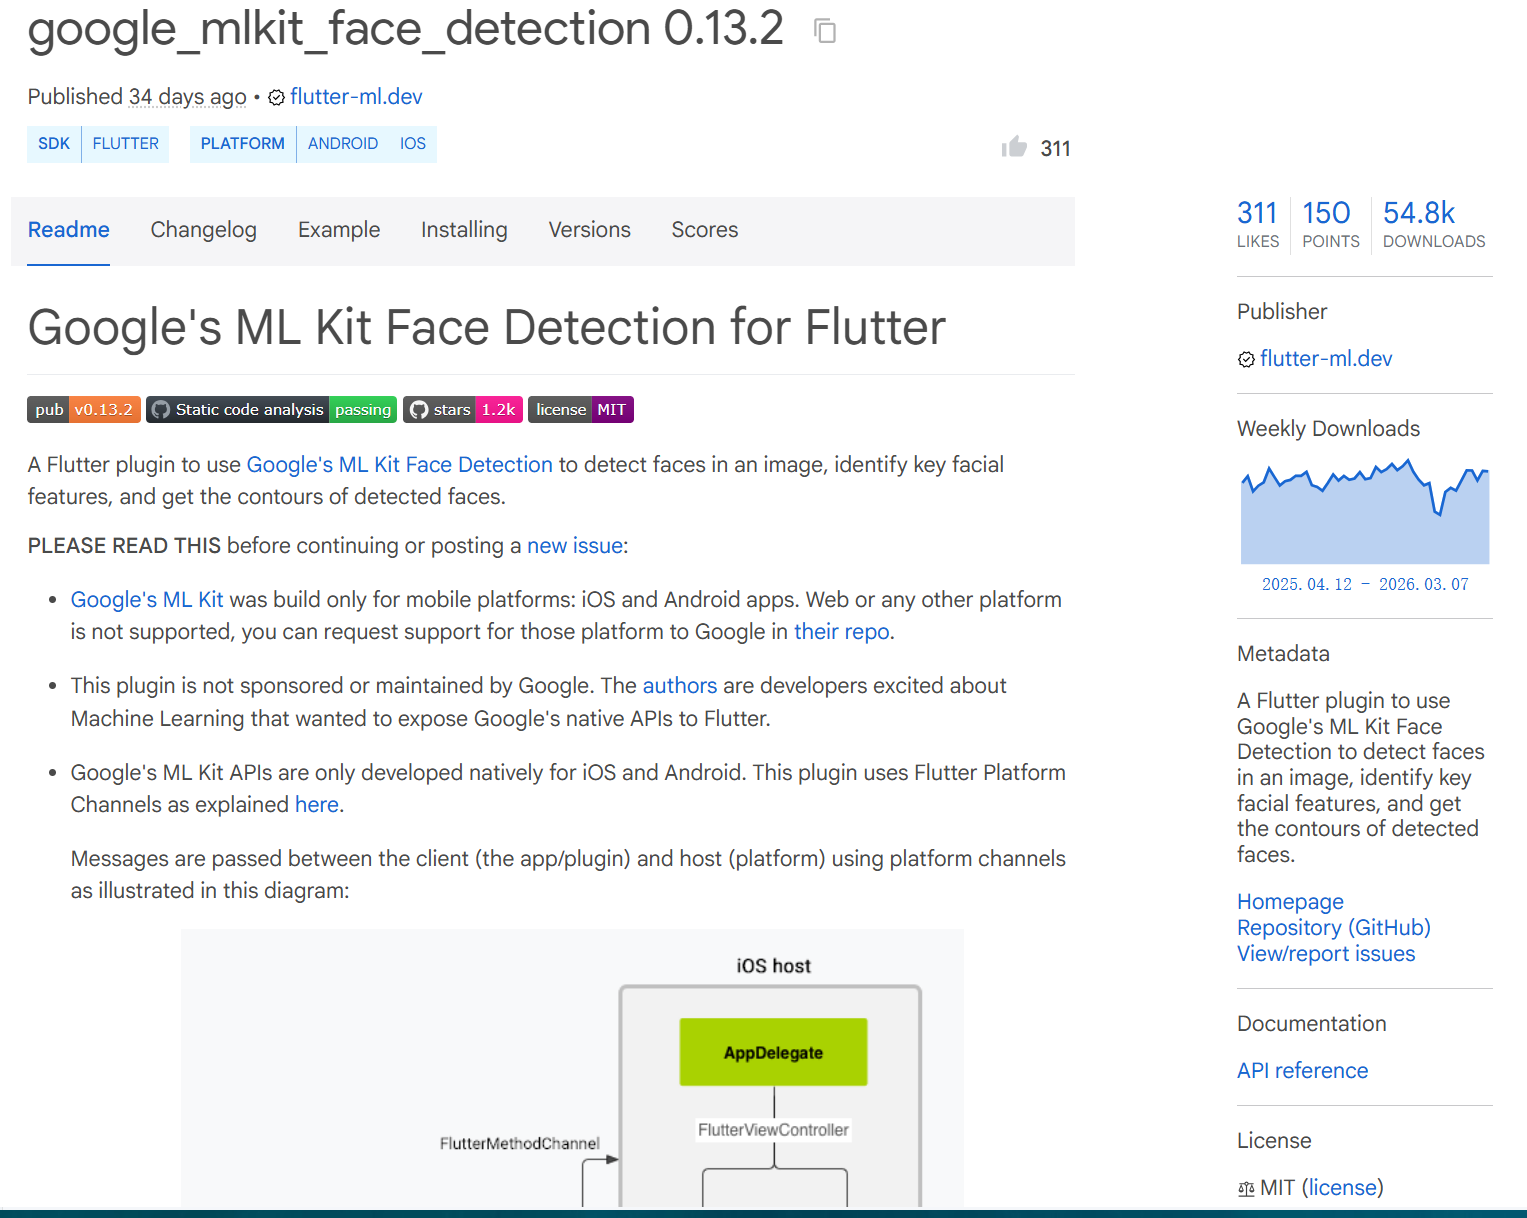
【问题现象】:Flutter项目 识别图片是否包含人脸 当前插件未适配google_mlkit_face_detection
【版本信息】:Flutter ohos HarmonyOS NEXT
【复现代码】:不涉及
插件链接: https://pub.dev/packages/google_mlkit_face_detection
仓库链接: https://github.com/flutter-ml/google_ml_kit_flutter/tree/master/packages/google_mlkit_face_detection
更多关于HarmonyOS鸿蒙Next中flutter项目插件适配: google_mlkit_face_detection / 或有什么替代方案的实战教程也可以访问 https://www.itying.com/category-92-b0.html

尊敬的开发者,您好!
请问您是在什么样的业务场景中使用该能力,交互流程是怎样的,在哪一个环节遇到了问题?方便说明能力不满足可能带来的影响:什么时间用到?是否高频?有无三方库可以做到?若提供该能力,是否会造成大工作量返工?请您注意提供的内容不要包含您或第三方的非公开信息,如给您带来不便,敬请谅解。
更多关于HarmonyOS鸿蒙Next中flutter项目插件适配: google_mlkit_face_detection / 或有什么替代方案的实战系列教程也可以访问 https://www.itying.com/category-92-b0.html

开发者你好,可以参考下以下方案通过FlutterChannel(链接来自gitcode)实现调用基础视觉服务人脸检测能力进行图片中人脸检测,实现步骤如下:
- Flutter侧通过ImagePicker拉起系统相册,返回XFile:
  XFile? _image;
  Future<void> _selectPhoto() async {
    print('>>> enter _selectPhoto');
    final picker = ImagePicker();
    final image = await picker.pickImage(
      source: ImageSource.gallery,
      maxWidth: 800,
    );
    setState(() => _image = image);
    print('chooseImage is: ${_image?.path}');
    await _sendToOhos();
  }
- 通过MethodChannel把图片本地路径发送到HarmonyOS next侧:
await _channel.invokeMethod('sendImagePath', {'path': _image!.path});
- 在HarmonyOS next侧使用人脸检测能力获取到人脸信息:
  private startDetect(): Promise<string> {
    return new Promise((resolve, reject) => {
      if (!this.chooseImage) {
        reject('No image');
        return;
      }
      faceDetector.init();
      let visionInfo: faceDetector.VisionInfo = {
        pixelMap: this.chooseImage
      };
      faceDetector.detect(visionInfo)
        .then((faces: faceDetector.Face[]) => {
          faceDetector.release();
          let json = faces.length === 0
            ? 'No face is detected in the image.'
            : JSON.stringify(faces);
          resolve(json);
        })
        .catch((err: BusinessError) => {
          faceDetector.release();
          reject(err.message);
        });
    });
  }
- 将人脸信息通过MethodChannel回传Flutter侧:
        let detectJson = await this.startDetect();
        hilog.info(0x0000, TAG, `detectJson data is: ${detectJson}`);
        result.success(detectJson);
完整示例如下:
face.dart:
import 'dart:io';
import 'package:flutter/material.dart';
import 'package:flutter/services.dart';
import 'package:image_picker/image_picker.dart';

class FaceDetectPage extends StatefulWidget {
  const FaceDetectPage({super.key});
  @override
  _FaceDetectPageState createState() => _FaceDetectPageState();
}

class _FaceDetectPageState extends State<FaceDetectPage> {
  final MethodChannel _channel = const MethodChannel('FaceDetectChannel');
  XFile? _image;
  late String detectResult = '等待检测…';

  Future<void> _selectPhoto() async {
    print('>>> enter _selectPhoto');
    final picker = ImagePicker();
    final image = await picker.pickImage(
      source: ImageSource.gallery,
      maxWidth: 800,
    );
    setState(() => _image = image);
    print('chooseImage is: ${_image?.path}');
    await _sendToOhos();
  }

  Widget _imageArea() {
    return Container(
      width: 300,
      height: 300,
      decoration: BoxDecoration(
        border: Border.all(color: Colors.grey),
        borderRadius: BorderRadius.circular(8),
        image: DecorationImage(
          image: _image != null
              ? FileImage(File(_image!.path))
              : const NetworkImage(''),
          fit: BoxFit.cover,
        ),
      ),
    );
  }

  Widget _buttons() {
    return Column(
      mainAxisSize: MainAxisSize.min,
      children: [
        ElevatedButton(
          onPressed: _selectPhoto,
          child: const Text('选择图片'),
        ),
        const SizedBox(height: 10),
        ElevatedButton(
          onPressed: _image == null ? null : _startDetect,
          child: const Text('开始检测'),
        ),
      ],
    );
  }

  Future<void> _sendToOhos() async {
    if (_image == null) return;
    await _channel.invokeMethod('sendImagePath', {'path': _image!.path});
    ScaffoldMessenger.of(context).showSnackBar(
      const SnackBar(content: Text('已发送')),
    );
  }

  Future<void> _startDetect() async {
    if (_image == null) return;

    final String result = await _channel.invokeMethod('startDetect');
    print('detectResult is: $result');

    setState(() {
      detectResult = result;
    });

    ScaffoldMessenger.of(context).showSnackBar(
      const SnackBar(content: Text('detect success')),
    );
  }

  @override
  Widget build(BuildContext context) {
    return Scaffold(
      appBar: AppBar(title: const Text('face detect')),
      body: Center(
        child: Column(
          mainAxisAlignment: MainAxisAlignment.start,
          children: [
            _imageArea(),
            const SizedBox(height: 20),
            Container(
              width: 300,
              height: 200,
              alignment: Alignment.centerLeft,
              child: Text(
                'data is: $detectResult',
                maxLines: 8,
                overflow: TextOverflow.ellipsis,
                softWrap: true,
                style: const TextStyle(fontSize: 14),
              ),
            ),
            _buttons(),
          ],
        ),
      ),
    );
  }
}
FaceDetectPlugin.ets:
import {
  FlutterPlugin,
  FlutterPluginBinding
} from '@ohos/flutter_ohos/src/main/ets/embedding/engine/plugins/FlutterPlugin';
import MethodChannel, {
  MethodCallHandler,
  MethodResult
} from '@ohos/flutter_ohos/src/main/ets/plugin/common/MethodChannel';
import MethodCall from '@ohos/flutter_ohos/src/main/ets/plugin/common/MethodCall';
import Log from '@ohos/flutter_ohos/src/main/ets/util/Log';
import { faceDetector } from '@kit.CoreVisionKit';
import { image } from '@kit.ImageKit';
import { hilog } from '@kit.PerformanceAnalysisKit';
import { BusinessError } from '@kit.BasicServicesKit';
import { fileIo } from '@kit.CoreFileKit';

let TAG = 'FaceDetectPlugin';

export class FaceDetectPlugin implements FlutterPlugin, MethodCallHandler {
  private chooseImage: PixelMap | undefined = undefined;
  private mMethodChannel: MethodChannel | null = null;

  getUniqueClassName(): string {
    return TAG;
  }

  onAttachedToEngine(binding: FlutterPluginBinding): void {
    Log.i(TAG, 'FaceDetectPlugin onAttachedToEngine');
    this.mMethodChannel = new MethodChannel(binding.getBinaryMessenger(), 'FaceDetectChannel');
    this.mMethodChannel.setMethodCallHandler(this);
  }

  onDetachedFromEngine(): void {
    this.mMethodChannel = null;
  }

  async onMethodCall(call: MethodCall, result: MethodResult): Promise<void> {
    let method: string = call.method;
    Log.i(TAG, `Received ${method} message.`);
    Log.i(TAG, `Received ${call.argument('path')} message.`);
    switch (method) {
      case 'sendImagePath':
        try {
          this.chooseImage = await this.loadImage(call.argument('path'));
          hilog.info(0x0000, TAG, 'end chooseImage, can start detect');
        } catch (e) {
          hilog.error(0x0000, TAG, `chooseImage error: ${e}`);
        }
        break;
      case 'startDetect':
        if (!this.chooseImage) {
          result.error('NO_IMAGE', 'please chooseImage first', null);
          return;
        }
        let detectJson = await this.startDetect();
        hilog.info(0x0000, TAG, `detectJson data is: ${detectJson}`);
        result.success(detectJson);
        break;
    }
  }

  private async loadImage(path: string): Promise<image.PixelMap> {
    hilog.info(0x0000, TAG, `start loadImage: ${path}`);
    let file = await fileIo.open(path, fileIo.OpenMode.READ_ONLY);
    try {
      let source = image.createImageSource(file.fd);
      let pixelMap = await source.createPixelMap();
      hilog.info(0x0000, TAG, 'createPixelMap success');
      return pixelMap;
    } finally {
      await fileIo.close(file);
    }
  }

  private startDetect(): Promise<string> {
    return new Promise((resolve, reject) => {
      if (!this.chooseImage) {
        reject('No image');
        return;
      }
      faceDetector.init();
      let visionInfo: faceDetector.VisionInfo = {
        pixelMap: this.chooseImage
      };
      faceDetector.detect(visionInfo)
        .then((faces: faceDetector.Face[]) => {
          faceDetector.release();
          let json = faces.length === 0
            ? 'No face is detected in the image.'
            : JSON.stringify(faces);
          resolve(json);
        })
        .catch((err: BusinessError) => {
          faceDetector.release();
          reject(err.message);
        });
    });
  }
}

什么样的业务场景? 1.头像上传通过SDK判断是否人脸 2.认证拍摄上传通过SDK判断是否人脸
什么样的交互流程? 单一流程,不涉及用户交互,无法描述
哪一个过程遇到了问题? 1.头像上传 2.认证拍摄
什么时间用到? 1.头像上传 2.认证拍摄
是否高频? 是,因为软件主打认证后用户可使用部分VIP功能, 所以每天用户发起头像认证的频率非常高
有无三方库可以做到? Flutter端目前使用google_mlkit_face_detection: ^0.13.2
若提供该能力,是否会造成大工作量返工? 不会,目前因为这个插件没有适配所以相关功能全部阉割掉了


鸿蒙Next中flutter项目适配google_mlkit_face_detection插件目前不可行。该插件依赖Android/iOS原生平台能力,与鸿蒙Next的纯鸿蒙内核不兼容。
替代方案需使用鸿蒙原生AI能力。可关注华为提供的机器学习服务(ML Kit),其包含人脸检测等CV能力。需通过鸿蒙原生开发方式(ArkTS/ArkUI)调用,或等待社区开发对应的鸿蒙flutter插件。

针对在HarmonyOS NEXT上Flutter项目需要人脸检测功能,但google_mlkit_face_detection插件未适配的问题,核心解决方案是使用华为提供的原生能力进行替代。
替代方案:使用华为ML Kit的人脸检测能力
华为ML Kit提供了强大的人脸检测服务,完全兼容HarmonyOS NEXT,是替代Google ML Kit Face Detection的首选方案。具体实现路径如下:
-
核心思路:为你的Flutter项目开发一个鸿蒙原生插件(HarmonyOS Plugin),该插件作为桥梁,在Dart层调用鸿蒙ML Kit的Native API。
-
实现步骤:
- 鸿蒙侧(Native):
- 在DevEco Studio中创建一个
HarmonyOS Library模块,作为你的Flutter插件原生部分。 - 集成华为
ML Kit Face DetectionSDK。在模块的build-profile.json5文件中添加依赖:"implementation 'com.huawei.hms:ml-computer-vision-face:3.11.0.301'"(请使用最新版本)。 - 编写原生Java/ArkTS代码,实现人脸检测逻辑,并暴露一个接口供Flutter调用。关键类是
MLFaceAnalyzer。
- 在DevEco Studio中创建一个
- Flutter侧(Dart):
- 创建Flutter插件包,在
lib目录下编写Dart代码,通过MethodChannel(平台通道)调用你编写的鸿蒙原生接口。 - 设计Dart API,例如提供一个
detectFaces(String imagePath)方法,接收图片路径,返回人脸位置、关键点等信息。
- 创建Flutter插件包,在
- 鸿蒙侧(Native):
-
技术要点:
- 权限:在鸿蒙模块的
module.json5文件中声明必要的权限,如ohos.permission.READ_IMAGEVIDEO。 - 图片输入:ML Kit支持多种输入(像素图、文件路径等)。在插件中需处理好从Flutter传递过来的图片数据(如文件路径或byte数据)并转换为ML Kit可识别的
PixelMap或MLFrame对象。 - 异步通信:人脸检测是耗时操作,务必通过
MethodChannel进行异步调用,将结果回调回Flutter层。
- 权限:在鸿蒙模块的
简要代码示例(概念性):
- 鸿蒙原生接口示例(Java):
// 伪代码,需在Ability中或通过Context初始化 public class FaceDetectionService { public static void detect(String imagePath, ResultCallback callback) { MLFaceAnalyzer analyzer = new MLFaceAnalyzer.Factory(context).create(); MLFrame frame = MLFrame.fromFilePath(imagePath); // 根据路径创建帧 Task<List<MLFace>> task = analyzer.asyncAnalyseFrame(frame); task.addOnSuccessListener(faces -> { // 处理检测到的人脸列表,转换为简单数据 callback.onSuccess(convertToResult(faces)); }).addOnFailureListener(e -> { callback.onError(e.getMessage()); }); } } - Flutter插件调用示例(Dart):
class HarmonyFaceDetector {
  static const MethodChannel _channel = MethodChannel('harmony_face_detector');
  static Future<List<Face>> detect(String imagePath) async {
    final List<dynamic> results = await _channel.invokeMethod('detect', {'path': imagePath});
    return results.map((e) => Face.fromMap(e)).toList();
  }
}
总结:
在HarmonyOS NEXT上,无法直接使用依赖GMS的google_mlkit_face_detection。最直接、性能最优的替代方案是基于华为ML Kit人脸检测服务,自主开发一个Flutter鸿蒙插件。这需要你具备一定的鸿蒙原生开发与Flutter插件开发知识。你可以参考华为开发者官网的ML Kit人脸检测开发指南和Flutter平台插件开发文档来完成集成。