


HarmonyOS 鸿蒙Next沉浸光感顶部模糊
HarmonyOS 鸿蒙Next沉浸光感顶部模糊
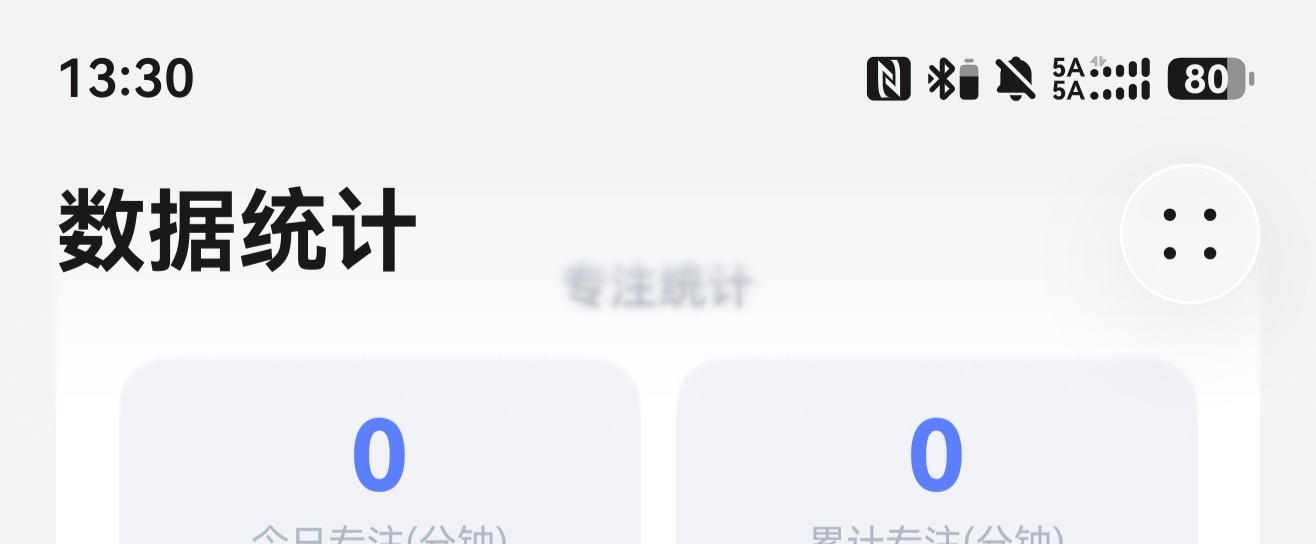
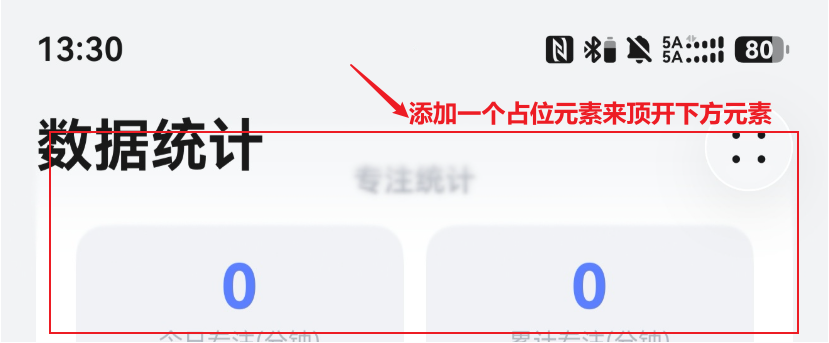
我做了顶部模糊效果,但是内容一开始就已经被挤到模糊的区域了,我试了一些方法不行,这个怎么解决呢?
更多关于HarmonyOS 鸿蒙Next沉浸光感顶部模糊的实战教程也可以访问 https://www.itying.com/category-93-b0.html
15 回复

这种有两个解决方式,一个比较笨的方式就是内容区上面加一个blank组件,设置一个固定高度,相当于用空白组件把内容顶到下方。另一种方式,如果你是用的HDSNavigation,可以设置标题栏自动避让内容区。
更多关于HarmonyOS 鸿蒙Next沉浸光感顶部模糊的实战系列教程也可以访问 https://www.itying.com/category-93-b0.html


设置padding啊!
上代码:
import { BlurStrategy, HdsNavigation, HdsNavigationTitleMode, ScrollEffectType } from '@kit.UIDesignKit';
import { LengthMetrics } from '@kit.ArkUI';

@Entry
@Component
struct ExtensionToolBar {
  pageInfo: NavPathStack = new NavPathStack();
  toolBarList: string[] = ['设置', '媒体', '多选'];
  scroller: Scroller = new Scroller();

  @Builder
  toolBarBuilder() {
    Row() {
      ForEach(this.toolBarList, (item: string) => {
        Column() {
          Text(item)
            .fontSize(20)
            .fontWeight(FontWeight.Normal)
            .fontColor('#000000');
        };
      });
    }
    .width('100%')
    .height('100%')
    .justifyContent(FlexAlign.SpaceAround);
  }

  build() {
    HdsNavigation(this.pageInfo) {
      Column() {
        Scroll(this.scroller) {
          Column() {
            Text('滚动条')
              .padding(16)
              .fontSize(24)
              .fontWeight(FontWeight.Medium)
              .fontColor('#ffffff')
              .backgroundColor('#40000000')
              .height('1320'); // 使子组件的布局尺寸超过父组件的尺寸,内容可以滚动。
          }
          .justifyContent(FlexAlign.Center)
          .padding({ top: 56, bottom: 56 });   //设置padding
        }
        .height('100%')
        .width('100%')
        .scrollBar(BarState.Off);
      }
      .height('100%')
      .width('100%');
    }
    .bindToScrollable([this.scroller]) // 绑定导航组件和可滚动容器组件
    .height('100%')
    .width('100%')
    .hideBackButton(true)
    .titleBar({
      style: {
        scrollEffectOpts: {
          enableScrollEffect: true,
          scrollEffectType: ScrollEffectType.COMMON_BLUR, // 设置模糊类型
          blurEffectiveStartOffset: LengthMetrics.vp(0), // 动态样式线性过渡的起始位置
          blurEffectiveEndOffset: LengthMetrics.vp(20) // 动态样式线性过渡的终点位置
        },
        blurStrategy: BlurStrategy.ADAPTIVE,
        originalStyle: { backgroundStyle: { backgroundColor: '#00ffffff' } },
        scrollEffectStyle: { backgroundStyle: { backgroundColor: '#00ffffff' } }
      },
      content: {
        title: {
          mainTitle: '测试标题'
        }
      }
    })
    .titleMode(HdsNavigationTitleMode.MINI)
    .toolbarConfiguration(this.toolBarBuilder, {
      backgroundColor: '#00ffffff',
      backgroundBlurStyle: BlurStyle.Thin,
      backgroundBlurStyleOptions: {
        policy: BlurStyleActivePolicy.FOLLOWS_WINDOW_ACTIVE_STATE, // 模糊激活策略
        inactiveColor: '#00ffffff' // 模糊不生效时使用的背景色
      },
      hideItemValue: false,
      barStyle: BarStyle.STACK // 工具栏的布局样式采用层叠布局
    });
  }
}


在HarmonyOS Next中可通过 BlurView 组件或 backdropBlur 属性实现顶部沉浸模糊。设置 width('100%')、height 适配状态栏区域,并调整 blurRadius 控制模糊强度。配合 backgroundBlurStyle 可调节材质效果,确保视觉通透性。
将顶部模糊层改为绝对定位,避免占据布局空间;同时给内容区域添加与模糊高度一致的顶部内边距,防止内容被遮挡。示例思路:
Stack() {
  // 模糊背景,绝对定位在顶部
  Row()
    .width('100%')
    .height(80) // 模糊区高度
    .backgroundColor('#80FFFFFF')
    .backdropBlur(10)
    .position({ x: 0, y: 0 })

  // 主内容,设置顶部内边距等于模糊高度
  Column() {
    // 内容项...
  }
  .width('100%')
  .height('100%')
  .padding({ top: 80 })
}
若使用窗口沉浸式布局,还需配置 expandSafeArea 让内容延伸到状态栏区域,使模糊效果覆盖状态栏。