Flutter时间线展示插件timeline_tile的使用
Flutter时间线展示插件timeline_tile的使用
TimelineTile
TimelineTile 是一个用于在Flutter中构建可定制时间线的包。
示例项目和设计案例
- 您可以访问 example 项目来查看时间线的展示。
- Beautiful Timelines 包含了真实世界的设计示例。
- 或者尝试 web demo
使用场景示例
| 场景 | 描述 |
|---|---|
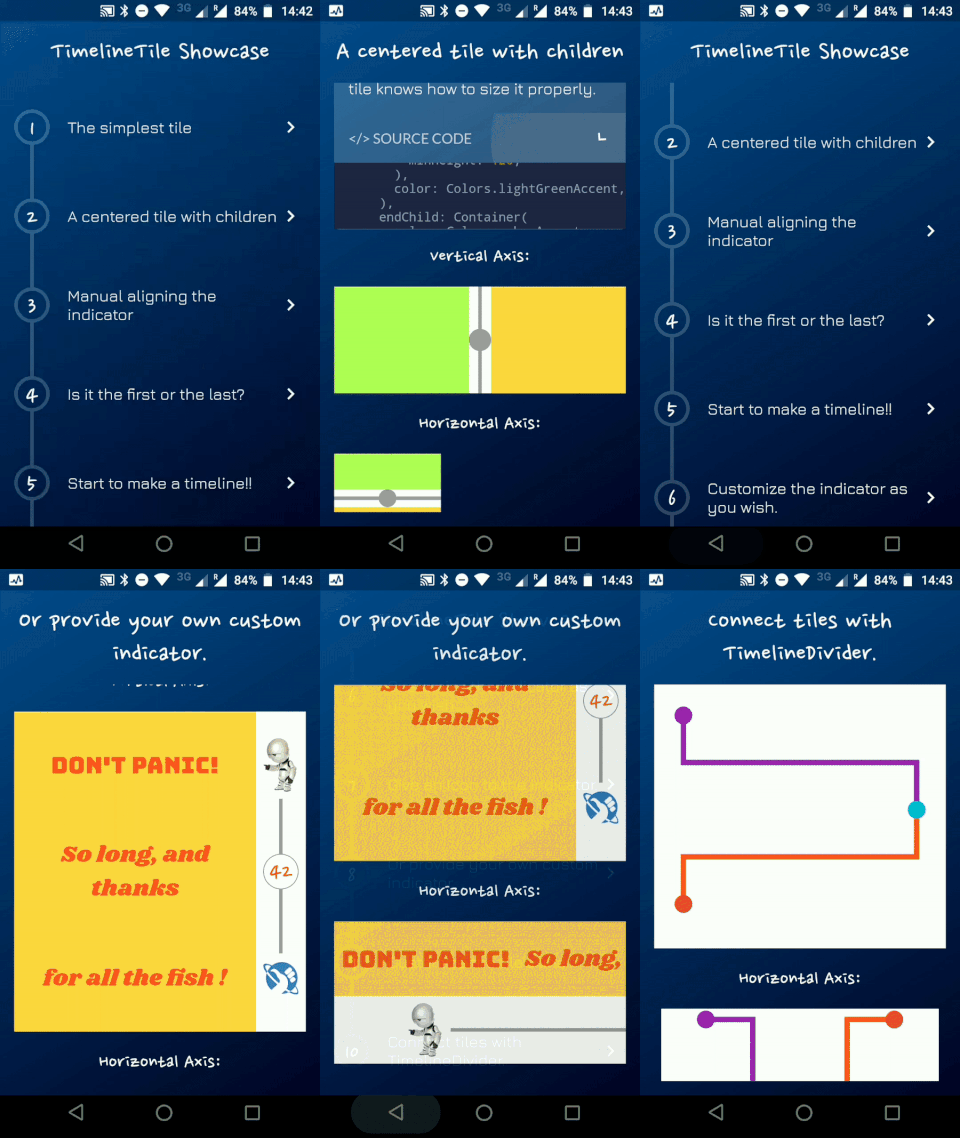 |
Timeline Showcase |
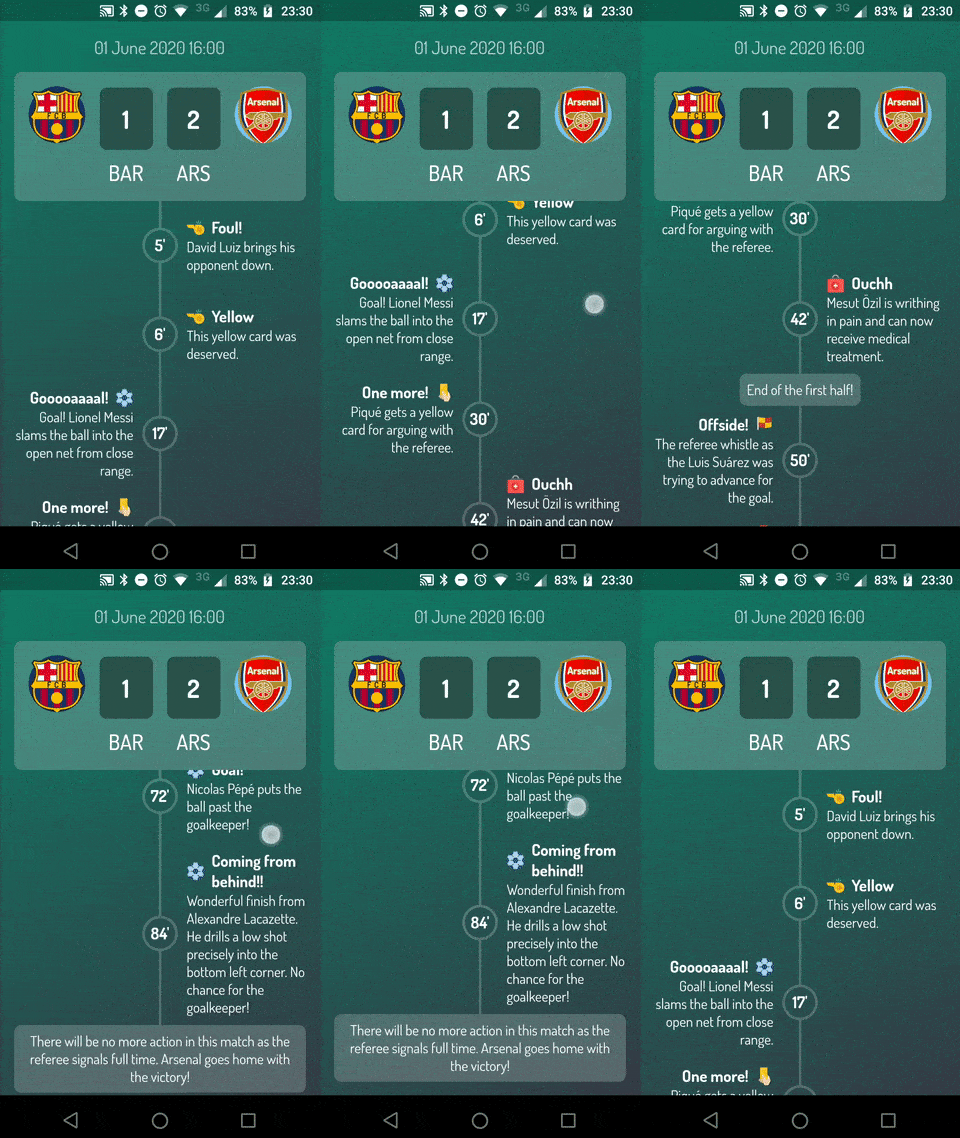 |
Football Timeline |
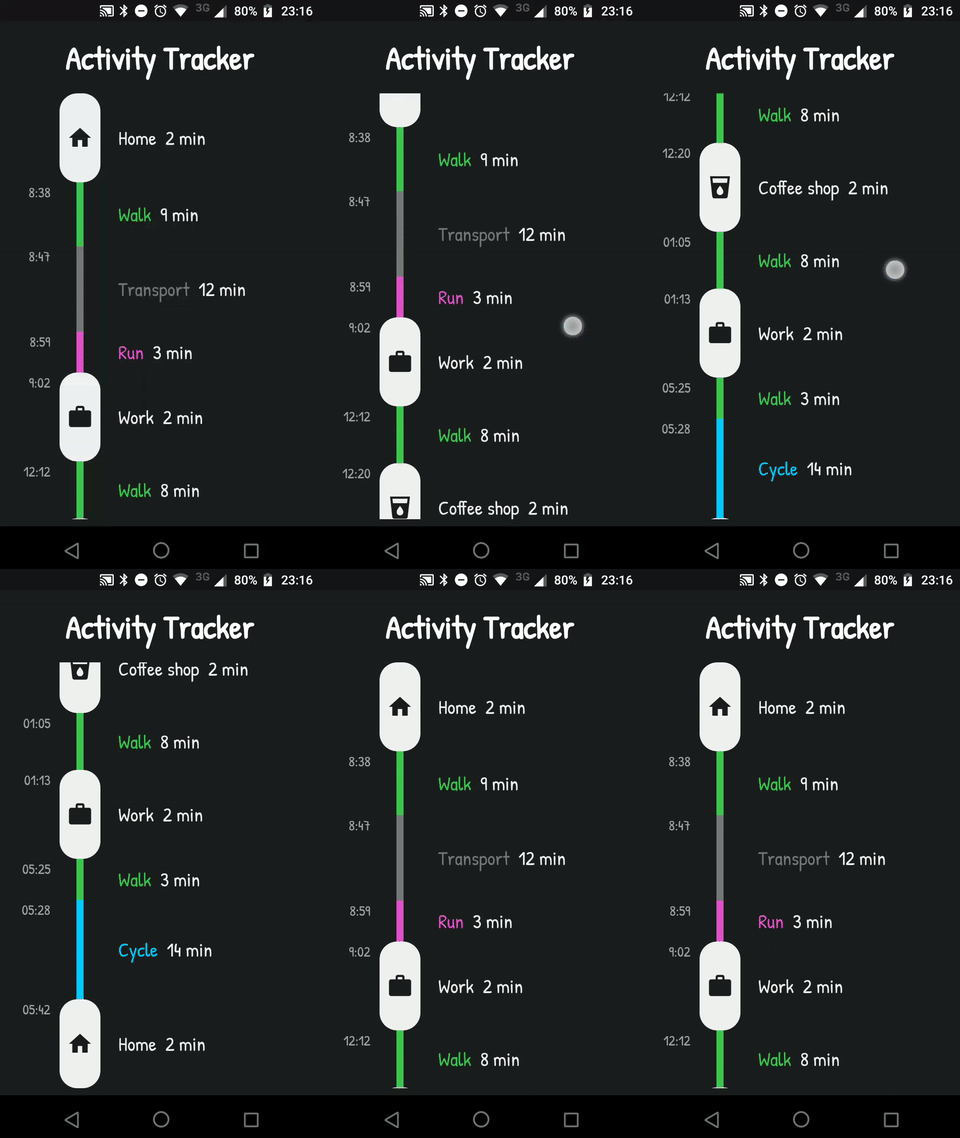 |
Activity Timeline |
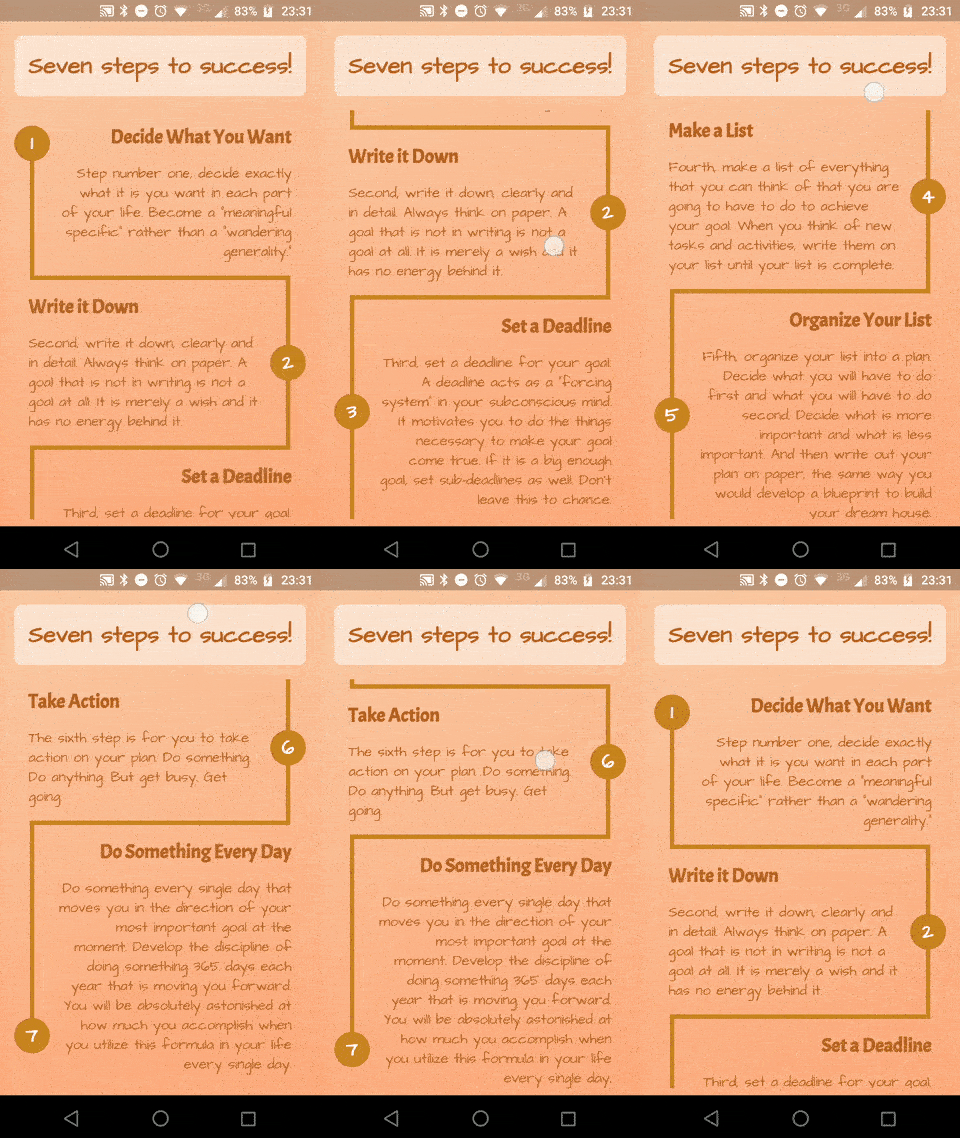 |
Success Timeline |
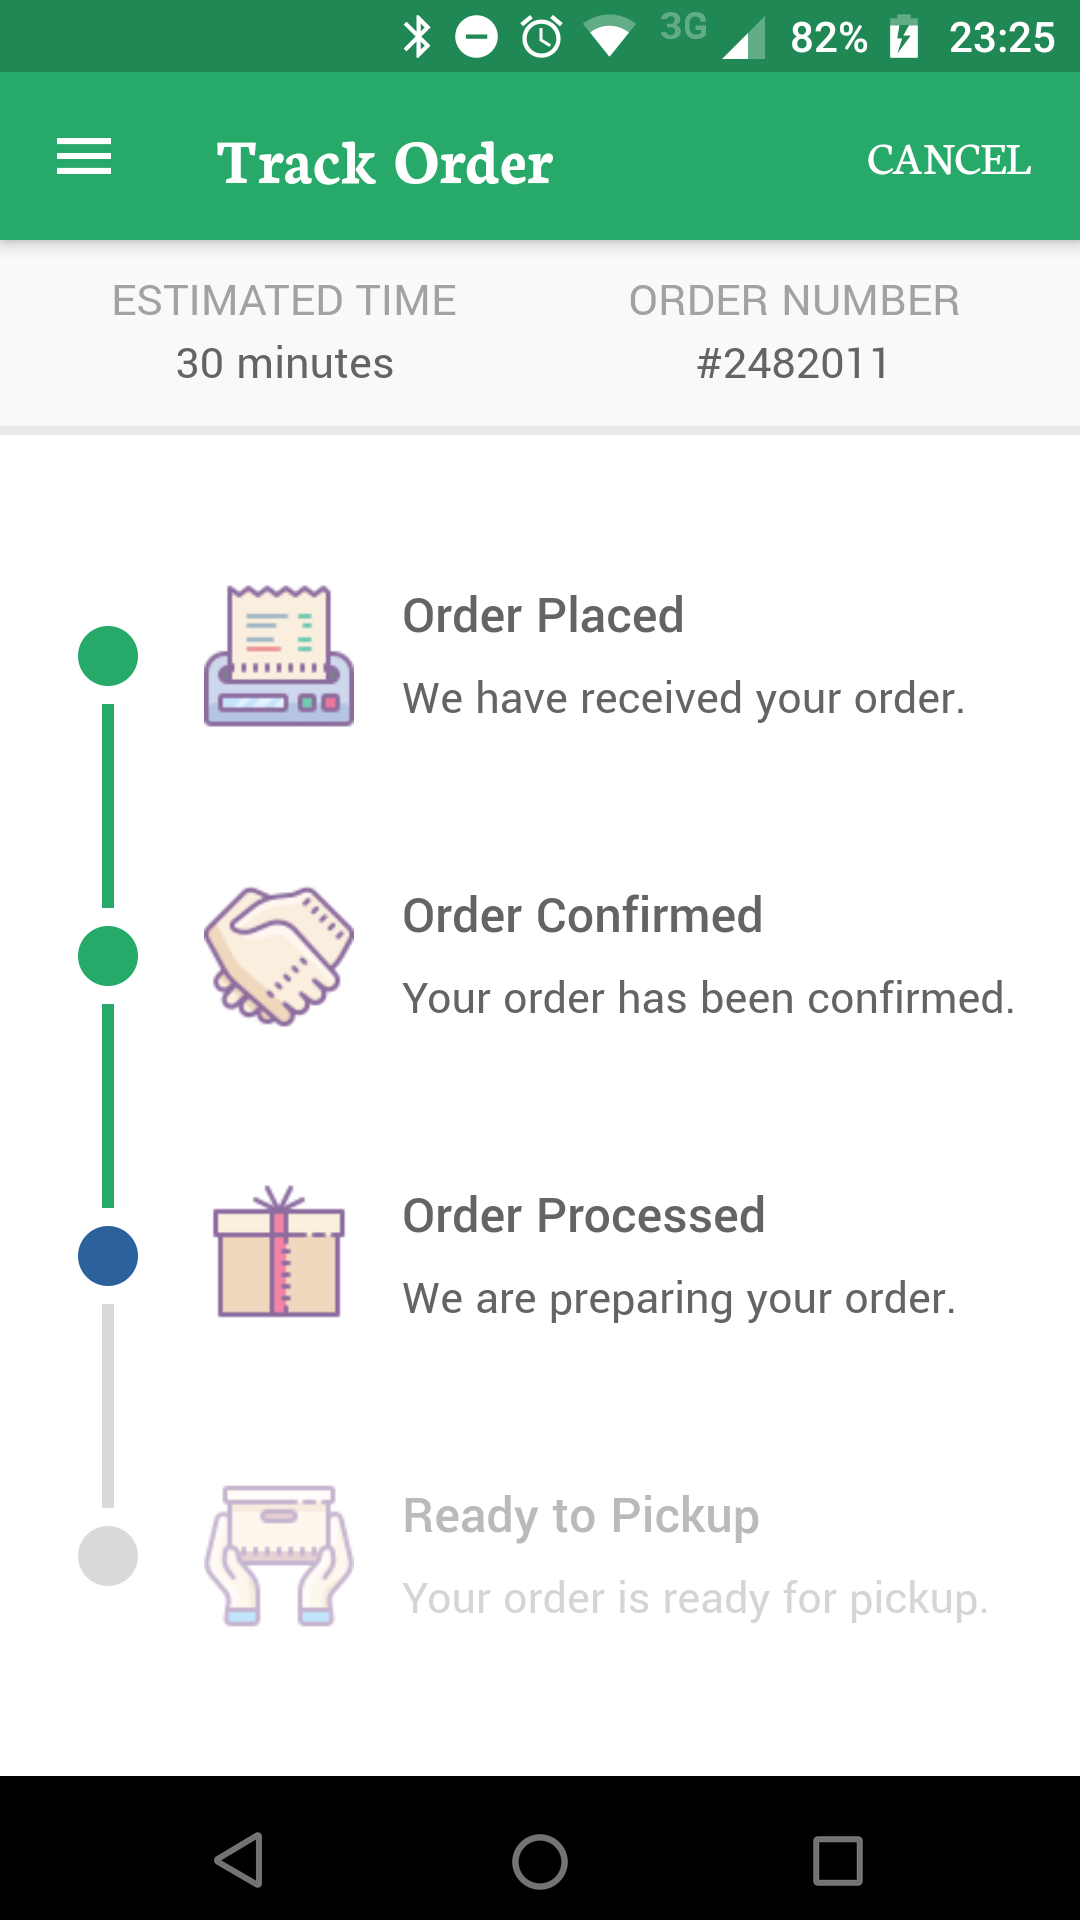 |
Delivery Timeline |
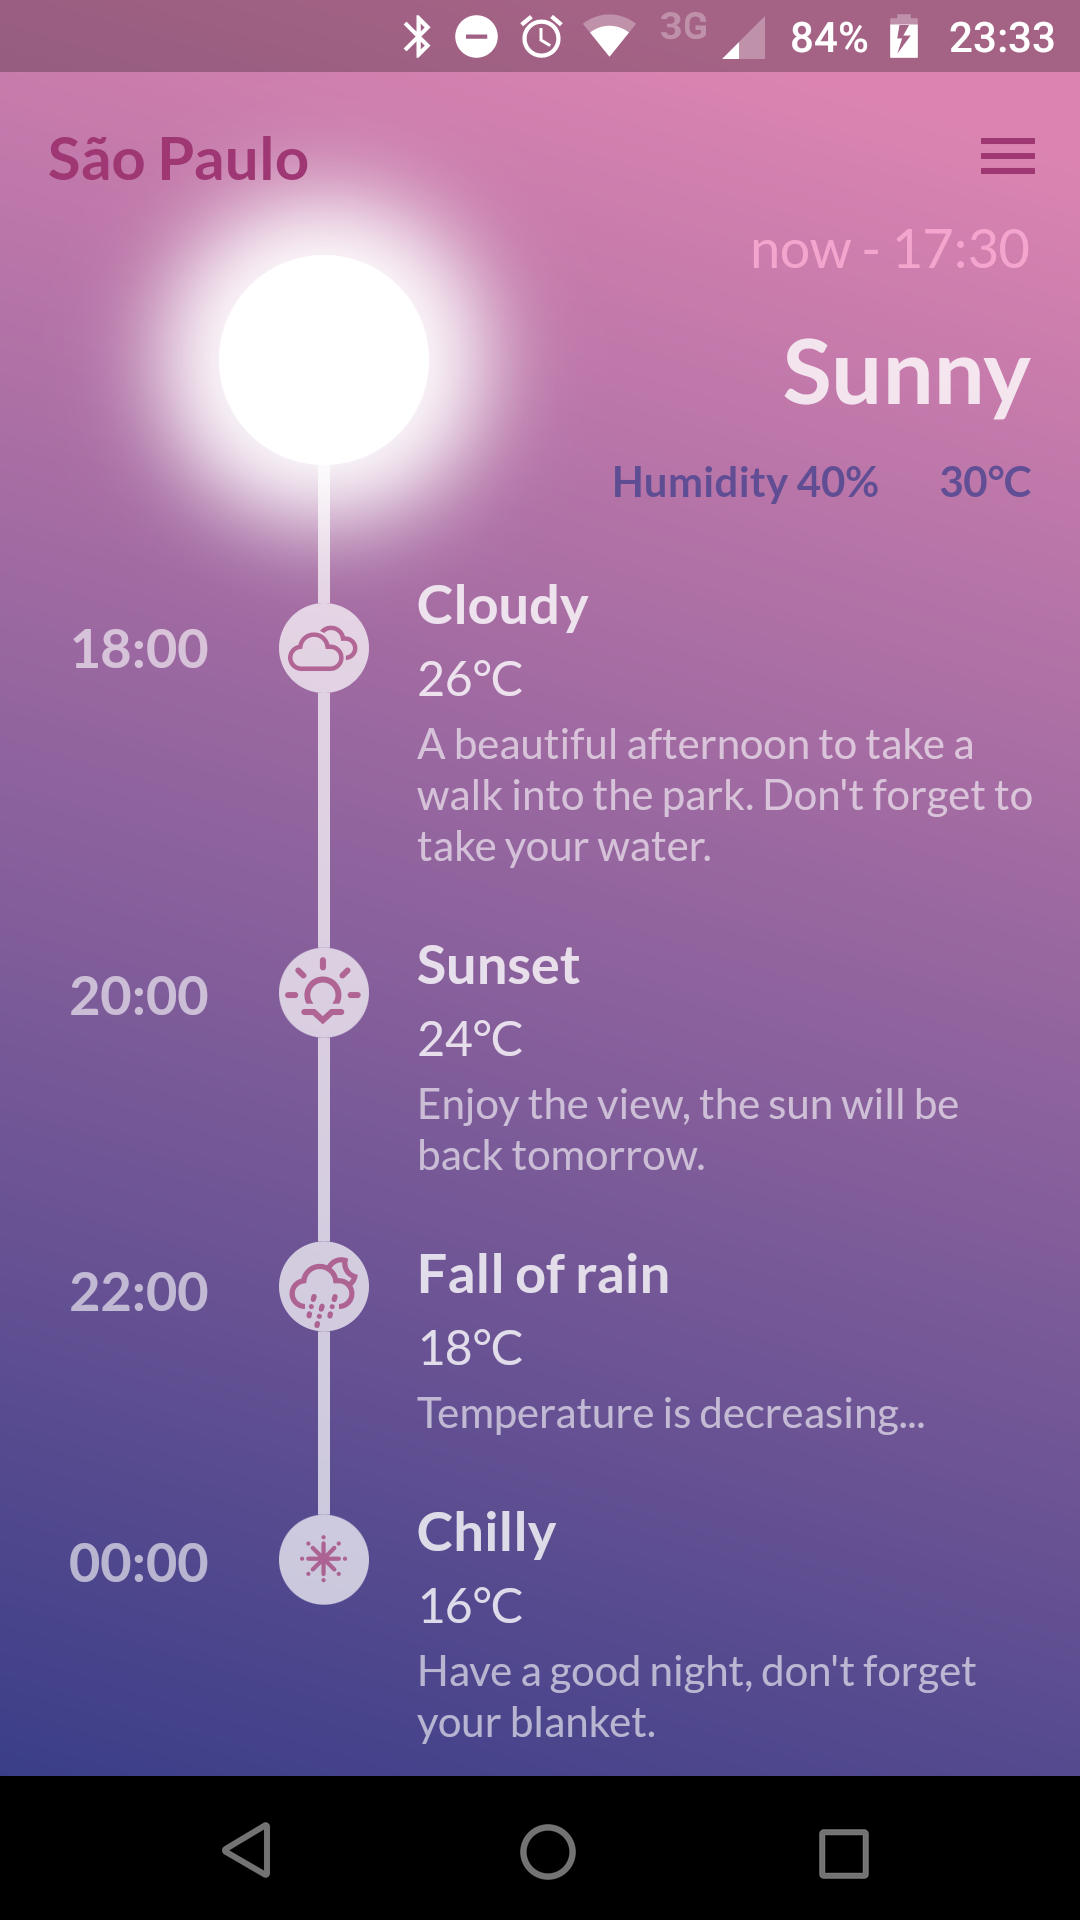 |
Weather Timeline |
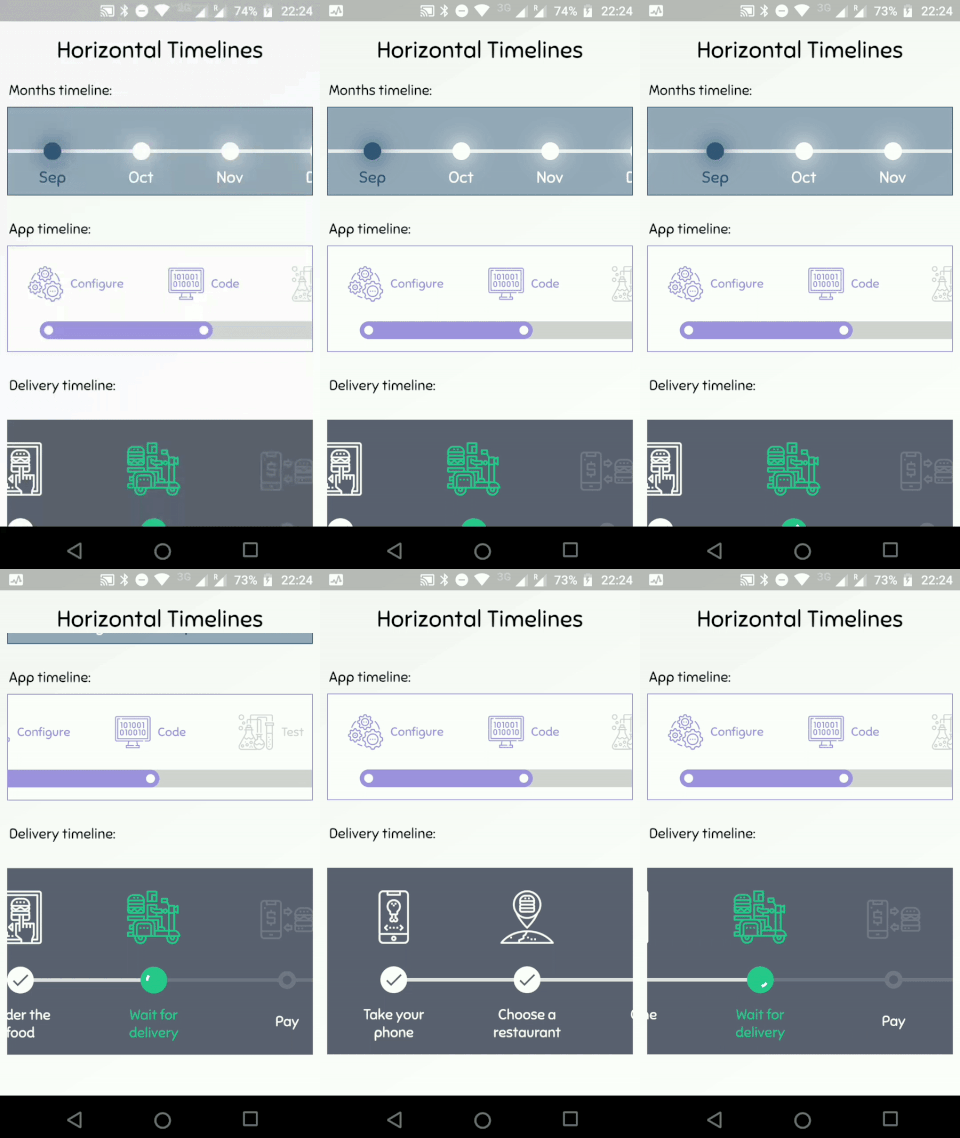 |
Horizontal Timelines |
入门指南
时间线由一组 TimelineTile 组成。要创建一个瓦片,可以简单地使用:
TimelineTile()
这将构建一个默认的垂直轴对齐到开始位置的瓦片,默认高度为100:

可以通过设置 axis 属性来渲染水平方向的瓦片,对齐到开始位置,默认宽度为100:
TimelineTile(axis: TimelineAxis.horizontal)

有四种对齐方式:
TimelineAlign.startTimelineAlign.endTimelineAlign.centerTimelineAlign.manual
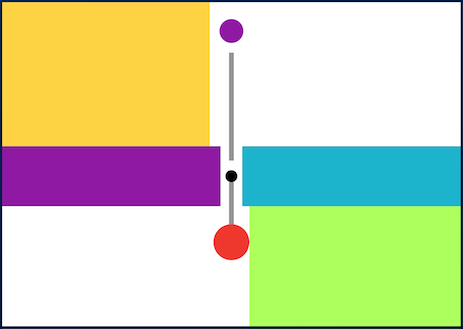
例如,一个居中的瓦片:
TimelineTile(
  alignment: TimelineAlign.center,
  endChild: Container(
    constraints: const BoxConstraints(
      minHeight: 120,
    ),
    color: Colors.lightGreenAccent,
  ),
  startChild: Container(
    color: Colors.amberAccent,
  ),
);

对于水平方向的瓦片,需要通过最小宽度来控制其大小:
TimelineTile(
  axis: TimelineAxis.horizontal,
  alignment: TimelineAlign.center,
  endChild: Container(
    constraints: const BoxConstraints(
      minWidth: 120,
    ),
    color: Colors.lightGreenAccent,
  ),
  startChild: Container(
    color: Colors.amberAccent,
  ),
);
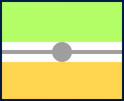
手动对齐指示器
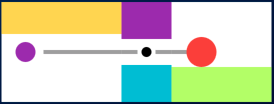
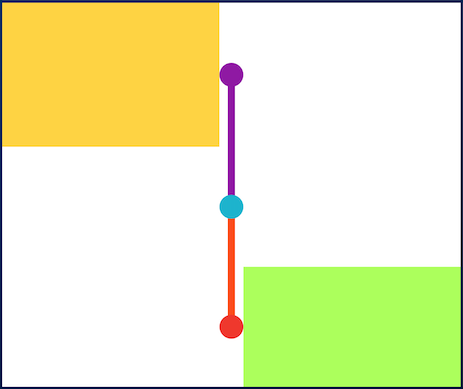
使用 TimelineAlign.manual 可以提供 lineXY 参数,该参数允许指定从0.0到1.0之间的值,表示大小的百分比。例如,在30%的位置对齐:
TimelineTile(
  alignment: TimelineAlign.manual,
  lineXY: 0.3,
  endChild: Container(
    constraints: const BoxConstraints(
      minHeight: 120,
    ),
    color: Colors.lightGreenAccent,
  ),
  startChild: Container(
    color: Colors.amberAccent,
  ),
);

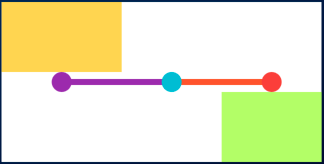
对于水平方向的时间线:
TimelineTile(
  axis: TimelineAxis.horizontal,
  alignment: TimelineAlign.manual,
  lineXY: 0.3,
  endChild: Container(
    constraints: const BoxConstraints(
      minWidth: 120,
    ),
    color: Colors.lightGreenAccent,
  ),
  startChild: Container(
    color: Colors.amberAccent,
  ),
);
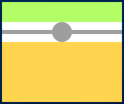
设置第一个或最后一个瓦片
可以通过设置瓦片是否为第一个或最后一个来控制是否渲染“之前”或“之后”的线条。

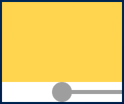
具体实现可以参考这里。
开始构建时间线
结合多个瓦片可以构建时间线,hasIndicator 标志可以控制是否渲染指示器。
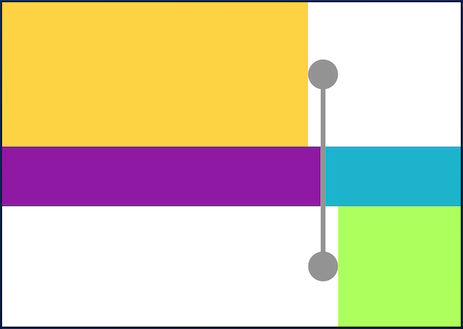
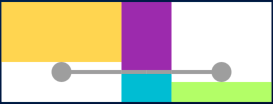
具体实现可以参考这里。
自定义指示器
默认指示器是一个圆圈,你可以使用 IndicatorStyle 来自定义它,如改变颜色、调整X/Y位置(基于0.0到1.0的值)或添加内边距。但必须显式提供其宽度(垂直)或高度(水平)。
具体实现可以参考这里。
添加图标到指示器
使用 IconStyle 可以为默认指示器内部添加图标。
![]()
![]()
具体实现可以参考这里。
提供自定义指示器
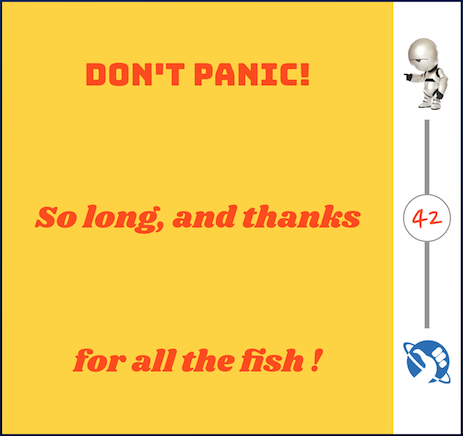
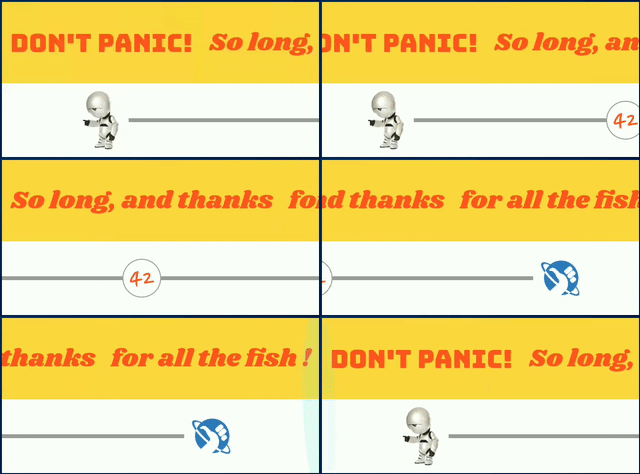
使用 indicator 参数可以自定义瓦片的指示器。但是必须通过宽度和高度参数来控制其大小。
具体实现可以参考这里。
自定义瓦片线条
使用 LineStyle 可以自定义 beforeLine 和 afterLine。
具体实现可以参考这里。
使用TimelineDivider连接不同轴对齐的瓦片
TimelineDivider 小部件允许你连接不同X/Y轴对齐的瓦片,当与 TimelineAlign.manual 结合使用时。
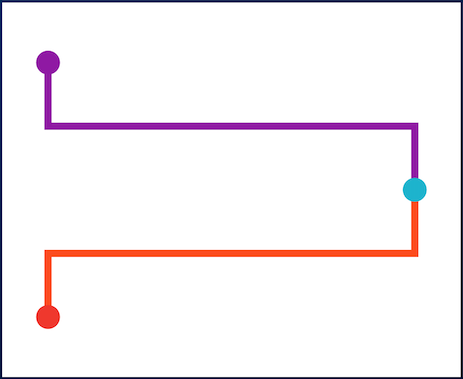
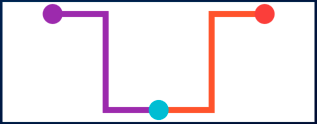
具体实现可以参考这里。
示例代码
以下是完整的示例代码,展示了如何使用 TimelineTile 创建一个时间线应用:
import 'package:flutter/material.dart';
import 'package:timeline_tile/timeline_tile.dart';

void main() {
  runApp(MyApp());
}

class MyApp extends StatelessWidget {
  @override
  Widget build(BuildContext context) {
    return MaterialApp(
      title: 'TimelineTile Demo',
      theme: ThemeData(
        primarySwatch: Colors.blue,
      ),
      home: Scaffold(
        appBar: AppBar(
          title: Text('TimelineTile Demo'),
        ),
        body: Padding(
          padding: const EdgeInsets.all(16.0),
          child: ListView(
            children: [
              TimelineTile(
                alignment: TimelineAlign.center,
                isFirst: true,
                indicatorStyle: IndicatorStyle(
                  width: 20,
                  color: Colors.blue,
                  iconStyle: IconStyle(
                    icon: Icon(Icons.check, color: Colors.white),
                  ),
                ),
                beforeLineStyle: LineStyle(color: Colors.blue),
                afterLineStyle: LineStyle(color: Colors.blue),
                startChild: Card(
                  child: Padding(
                    padding: const EdgeInsets.all(8.0),
                    child: Text('Start of the timeline'),
                  ),
                ),
              ),
              TimelineTile(
                alignment: TimelineAlign.center,
                indicatorStyle: IndicatorStyle(
                  width: 20,
                  color: Colors.green,
                ),
                beforeLineStyle: LineStyle(color: Colors.green),
                afterLineStyle: LineStyle(color: Colors.green),
                startChild: Card(
                  child: Padding(
                    padding: const EdgeInsets.all(8.0),
                    child: Text('Middle of the timeline'),
                  ),
                ),
              ),
              TimelineTile(
                alignment: TimelineAlign.center,
                isLast: true,
                indicatorStyle: IndicatorStyle(
                  width: 20,
                  color: Colors.red,
                ),
                beforeLineStyle: LineStyle(color: Colors.red),
                afterLineStyle: LineStyle(color: Colors.red),
                startChild: Card(
                  child: Padding(
                    padding: const EdgeInsets.all(8.0),
                    child: Text('End of the timeline'),
                  ),
                ),
              ),
            ],
          ),
        ),
      ),
    );
  }
}
这个示例代码展示了如何创建一个包含三个瓦片的时间线,每个瓦片有不同的指示器样式和内容。
更多关于Flutter时间线展示插件timeline_tile的使用的实战系列教程也可以访问 https://www.itying.com/category-92-b0.html
更多关于Flutter时间线展示插件timeline_tile的使用的实战系列教程也可以访问 https://www.itying.com/category-92-b0.html
当然,以下是如何在Flutter中使用timeline_tile插件来展示时间线的一个示例代码。timeline_tile是一个非常有用的插件,可以用来创建漂亮的时间线展示。首先,你需要确保已经在pubspec.yaml文件中添加了该插件的依赖:
dependencies:
  flutter:
    sdk: flutter
  timeline_tile: ^x.y.z  # 请替换为最新的版本号
然后运行flutter pub get来安装依赖。
下面是一个完整的示例代码,展示了如何使用timeline_tile插件来创建一个简单的时间线:
import 'package:flutter/material.dart';
import 'package:timeline_tile/timeline_tile.dart';

void main() {
  runApp(MyApp());
}

class MyApp extends StatelessWidget {
  @override
  Widget build(BuildContext context) {
    return MaterialApp(
      title: 'Timeline Tile Demo',
      theme: ThemeData(
        primarySwatch: Colors.blue,
      ),
      home: Scaffold(
        appBar: AppBar(
          title: Text('Timeline Tile Demo'),
        ),
        body: Padding(
          padding: const EdgeInsets.all(16.0),
          child: Column(
            crossAxisAlignment: CrossAxisAlignment.start,
            children: <Widget>[
              TimelineTile(
                alignment: TimelineAlign.centered,
                indicatorStyle: TimelineIndicatorStyle(
                  color: Colors.blue,
                  width: 10.0,
                  height: 10.0,
                ),
                lineStyle: TimelineLineStyle(
                  color: Colors.grey.withOpacity(0.5),
                  width: 2.0,
                ),
                leading: Icon(Icons.event),
                trailing: Column(
                  crossAxisAlignment: CrossAxisAlignment.start,
                  children: <Widget>[
                    Text(
                      'Event 1',
                      style: TextStyle(fontSize: 18, fontWeight: FontWeight.bold),
                    ),
                    SizedBox(height: 4),
                    Text(
                      'This is the description for Event 1.',
                      style: TextStyle(fontSize: 14, color: Colors.grey),
                    ),
                  ],
                ),
                isLeft: true,
              ),
              SizedBox(height: 20),
              TimelineTile(
                alignment: TimelineAlign.centered,
                indicatorStyle: TimelineIndicatorStyle(
                  color: Colors.green,
                  width: 10.0,
                  height: 10.0,
                ),
                lineStyle: TimelineLineStyle(
                  color: Colors.grey.withOpacity(0.5),
                  width: 2.0,
                ),
                leading: Icon(Icons.announcement),
                trailing: Column(
                  crossAxisAlignment: CrossAxisAlignment.start,
                  children: <Widget>[
                    Text(
                      'Event 2',
                      style: TextStyle(fontSize: 18, fontWeight: FontWeight.bold),
                    ),
                    SizedBox(height: 4),
                    Text(
                      'This is the description for Event 2.',
                      style: TextStyle(fontSize: 14, color: Colors.grey),
                    ),
                  ],
                ),
                isLeft: false,
              ),
            ],
          ),
        ),
      ),
    );
  }
}
代码解释
- 依赖添加:确保在
pubspec.yaml中添加了timeline_tile依赖。 - 创建应用:在
MyApp中,我们创建了一个基本的Flutter应用,包含一个标题和主体内容。 - 时间线创建:
- 使用
TimelineTile小部件来创建时间线条目。 alignment属性决定时间线是对齐到左侧还是右侧(或居中,但在这个例子中我们仅使用左侧和右侧)。indicatorStyle定义了时间线点的样式,包括颜色和大小。lineStyle定义了连接时间线点的线的样式,包括颜色和宽度。leading是时间线点左侧的图标或内容。trailing是时间线点右侧的内容,这里是一个包含标题和描述的列。isLeft决定时间线点是位于左侧还是右侧。
- 使用
这样,你就可以使用timeline_tile插件来创建一个简单而有效的时间线展示了。希望这对你有所帮助!


