Flutter信用卡输入插件flutter_credit_card的使用
Flutter信用卡输入插件flutter_credit_card的使用
插件介绍
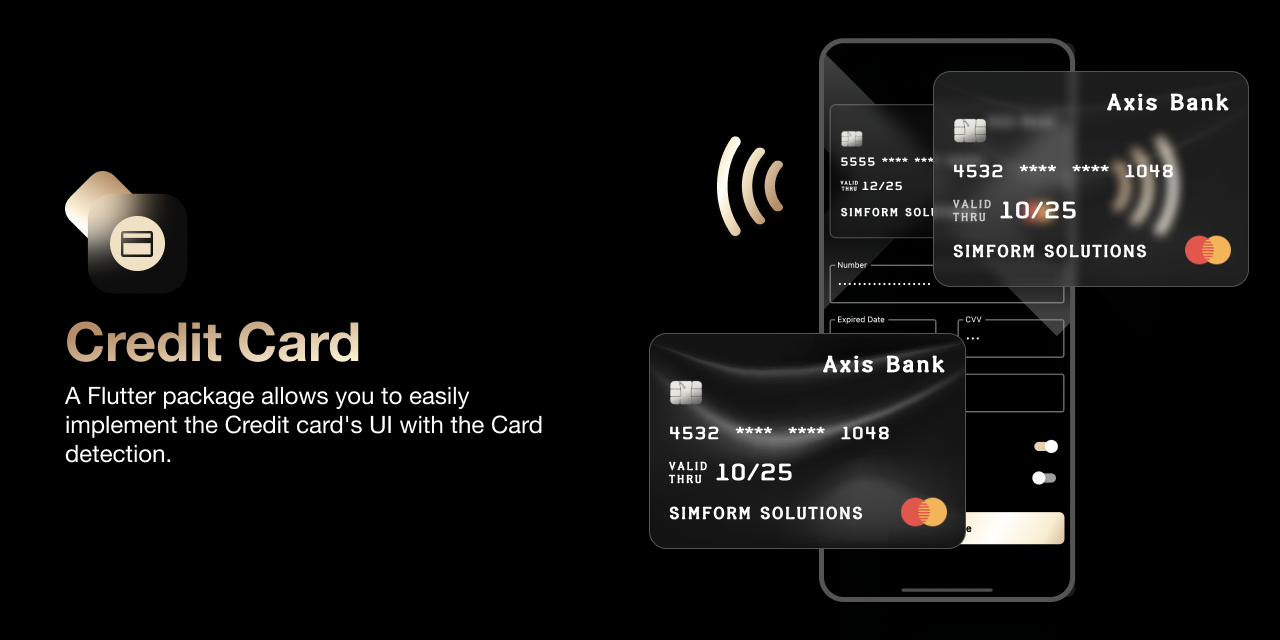
flutter_credit_card 是一个Flutter包,允许您轻松实现信用卡UI并带有卡检测功能。通过这个包,开发者可以快速创建美观且交互性强的信用卡输入界面。

预览
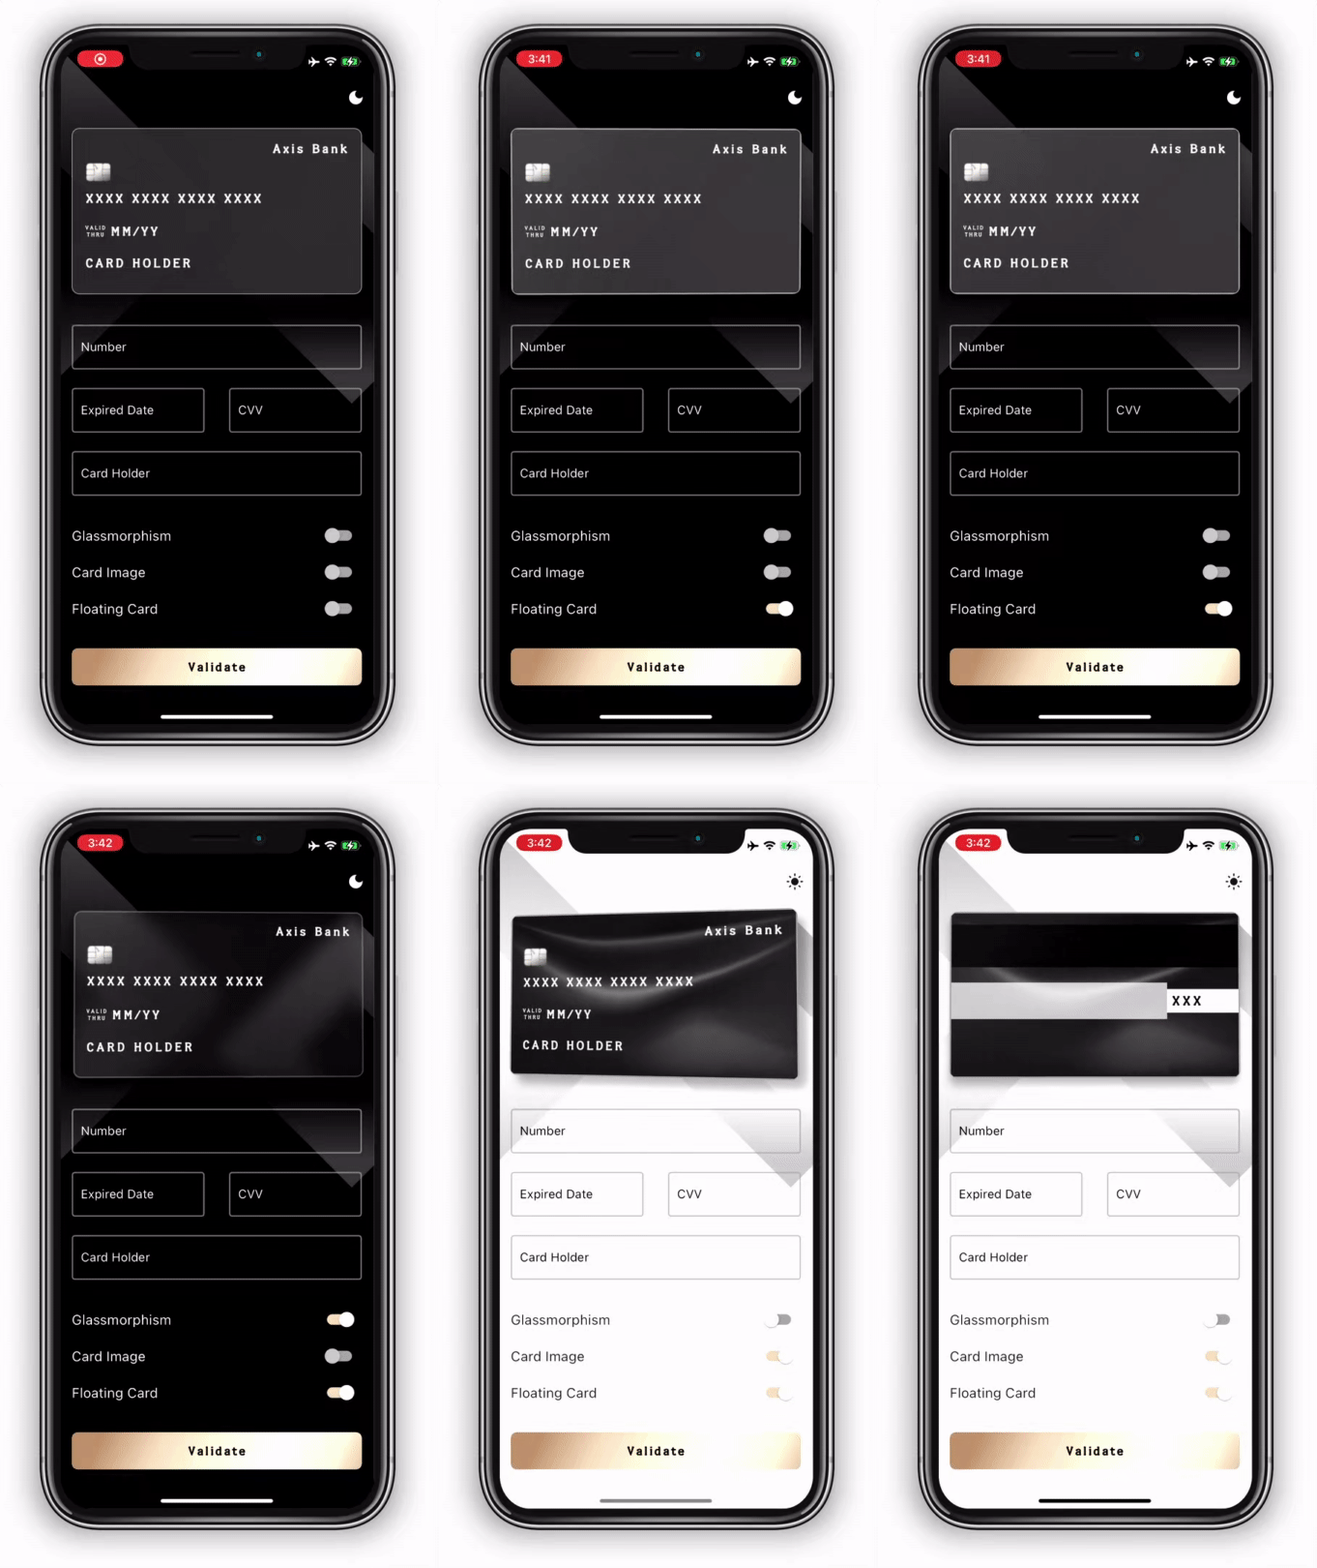
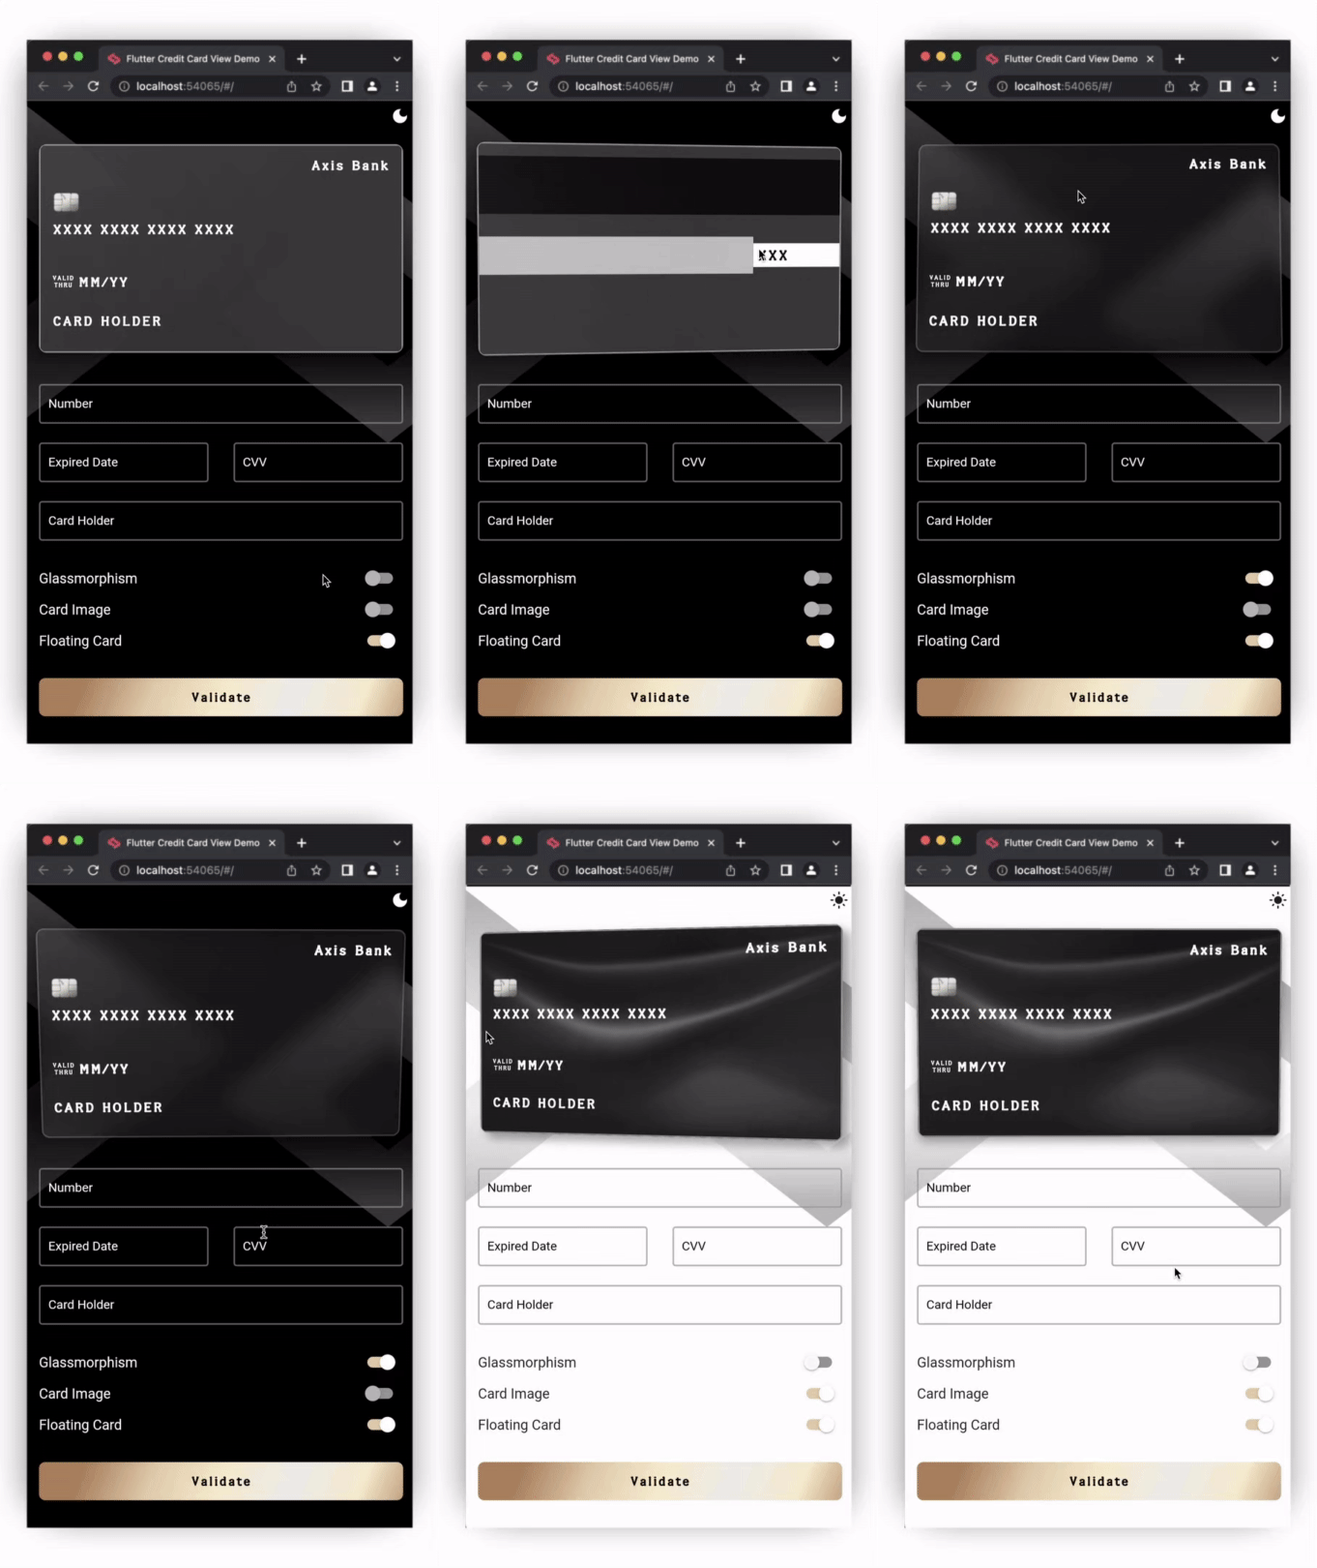
| Glassmorphism and Card Background | Floating Card on Mobile | Floating Card on Web |
|---|---|---|
 |
 |
 |
安装与使用
安装步骤
-
添加依赖
在项目的pubspec.yaml文件中添加flutter_credit_card的最新版本依赖。dependencies: flutter_credit_card: ^4.0.0 # 请确保使用最新版本 -
导入包
import 'package:flutter_credit_card/flutter_credit_card.dart'; -
使用 CreditCardWidget
-
必需参数
CreditCardWidget( cardNumber: cardNumber, expiryDate: expiryDate, cardHolderName: cardHolderName, cvvCode: cvvCode, showBackView: isCvvFocused, // 显示背面视图 onCreditCardWidgetChange: (CreditCardBrand brand) {}, // 品牌变化回调 ), -
可选参数
CreditCardWidget(
  cardNumber: cardNumber,
  expiryDate: expiryDate,
  cardHolderName: cardHolderName,
  cvvCode: cvvCode,
  showBackView: isCvvFocused,
  onCreditCardWidgetChange: (CreditCardBrand brand) {},
  bankName: 'Name of the Bank',
  cardBgColor: Colors.black87,
  glassmorphismConfig: Glassmorphism.defaultConfig(),
  enableFloatingCard: true,
  floatingConfig: FloatingConfig(
    isGlareEnabled: true,
    isShadowEnabled: true,
    shadowConfig: FloatingShadowConfig(),
  ),
  backgroundImage: 'assets/card_bg.png',
  backgroundNetworkImage: 'https://www.xyz.com/card_bg.png',
  labelValidThru: 'VALID\nTHRU',
  obscureCardNumber: true,
  obscureInitialCardNumber: false,
  obscureCardCvv: true,
  labelCardHolder: 'CARD HOLDER',
  labelValidThru: 'VALID\nTHRU',
  cardType: CardType.mastercard,
  isHolderNameVisible: false,
  height: 175,
  textStyle: TextStyle(color: Colors.yellowAccent),
  width: MediaQuery.of(context).size.width,
  isChipVisible: true,
  isSwipeGestureEnabled: true,
  animationDuration: Duration(milliseconds: 1000),
  frontCardBorder: Border.all(color: Colors.grey),
  backCardBorder: Border.all(color: Colors.grey),
  chipColor: Colors.red,
  padding: 16,
  customCardTypeIcons: <CustomCardTypeIcons>[
    CustomCardTypeIcons(
      cardType: CardType.mastercard,
      cardImage: Image.asset(
        'assets/mastercard.png',
        height: 48,
        width: 48,
      ),
    ),
  ],
),
-
-
使用 CreditCardForm
CreditCardForm(
  formKey: formKey, // 必需
  cardNumber: cardNumber, // 必需
  expiryDate: expiryDate, // 必需
  cardHolderName: cardHolderName, // 必需
  cvvCode: cvvCode, // 必需
  cardNumberKey: cardNumberKey,
  cvvCodeKey: cvvCodeKey,
  expiryDateKey: expiryDateKey,
  cardHolderKey: cardHolderKey,
  onCreditCardModelChange: (CreditCardModel data) {}, // 必需
  obscureCvv: true,
  obscureNumber: true,
  isHolderNameVisible: true,
  isCardNumberVisible: true,
  isExpiryDateVisible: true,
  enableCvv: true,
  cvvValidationMessage: 'Please input a valid CVV',
  dateValidationMessage: 'Please input a valid date',
  numberValidationMessage: 'Please input a valid number',
  cardNumberValidator: (String? cardNumber){},
  expiryDateValidator: (String? expiryDate){},
  cvvValidator: (String? cvv){},
  cardHolderValidator: (String? cardHolderName){},
  onFormComplete: () {
    // 表单完成时的回调
  },
  autovalidateMode: AutovalidateMode.always,
  disableCardNumberAutoFillHints: false,
  inputConfiguration: const InputConfiguration(
    cardNumberDecoration: InputDecoration(
      border: OutlineInputBorder(),
      labelText: 'Number',
      hintText: 'XXXX XXXX XXXX XXXX',
    ),
    expiryDateDecoration: InputDecoration(
      border: OutlineInputBorder(),
      labelText: 'Expired Date',
      hintText: 'XX/XX',
    ),
    cvvCodeDecoration: InputDecoration(
      border: OutlineInputBorder(),
      labelText: 'CVV',
      hintText: 'XXX',
    ),
    cardHolderDecoration: InputDecoration(
      border: OutlineInputBorder(),
      labelText: 'Card Holder',
    ),
    cardNumberTextStyle: TextStyle(
      fontSize: 10,
      color: Colors.black,
    ),
    cardHolderTextStyle: TextStyle(
      fontSize: 10,
      color: Colors.black,
    ),
    expiryDateTextStyle: TextStyle(
      fontSize: 10,
      color: Colors.black,
    ),
    cvvCodeTextStyle: TextStyle(
      fontSize: 10,
      color: Colors.black,
    ),
  ),
),
示例代码
以下是一个完整的示例,展示了如何在项目中集成和使用 flutter_credit_card:
import 'package:flutter/material.dart';
import 'package:flutter/services.dart';
import 'package:flutter_credit_card/flutter_credit_card.dart';
void main() => runApp(const MySample());
class MySample extends StatefulWidget {
const MySample({super.key});
@override
State<MySample> createState() => MySampleState();
}
class MySampleState extends State<MySample> {
bool isLightTheme = false;
String cardNumber = '';
String expiryDate = '';
String cardHolderName = '';
String cvvCode = '';
bool isCvvFocused = false;
bool useGlassMorphism = false;
bool useBackgroundImage = false;
bool useFloatingAnimation = true;
final OutlineInputBorder border = OutlineInputBorder(
borderSide: BorderSide(
color: Colors.grey.withOpacity(0.7),
width: 2.0,
),
);
final GlobalKey<FormState> formKey = GlobalKey<FormState>();
@override
Widget build(BuildContext context) {
SystemChrome.setSystemUIOverlayStyle(
isLightTheme ? SystemUiOverlayStyle.dark : SystemUiOverlayStyle.light,
);
return MaterialApp(
title: 'Flutter Credit Card View Demo',
debugShowCheckedModeBanner: false,
themeMode: isLightTheme ? ThemeMode.light : ThemeMode.dark,
theme: ThemeData(
textTheme: const TextTheme(
titleMedium: TextStyle(color: Colors.black, fontSize: 18),
),
colorScheme: ColorScheme.fromSeed(
brightness: Brightness.light,
seedColor: Colors.white,
background: Colors.black,
primary: Colors.black,
),
inputDecorationTheme: InputDecorationTheme(
hintStyle: const TextStyle(color: Colors.black),
labelStyle: const TextStyle(color: Colors.black),
focusedBorder: border,
enabledBorder: border,
),
),
darkTheme: ThemeData(
textTheme: const TextTheme(
titleMedium: TextStyle(color: Colors.white, fontSize: 18),
),
colorScheme: ColorScheme.fromSeed(
brightness: Brightness.dark,
seedColor: Colors.black,
background: Colors.white,
primary: Colors.white,
),
inputDecorationTheme: InputDecorationTheme(
hintStyle: const TextStyle(color: Colors.white),
labelStyle: const TextStyle(color: Colors.white),
focusedBorder: border,
enabledBorder: border,
),
),
home: Scaffold(
resizeToAvoidBottomInset: false,
body: Builder(
builder: (BuildContext context) {
return Container(
decoration: BoxDecoration(
image: DecorationImage(
image: ExactAssetImage(
isLightTheme ? 'assets/bg-light.png' : 'assets/bg-dark.png',
),
fit: BoxFit.fill,
),
),
child: SafeArea(
child: Column(
crossAxisAlignment: CrossAxisAlignment.end,
children: [
IconButton(
onPressed: () => setState(() {
isLightTheme = !isLightTheme;
}),
icon: Icon(
isLightTheme ? Icons.light_mode : Icons.dark_mode,
),
),
CreditCardWidget(
enableFloatingCard: useFloatingAnimation,
glassmorphismConfig: _getGlassmorphismConfig(),
cardNumber: cardNumber,
expiryDate: expiryDate,
cardHolderName: cardHolderName,
cvvCode: cvvCode,
bankName: 'Axis Bank',
frontCardBorder: useGlassMorphism
? null
: Border.all(color: Colors.grey),
backCardBorder: useGlassMorphism
? null
: Border.all(color: Colors.grey),
showBackView: isCvvFocused,
obscureCardNumber: true,
obscureCardCvv: true,
isHolderNameVisible: true,
cardBgColor: isLightTheme
? Colors.grey.shade200
: Colors.grey.shade900,
backgroundImage:
useBackgroundImage ? 'assets/card_bg.png' : null,
isSwipeGestureEnabled: true,
onCreditCardWidgetChange: (CreditCardBrand creditCardBrand) {},
customCardTypeIcons: [
CustomCardTypeIcon(
cardType: CardType.mastercard,
cardImage: Image.asset(
'assets/mastercard.png',
height: 48,
width: 48,
),
),
],
),
Expanded(
child: SingleChildScrollView(
child: Column(
children: [
CreditCardForm(
formKey: formKey,
obscureCvv: true,
obscureNumber: true,
cardNumber: cardNumber,
cvvCode: cvvCode,
isHolderNameVisible: true,
isCardNumberVisible: true,
isExpiryDateVisible: true,
cardHolderName: cardHolderName,
expiryDate: expiryDate,
inputConfiguration: const InputConfiguration(
cardNumberDecoration: InputDecoration(
labelText: 'Number',
hintText: 'XXXX XXXX XXXX XXXX',
),
expiryDateDecoration: InputDecoration(
labelText: 'Expired Date',
hintText: 'XX/XX',
),
cvvCodeDecoration: InputDecoration(
labelText: 'CVV',
hintText: 'XXX',
),
cardHolderDecoration: InputDecoration(
labelText: 'Card Holder',
),
),
onCreditCardModelChange: onCreditCardModelChange,
),
const SizedBox(height: 20),
Padding(
padding: const EdgeInsets.symmetric(horizontal: 16),
child: Row(
mainAxisAlignment: MainAxisAlignment.center,
children: [
const Text('Glassmorphism'),
const Spacer(),
Switch(
value: useGlassMorphism,
inactiveTrackColor: Colors.grey,
activeColor: Colors.white,
activeTrackColor: Colors.blue,
onChanged: (bool value) => setState(() {
useGlassMorphism = value;
}),
),
],
),
),
Padding(
padding: const EdgeInsets.symmetric(horizontal: 16),
child: Row(
mainAxisAlignment: MainAxisAlignment.center,
children: [
const Text('Card Image'),
const Spacer(),
Switch(
value: useBackgroundImage,
inactiveTrackColor: Colors.grey,
activeColor: Colors.white,
activeTrackColor: Colors.blue,
onChanged: (bool value) => setState(() {
useBackgroundImage = value;
}),
),
],
),
),
Padding(
padding: const EdgeInsets.symmetric(horizontal: 16),
child: Row(
mainAxisAlignment: MainAxisAlignment.center,
children: [
const Text('Floating Card'),
const Spacer(),
Switch(
value: useFloatingAnimation,
inactiveTrackColor: Colors.grey,
activeColor: Colors.white,
activeTrackColor: Colors.blue,
onChanged: (bool value) => setState(() {
useFloatingAnimation = value;
}),
),
],
),
),
const SizedBox(height: 20),
GestureDetector(
onTap: _onValidate,
child: Container(
margin: const EdgeInsets.symmetric(
horizontal: 16,
vertical: 8,
),
decoration: const BoxDecoration(
gradient: LinearGradient(
colors: [
Colors.orange,
Colors.red,
],
begin: Alignment(-1, -4),
end: Alignment(1, 4),
),
borderRadius: BorderRadius.all(
Radius.circular(8),
),
),
padding: const EdgeInsets.symmetric(vertical: 15),
alignment: Alignment.center,
child: const Text(
'Validate',
style: TextStyle(
color: Colors.white,
fontSize: 14,
),
),
),
),
],
),
),
),
],
),
),
);
},
),
),
);
}
void _onValidate() {
if (formKey.currentState?.validate() ?? false) {
print('valid!');
} else {
print('invalid!');
}
}
Glassmorphism? _getGlassmorphismConfig() {
if (!useGlassMorphism) {
return null;
}
final LinearGradient gradient = LinearGradient(
begin: Alignment.topLeft,
end: Alignment.bottomRight,
colors: [Colors.grey.withAlpha(50), Colors.grey.withAlpha(50)],
stops: const [0.3, 0],
);
return isLightTheme
? Glassmorphism(blurX: 8.0, blurY: 16.0, gradient: gradient)
: Glassmorphism.defaultConfig();
}
void onCreditCardModelChange(CreditCardModel creditCardModel) {
setState(() {
cardNumber = creditCardModel.cardNumber;
expiryDate = creditCardModel.expiryDate;
cardHolderName = creditCardModel.cardHolderName;
cvvCode = creditCardModel.cvvCode;
isCvvFocused = creditCardModel.isCvvFocused;
});
}
}
总结
通过以上内容,您可以快速了解 flutter_credit_card 插件的基本用法,并能根据需要进行定制化开发。希望这些信息对您有所帮助!如果您有任何问题或需要进一步的帮助,请随时提问。
更多关于Flutter信用卡输入插件flutter_credit_card的使用的实战系列教程也可以访问 https://www.itying.com/category-92-b0.html
更多关于Flutter信用卡输入插件flutter_credit_card的使用的实战系列教程也可以访问 https://www.itying.com/category-92-b0.html
当然,下面是一个关于如何使用 flutter_credit_card 插件在 Flutter 中实现信用卡输入功能的代码示例。
首先,确保你已经在 pubspec.yaml 文件中添加了 flutter_credit_card 依赖项:
dependencies:
  flutter:
    sdk: flutter
  flutter_credit_card: ^2.0.0  # 请检查最新版本号
然后,运行 flutter pub get 以获取依赖项。
接下来,在你的 Dart 文件中(例如 main.dart),你可以按照以下方式使用 flutter_credit_card 插件:
import 'package:flutter/material.dart';
import 'package:flutter_credit_card/flutter_credit_card.dart';

void main() {
  runApp(MyApp());
}

class MyApp extends StatelessWidget {
  @override
  Widget build(BuildContext context) {
    return MaterialApp(
      title: 'Flutter Credit Card Input Example',
      theme: ThemeData(
        primarySwatch: Colors.blue,
      ),
      home: CreditCardInputScreen(),
    );
  }
}

class CreditCardInputScreen extends StatefulWidget {
  @override
  _CreditCardInputScreenState createState() => _CreditCardInputScreenState();
}

class _CreditCardInputScreenState extends State<CreditCardInputScreen> {
  CreditCardModel _card;

  @override
  void initState() {
    super.initState();
    _card = CreditCardModel(
      cardNumber: "",
      expiryDate: "",
      cardHolderName: "",
      cvv: "",
      isFocused: false,
    );
  }

  void _handleCardChange(CreditCardModel newCard) {
    setState(() {
      _card = newCard;
    });
  }

  @override
  Widget build(BuildContext context) {
    return Scaffold(
      appBar: AppBar(
        title: Text('Credit Card Input Example'),
      ),
      body: Padding(
        padding: const EdgeInsets.all(16.0),
        child: Column(
          mainAxisAlignment: MainAxisAlignment.center,
          children: <Widget>[
            CreditCardWidget(
              card: _card,
              onCardChanged: _handleCardChange,
              elevation: 10,
              margin: EdgeInsets.symmetric(vertical: 16.0),
              borderRadius: 16.0,
              textStyle: TextStyle(color: Colors.black, fontSize: 16.0),
              cursorColor: Colors.black,
              focusColor: Colors.lightBlueAccent,
              keyboardAppearance: Brightness.dark,
            ),
            SizedBox(height: 20),
            ElevatedButton(
              onPressed: () {
                // 在这里处理提交的信用卡信息
                print('Card Number: ${_card.cardNumber}');
                print('Expiry Date: ${_card.expiryDate}');
                print('Card Holder Name: ${_card.cardHolderName}');
                print('CVV: ${_card.cvv}');
              },
              child: Text('Submit'),
            ),
          ],
        ),
      ),
    );
  }
}
在这个示例中,我们创建了一个简单的 Flutter 应用,其中包含一个 CreditCardWidget,用于输入信用卡信息。当用户更改信用卡信息时,_handleCardChange 方法会被调用,并更新 _card 对象的状态。
你可以根据需要进一步定制和扩展这个示例,例如添加验证逻辑、格式化输入等。希望这个示例对你有帮助!


