Flutter云服务集成插件acr_cloud_sdk的使用
Flutter云服务集成插件acr_cloud_sdk的使用
ACR Cloud SDK
** This is an unofficial SDK for flutter
自动内容识别(ACR)是一种用于识别媒体设备上播放或媒体文件中存在的内容的技术。这使得用户无需任何基于文本的输入或搜索努力,即可快速获取他们刚刚体验的内容的详细信息。
🤔 ACR的工作原理
ACR可以帮助用户更有效地处理多媒体,并使应用程序更加智能。更多信息。
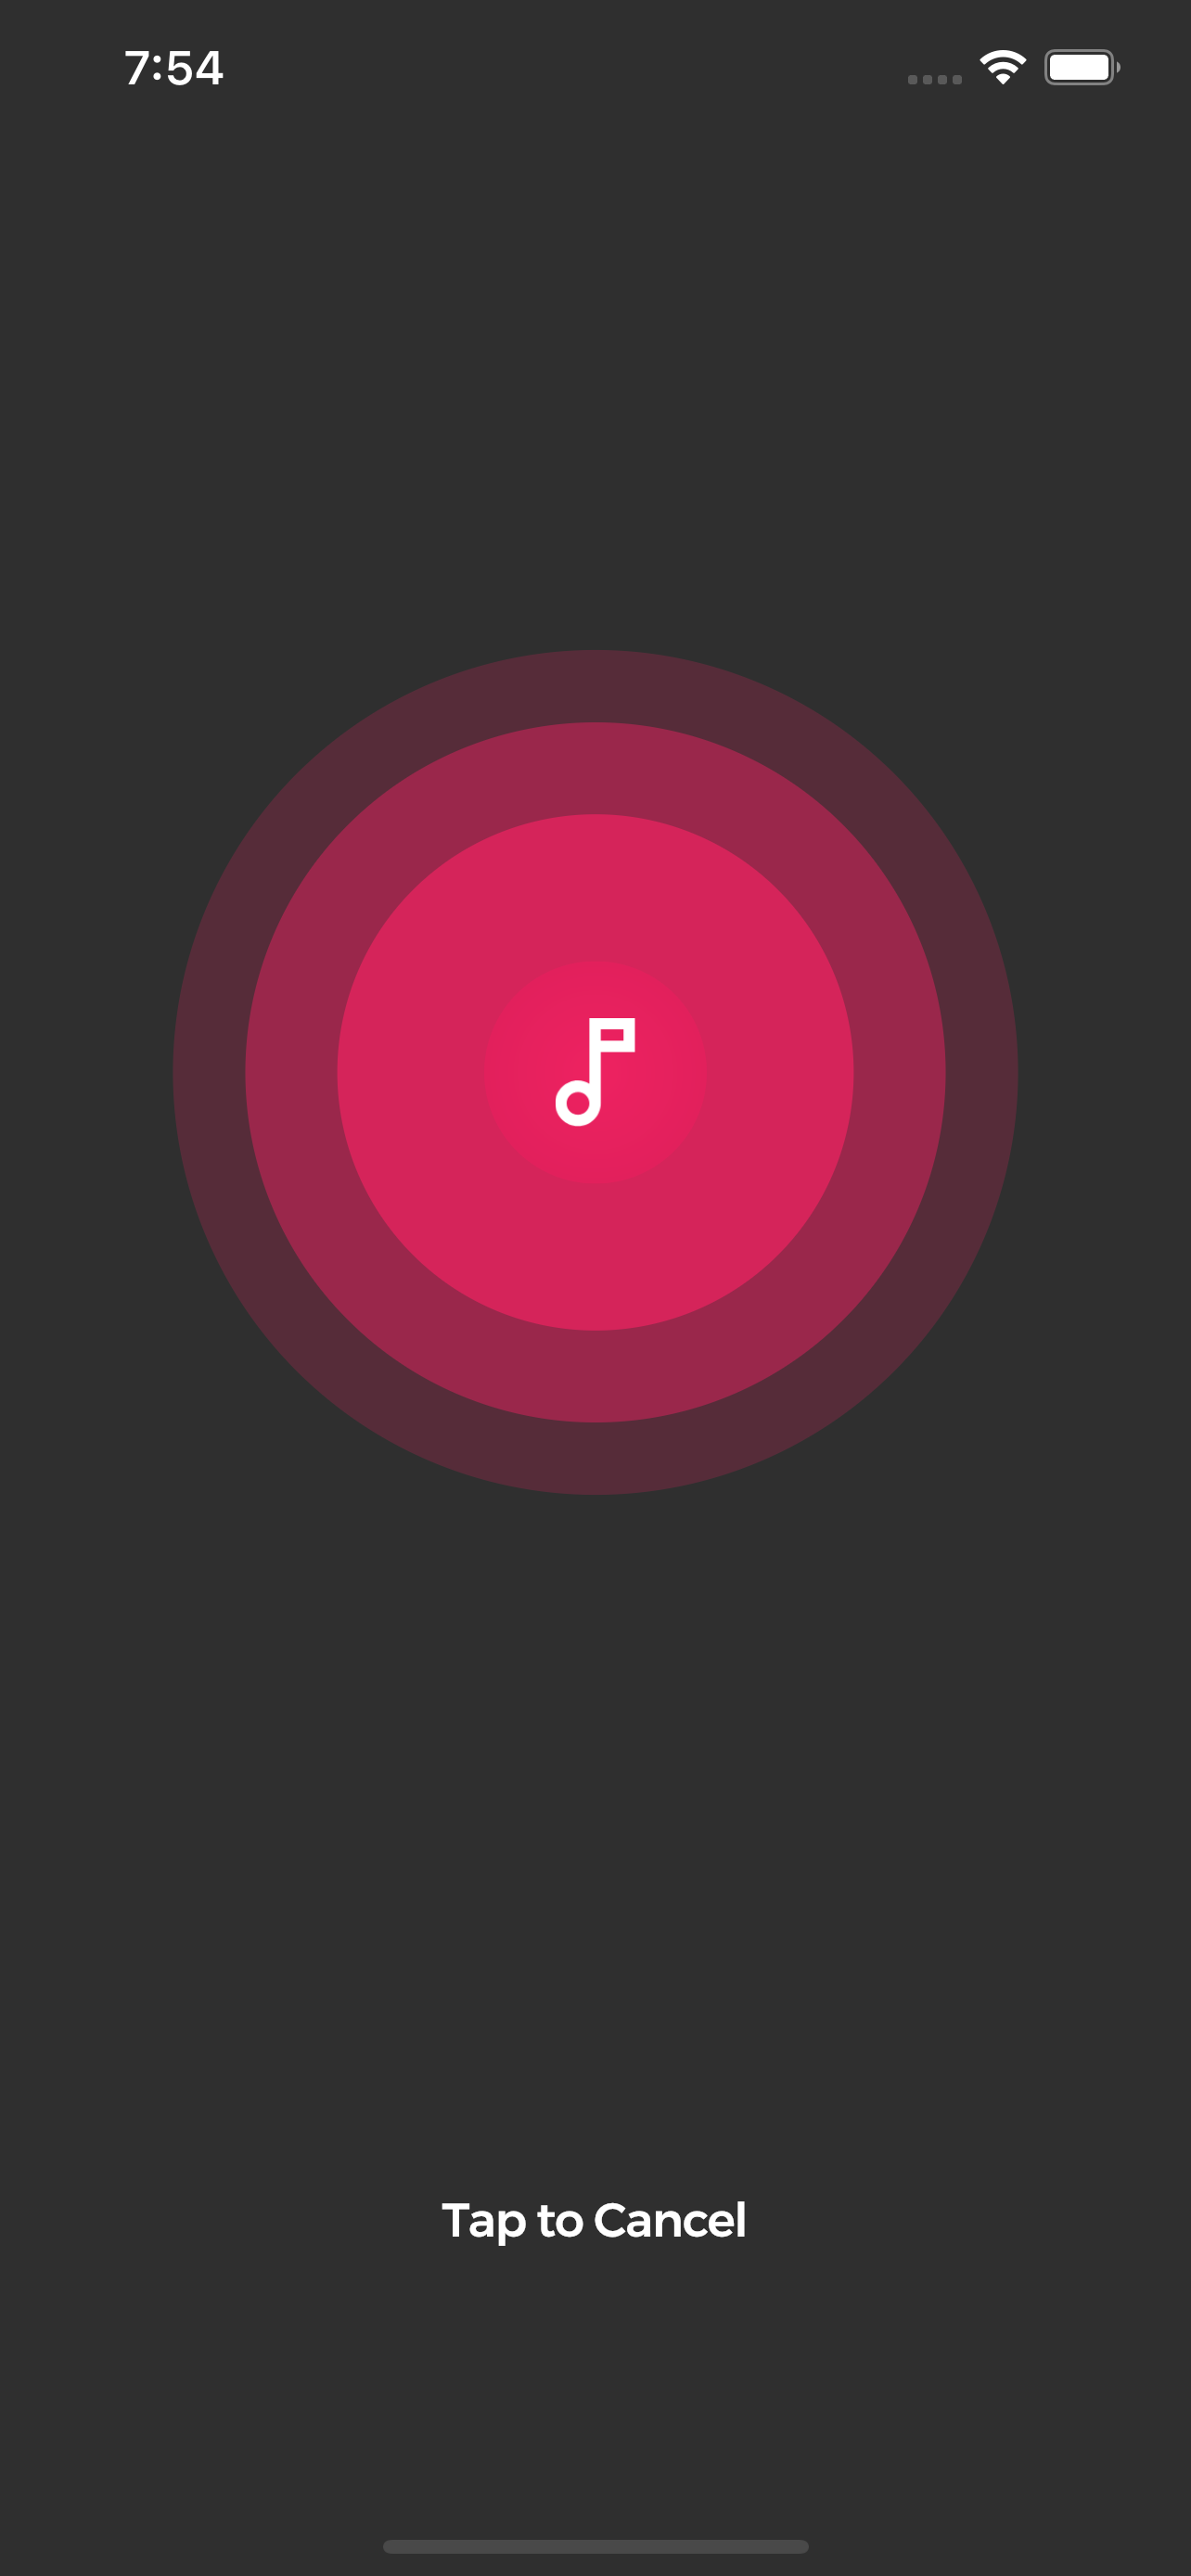
📸 截图


🚀 初始化SDK
import 'package:acr_cloud_sdk/acr_cloud_sdk.dart';

final AcrCloudSdk arc = AcrCloudSdk();

arc..init(
    host: '', // 从 https://www.acrcloud.com/ 获取
    accessKey: '', // 从 https://www.acrcloud.com/ 获取
    accessSecret: '', // 从 https://www.acrcloud.com/ 获取
    setLog: false,
  )..songModelStream.listen(searchSong);

void searchSong(SongModel song) async {
  print(song); // 识别到的歌曲数据
}
初始化SDK并监听歌曲识别事件。
️🎶 开始识别
bool started = await arc.start();
- 此函数将自动开始录制和识别过程。
- 当有结果时,
songModelStream&resultStream将作为事件返回数据。 - 整个识别时间由ACRCloud的服务器控制。
- 可以调用停止功能来终止此过程。
⛔ 停止识别
bool stopped = await arc.stop();
- 此函数将立即取消识别。
示例代码
以下是一个完整的Flutter应用示例,演示如何使用acr_cloud_sdk插件:
import 'package:flutter/material.dart';
import 'package:acr_cloud_sdk/acr_cloud_sdk.dart';

void main() => runApp(MyApp());

class MyApp extends StatelessWidget {
  @override
  Widget build(BuildContext context) {
    return MaterialApp(
      title: 'ACR Cloud Demo',
      theme: ThemeData(
        primarySwatch: Colors.blue,
      ),
      home: HomePage(),
    );
  }
}

class HomePage extends StatefulWidget {
  @override
  _HomePageState createState() => _HomePageState();
}

class _HomePageState extends State<HomePage> {
  final AcrCloudSdk arc = AcrCloudSdk();

  @override
  void initState() {
    super.initState();
    arc.init(
      host: 'your_host', // 替换为您的host
      accessKey: 'your_access_key', // 替换为您的access key
      accessSecret: 'your_access_secret', // 替换为您的access secret
      setLog: false,
    )..songModelStream.listen((song) {
        print('Recognized Song: $song');
      });
  }

  void startRecognition() async {
    bool started = await arc.start();
    if (started) {
      print('Recognition started');
    } else {
      print('Failed to start recognition');
    }
  }

  void stopRecognition() async {
    bool stopped = await arc.stop();
    if (stopped) {
      print('Recognition stopped');
    } else {
      print('Failed to stop recognition');
    }
  }

  @override
  Widget build(BuildContext context) {
    return Scaffold(
      appBar: AppBar(
        title: Text('ACR Cloud Demo'),
      ),
      body: Center(
        child: Column(
          mainAxisAlignment: MainAxisAlignment.center,
          children: <Widget>[
            ElevatedButton(
              onPressed: startRecognition,
              child: Text('Start Recognition'),
            ),
            SizedBox(height: 20),
            ElevatedButton(
              onPressed: stopRecognition,
              child: Text('Stop Recognition'),
            ),
          ],
        ),
      ),
    );
  }
}
以上示例展示了如何在Flutter应用中集成和使用acr_cloud_sdk插件进行音频内容识别。确保替换host, accessKey 和 accessSecret为您从ACRCloud获取的实际值。
更多关于Flutter云服务集成插件acr_cloud_sdk的使用的实战系列教程也可以访问 https://www.itying.com/category-92-b0.html
更多关于Flutter云服务集成插件acr_cloud_sdk的使用的实战系列教程也可以访问 https://www.itying.com/category-92-b0.html
当然,以下是一个关于如何在Flutter项目中集成和使用acr_cloud_sdk插件的示例代码案例。这个插件假设是用于云服务集成的,但请注意,具体实现细节可能依赖于该插件的实际API和功能。由于acr_cloud_sdk可能是一个特定公司或团队的私有插件,我无法确保这个插件在公共Flutter包管理器中存在,但我会提供一个通用的集成和使用示例。
1. 添加依赖
首先,确保在你的pubspec.yaml文件中添加了acr_cloud_sdk依赖(假设它已经在pub.dev上发布,否则你可能需要从本地路径或私有仓库添加它)。
dependencies:
  flutter:
    sdk: flutter
  acr_cloud_sdk: ^x.y.z  # 替换为实际版本号
然后运行flutter pub get来安装依赖。
2. 导入插件
在你的Flutter项目的Dart文件中导入acr_cloud_sdk。
import 'package:acr_cloud_sdk/acr_cloud_sdk.dart';
3. 初始化云服务插件
通常在应用的入口文件(如main.dart)中初始化云服务插件。
void main() {
  WidgetsFlutterBinding.ensureInitialized();

  // 初始化acr_cloud_sdk
  AcrCloudSdk.initialize(
    apiKey: 'your_api_key',  // 替换为你的API密钥
    region: 'your_region',   // 替换为你的云服务区域
  );

  runApp(MyApp());
}
4. 使用云服务功能
以下是一个使用云服务功能的示例,比如上传数据到云端:
class MyApp extends StatefulWidget {
  @override
  _MyAppState createState() => _MyAppState();
}

class _MyAppState extends State<MyApp> {
  @override
  Widget build(BuildContext context) {
    return MaterialApp(
      home: Scaffold(
        appBar: AppBar(
          title: Text('Flutter Cloud Service Integration'),
        ),
        body: Center(
          child: ElevatedButton(
            onPressed: () async {
              // 示例:上传数据到云服务
              try {
                var response = await AcrCloudSdk.uploadData(
                  data: 'your_data_to_upload',  // 替换为你要上传的数据
                  metadata: {
                    'key1': 'value1',
                    'key2': 'value2',
                  },
                );
                print('Upload successful: ${response.data}');
              } catch (e) {
                print('Upload failed: ${e.message}');
              }
            },
            child: Text('Upload Data'),
          ),
        ),
      ),
    );
  }
}
5. 处理回调和错误
在实际应用中,你可能需要处理更多的回调和错误情况,以确保应用的健壮性。
AcrCloudSdk.initialize(
  apiKey: 'your_api_key',
  region: 'your_region',
).then((_) {
  // 初始化成功后的操作
}).catchError((error) {
  // 初始化失败的处理
  print('Initialization failed: $error');
});
注意事项
- API密钥和区域:确保你使用了正确的API密钥和云服务区域。
- 错误处理:在实际应用中,添加更多的错误处理逻辑,以提高用户体验。
- 文档和示例:参考
acr_cloud_sdk的官方文档和示例代码,以获取更多功能和详细用法。
由于acr_cloud_sdk可能是一个特定插件,上述代码是一个假设性的示例。你需要根据实际的插件文档和API进行调整。如果这是一个私有或内部插件,请确保你有权访问相关的文档和资源。


