


Flutter图像处理插件image_magick_q8_hdri的使用
Flutter图像处理插件image_magick_q8_hdri的使用
目录
贡献者
特别感谢 @Piero5W11 成为"FFI大师",并帮助了我很多。
ImageMagickFFI 插件
该插件将ImageMagick C库MagicWand 带到dart中使用。
感觉原生
与C语言中一样地与底层的ImageMagick C API进行交互(当然不是用指针)。
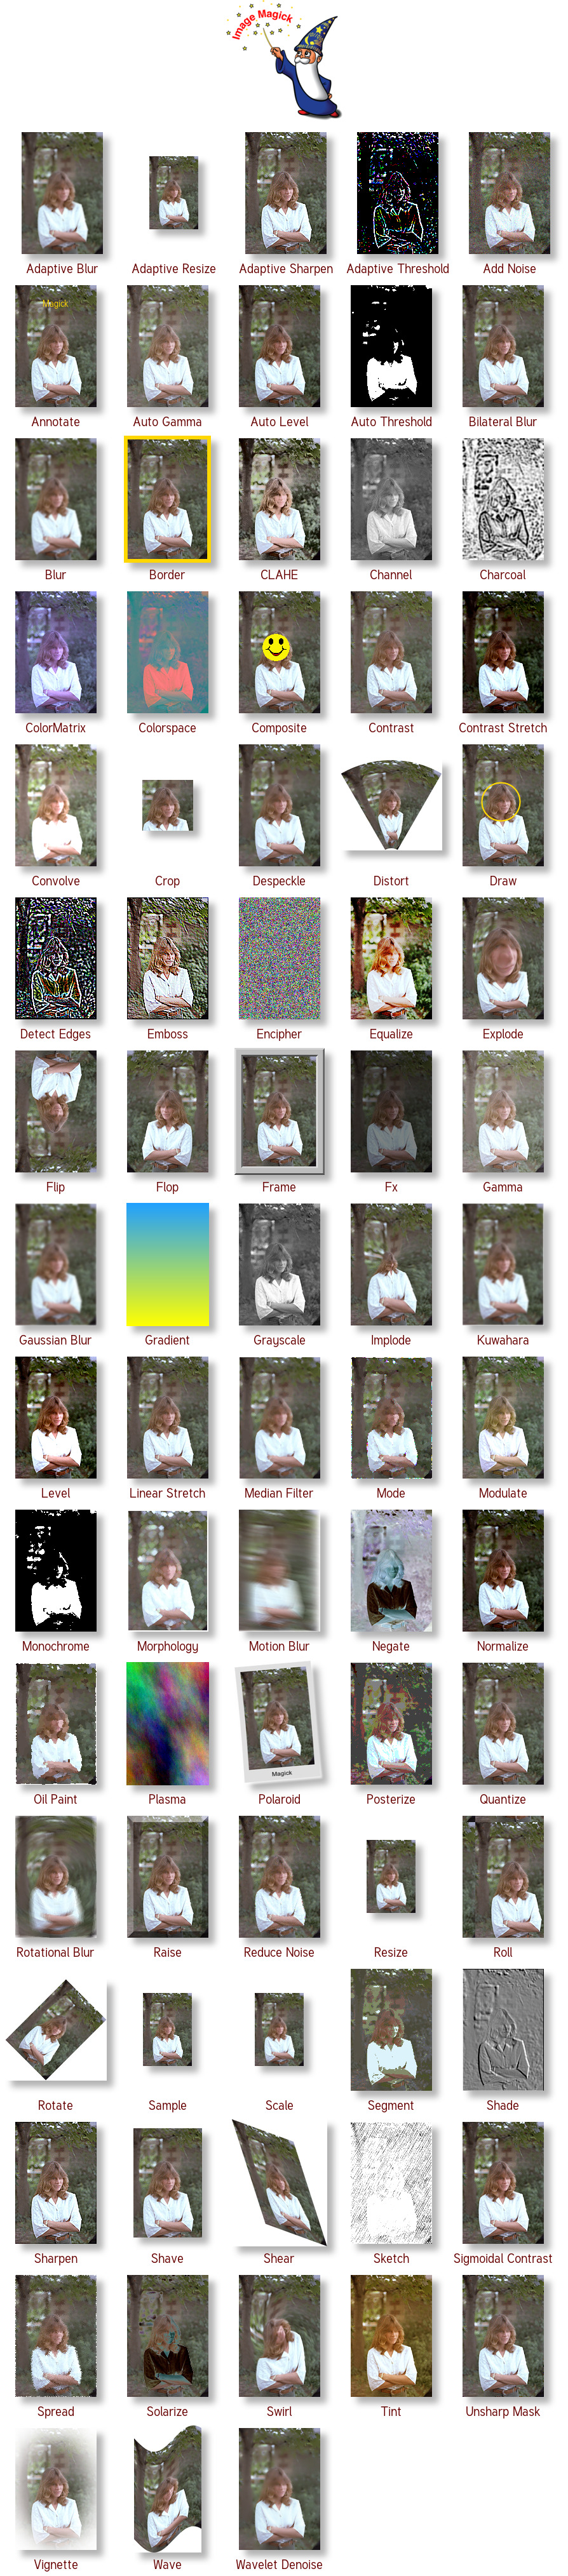
它可以做什么?
以下是一些你可以使用此插件做的事情,以及可以使用的函数名称。
查看下方的使用部分了解更多详情。
变体
该插件仅提供了ImageMagick的Q8-HDRI变体。如果你想要使用其他变体,则需要使用对应的包。
Windows
支持Windows x64(32位)和Windows x86(32位)。
Android
目前仅支持arm64-v8a(64位)。如果你想帮忙添加对armeabi-v7a(32位)的支持,请参阅这里。
注意,在某些操作(如写入图像)时,你可能需要从系统获取写权限。
Linux
即将推出。
Macos
欢迎您的贡献来提供二进制文件。
IOS
欢迎您的贡献来提供二进制文件。
使用
在Flutter应用中使用
初始化一个MagickWand
@override
void initState() {
  _wand = MagickWand.newMagickWand(); // 创建一个MagickWand以编辑图像

  // 设置一个回调,当图像处理进度改变时调用
  WidgetsBinding.instance.addPostFrameCallback(
    (timeStamp) async => await _wand.magickSetProgressMonitor(
      (info, offset, size, clientData) => setState(() =>
          status = '[${info.split('/').first}, $offset, $size, $clientData]'),
    ),
  );

  super.initState();
}
使用MagickWand
// 读取图像,对其进行一些操作,然后保存它
Future<String> _handlePress() async {
  try {
    setState(() => isLoading = true);

    String? result;

    await _wand.magickReadImage(_inputFile!.path); // 读取图像
    _throwWandExceptionIfExists(_wand);

    ///////////////////////// 对Wand进行一些操作 /////////////////////////

    // 调整图像大小
    await _wand.magickAdaptiveResizeImage(1200, 800);
    _throwWandExceptionIfExists(_wand);
    // 翻转图像
    await _wand.magickFlipImage();
    _throwWandExceptionIfExists(_wand);
    // 提升图像质量
    await _wand.magickEnhanceImage();
    _throwWandExceptionIfExists(_wand);
    // 向图像添加噪声
    await _wand.magickAddNoiseImage(NoiseType.GaussianNoise, 1.5);
    _throwWandExceptionIfExists(_wand);

    /////////////////////////////////////////////////////////////////////////////////

    String outputFilePath = _getOutputFilePath();

    await _wand.magickWriteImage(
            outputFilePath); // 将图像写入文件
    _throwWandExceptionIfExists(_wand);

    _outputFile = File(outputFilePath);
    isLoading = false;
    return result ?? 'Operation Successful!';
  } catch (e) {
    _outputFile = null;
    isLoading = false;
    return 'Error: ${e.toString()}';
  }
}

String _getOutputFilePath() {
  final String ps = Platform.pathSeparator;
  final String inputFileNameWithoutExtension =
          _inputFile!.path.split(ps).last.split('.').first;
  final String outputFilePath =
          '${_outputDirectory!.path}${ps}out_$inputFileNameWithoutExtension.png';
  return outputFilePath;
}

void _throwWandExceptionIfExists(MagickWand wand) {
  MagickGetExceptionResult e =
  _wand.magickGetException(); // 获取异常(如果有)
  if (e.severity != ExceptionType.UndefinedException) {
    throw e;
  }
}
释放MagickWand和插件
@override
dispose() {
  _wand.destroyMagickWand(); // 我们完成了MagickWand的操作
  disposeImageMagick(); // 我们完成了整个插件的操作
  super.dispose();
}
在纯Dart应用中使用
- 在
pubspec.yaml中依赖插件,就像依赖任何其他包一样。 - 然后你需要手动将依赖项(.lib文件,.dll文件)复制到与可执行文件相同的路径(不幸的是,这是现在在dart中完成的方式)。要获取这些依赖项,你可以构建一个flutter应用然后从中复制依赖项。
然后你可以正常使用插件,例如:
import 'dart:io';
import 'package:image_magick_q8_hdri/image_magick_q8_hdri.dart';

Future<void> main(List<String> arguments) async {
  final File inputFile1 = File("D:\\magick\\Screenshot.png");
  final File inputFile2 = File("D:\\magick\\fayruz_love.png");
  final File inputFile3 = File("D:\\magick\\untitled.png");

  print('Magick Dart App Started!');

  initializeImageMagick(); // 初始化插件

  MagickWand wand1 = MagickWand.newMagickWand(); // 创建一个MagickWand
  MagickWand wand2 = MagickWand.newMagickWand(); // 创建一个MagickWand

  await wand1.magickReadImage(inputFile3.path);
  throwWandExceptionIfExists(wand1);

  await wand2.magickReadImage(inputFile2.path);
  throwWandExceptionIfExists(wand2);

  Stopwatch stopwatch = Stopwatch()..start();
  ///////////////////////////////// 使用MagickWand /////////////////////////////////
  final imagePage =
      wand1.magickGetImagePage(); // 获取图像的尺寸
  throwWandExceptionIfExists(wand1);

  final int width = imagePage!.width;
  final int height = imagePage.height;
  final int x = 0;
  final int y = 0;

  final cropWand = await wand1.magickGetImageRegion(
    width: width ~/ 2,
    height: height ~/ 2,
    x: x,
    y: y,
  ); // 将图像裁剪成一个新的wand

  await cropWand!.magickWriteImage(getOutputFilePath(inputFile1.path));
  throwWandExceptionIfExists(wand2);

  ///////////////////////////////// 使用MagickWand /////////////////////////////////
  print('elapsed time: ${stopwatch.elapsedMilliseconds} millis');

  await wand1.destroyMagickWand(); // 释放MagickWand
  await wand2.destroyMagickWand(); // 释放MagickWand
  await cropWand.destroyMagickWand(); // 释放MagickWand

  disposeImageMagick(); // 释放插件

  print('Magick Dart App Ended!');
}

String getOutputFilePath(String inputFilePath) {
  final String outputFilePath = inputFilePath.replaceAll(
      RegExp(r'\.(png|jpg|jpeg|gif|bmp|tiff|tif|webp|pdf|ps|eps|svg|ico)$'),
      '_output.png');
  return outputFilePath;
}

Future<void> setProgressMonitor(MagickWand wand, [String? wandName]) async {
  await wand.magickSetProgressMonitor((info, offset, size, clientData) {
    print('[${wandName ?? 'unnamed wand'}] $info, $offset, $size, $clientData');
  });
}

void throwWandExceptionIfExists(MagickWand wand) {
  final exception = wand.magickGetException();
  if (exception.severity != ExceptionType.UndefinedException) {
    throw Exception(
        'An exception occurred with the wand: ${exception.description}');
  }
}
更多关于Flutter图像处理插件image_magick_q8_hdri的使用的实战系列教程也可以访问 https://www.itying.com/category-92-b0.html


更多关于Flutter图像处理插件image_magick_q8_hdri的使用的实战系列教程也可以访问 https://www.itying.com/category-92-b0.html
当然,以下是如何在Flutter项目中使用image_magick_q8_hdri插件进行图像处理的一个示例。请注意,image_magick_q8_hdri插件的具体用法和功能可能会根据插件的版本有所不同,因此以下代码仅作为示例,实际使用时请参考插件的官方文档。
首先,确保你已经在pubspec.yaml文件中添加了image_magick_q8_hdri依赖:
dependencies:
  flutter:
    sdk: flutter
  image_magick_q8_hdri: ^最新版本号  # 请替换为实际的最新版本号
然后,运行flutter pub get来安装依赖。
接下来,你可以在你的Flutter项目中使用这个插件进行图像处理。以下是一个简单的示例,展示如何使用image_magick_q8_hdri插件来调整图像的亮度和对比度:
import 'package:flutter/material.dart';
import 'package:image_magick_q8_hdri/image_magick_q8_hdri.dart';
import 'dart:typed_data';
import 'dart:ui' as ui;

void main() {
  runApp(MyApp());
}

class MyApp extends StatefulWidget {
  @override
  _MyAppState createState() => _MyAppState();
}

class _MyAppState extends State<MyApp> {
  Uint8List? imageBytes;

  @override
  void initState() {
    super.initState();
    // 加载图像数据(这里假设你有一个名为'example.jpg'的图像文件)
    rootBundle.load('assets/example.jpg').then((data) {
      setState(() {
        imageBytes = data.buffer.asUint8List();
        // 处理图像
        processImage(imageBytes!);
      });
    });
  }

  Future<void> processImage(Uint8List imageBytes) async {
    try {
      // 创建ImageMagick实例
      final ImageMagick imageMagick = ImageMagick();

      // 加载图像数据
      final image = await imageMagick.readImage(imageBytes);

      // 调整亮度和对比度(这里仅为示例,具体参数可根据需要调整)
      final brightnessValue = 1.2; // 增加亮度
      final contrastValue = 1.5; // 增加对比度
      image.modulateImage(brightnessValue, contrastValue, 1.0); // 1.0表示饱和度不变

      // 获取处理后的图像数据
      final processedImageBytes = await image.writeImage(imageFormat: 'jpeg');

      // 更新状态以显示处理后的图像
      setState(() {
        this.imageBytes = processedImageBytes;
      });

      // 释放资源
      imageMagick.dispose();
    } catch (e) {
      print('Error processing image: $e');
    }
  }

  @override
  Widget build(BuildContext context) {
    return MaterialApp(
      home: Scaffold(
        appBar: AppBar(
          title: Text('Image Processing with image_magick_q8_hdri'),
        ),
        body: Center(
          child: imageBytes != null
              ? Image.memory(imageBytes!)
              : CircularProgressIndicator(),
        ),
      ),
    );
  }
}
在这个示例中,我们做了以下几件事情:
- 从
assets文件夹中加载一个名为example.jpg的图像文件。 - 使用
ImageMagick实例加载图像数据。 - 调整图像的亮度和对比度。
- 获取处理后的图像数据,并将其显示在屏幕上。
请注意,这个示例假设你已经将example.jpg图像文件添加到了项目的assets文件夹中,并在pubspec.yaml文件中声明了这个资产:
flutter:
  assets:
    - assets/example.jpg
此外,由于image_magick_q8_hdri插件可能具有更多的图像处理功能,建议查阅插件的官方文档以获取更详细的使用说明和更多可用的图像处理功能。