


Flutter地图展示插件maplibre的使用
Flutter地图展示插件maplibre的使用
MapLibre for Flutter


![]()
![]()
此包提供了MapLibre SDKs的非官方Flutter绑定。
- maplibre-gl-js 用于Web
- maplibre-native(以前名为maplibre-gl)用于Android,并且未来将支持iOS、Windows、macOS和Linux
MapLibre是一个许可的开源解决方案,遵循MVT(Mapbox Vector Tile)标准。通过绑定到原生SDK,该包实现了高性能渲染并支持许多复杂功能。
功能展示
| 功能 | 描述 |
|---|---|
| View the planet as a globe | 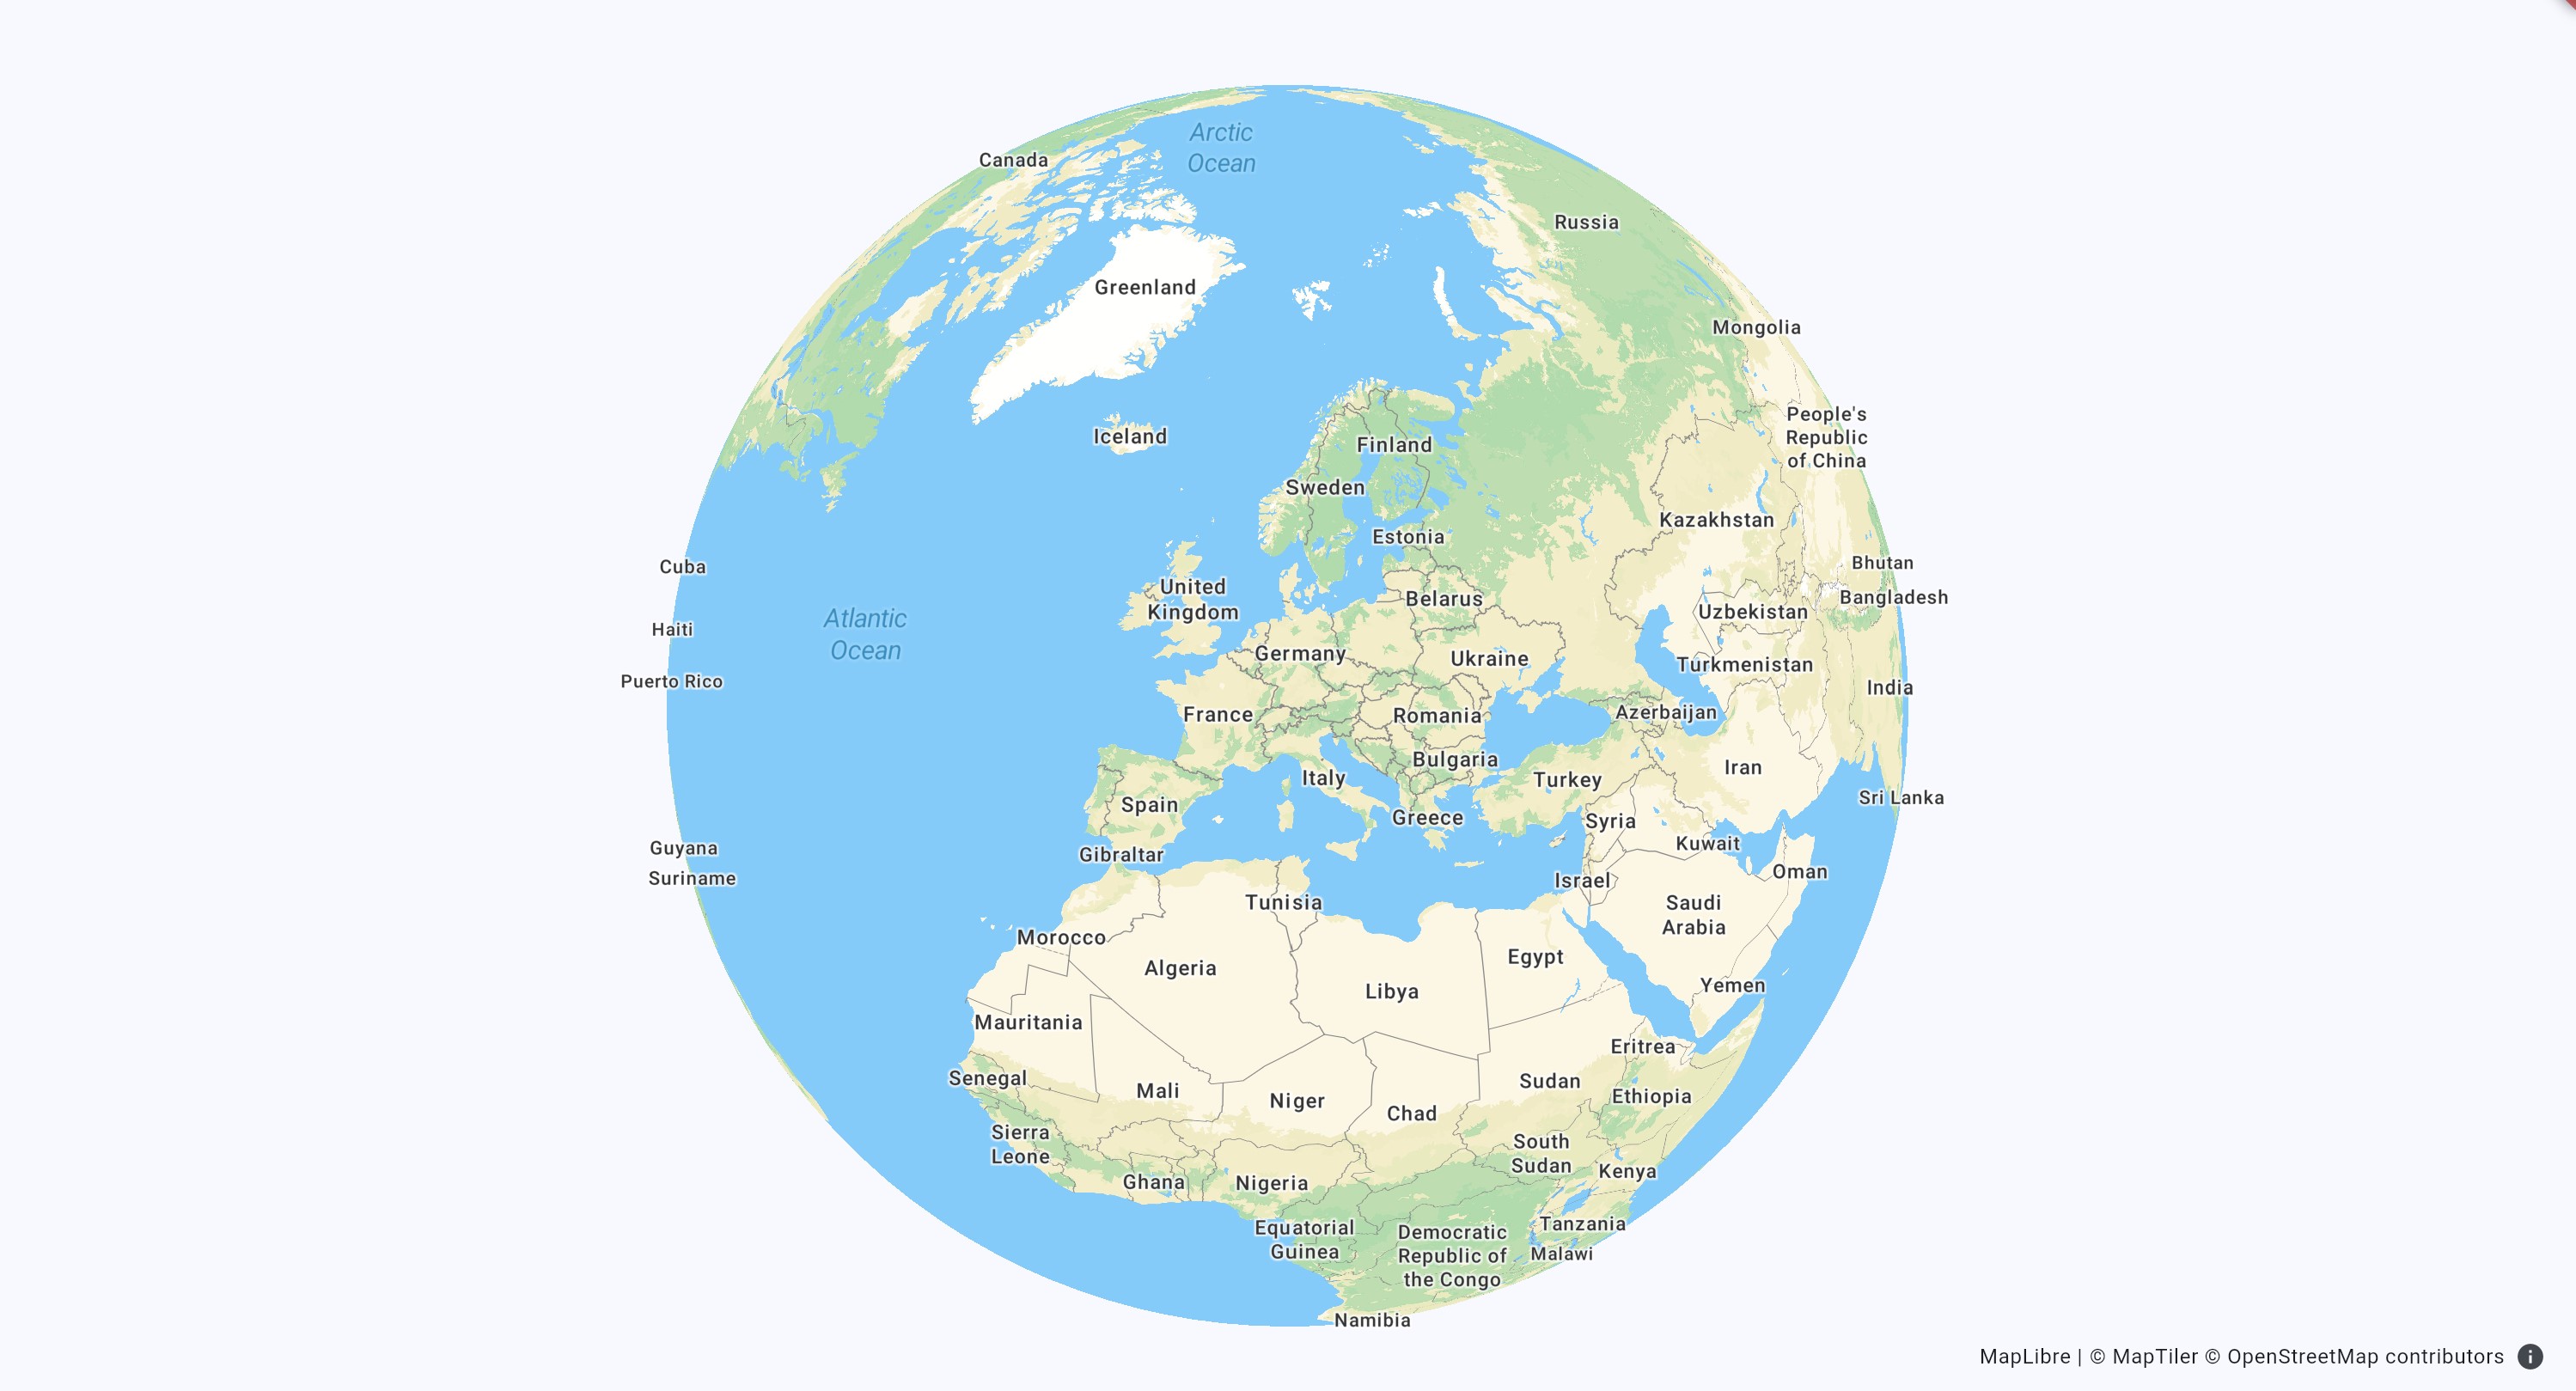 |
| Use custom vector styles | 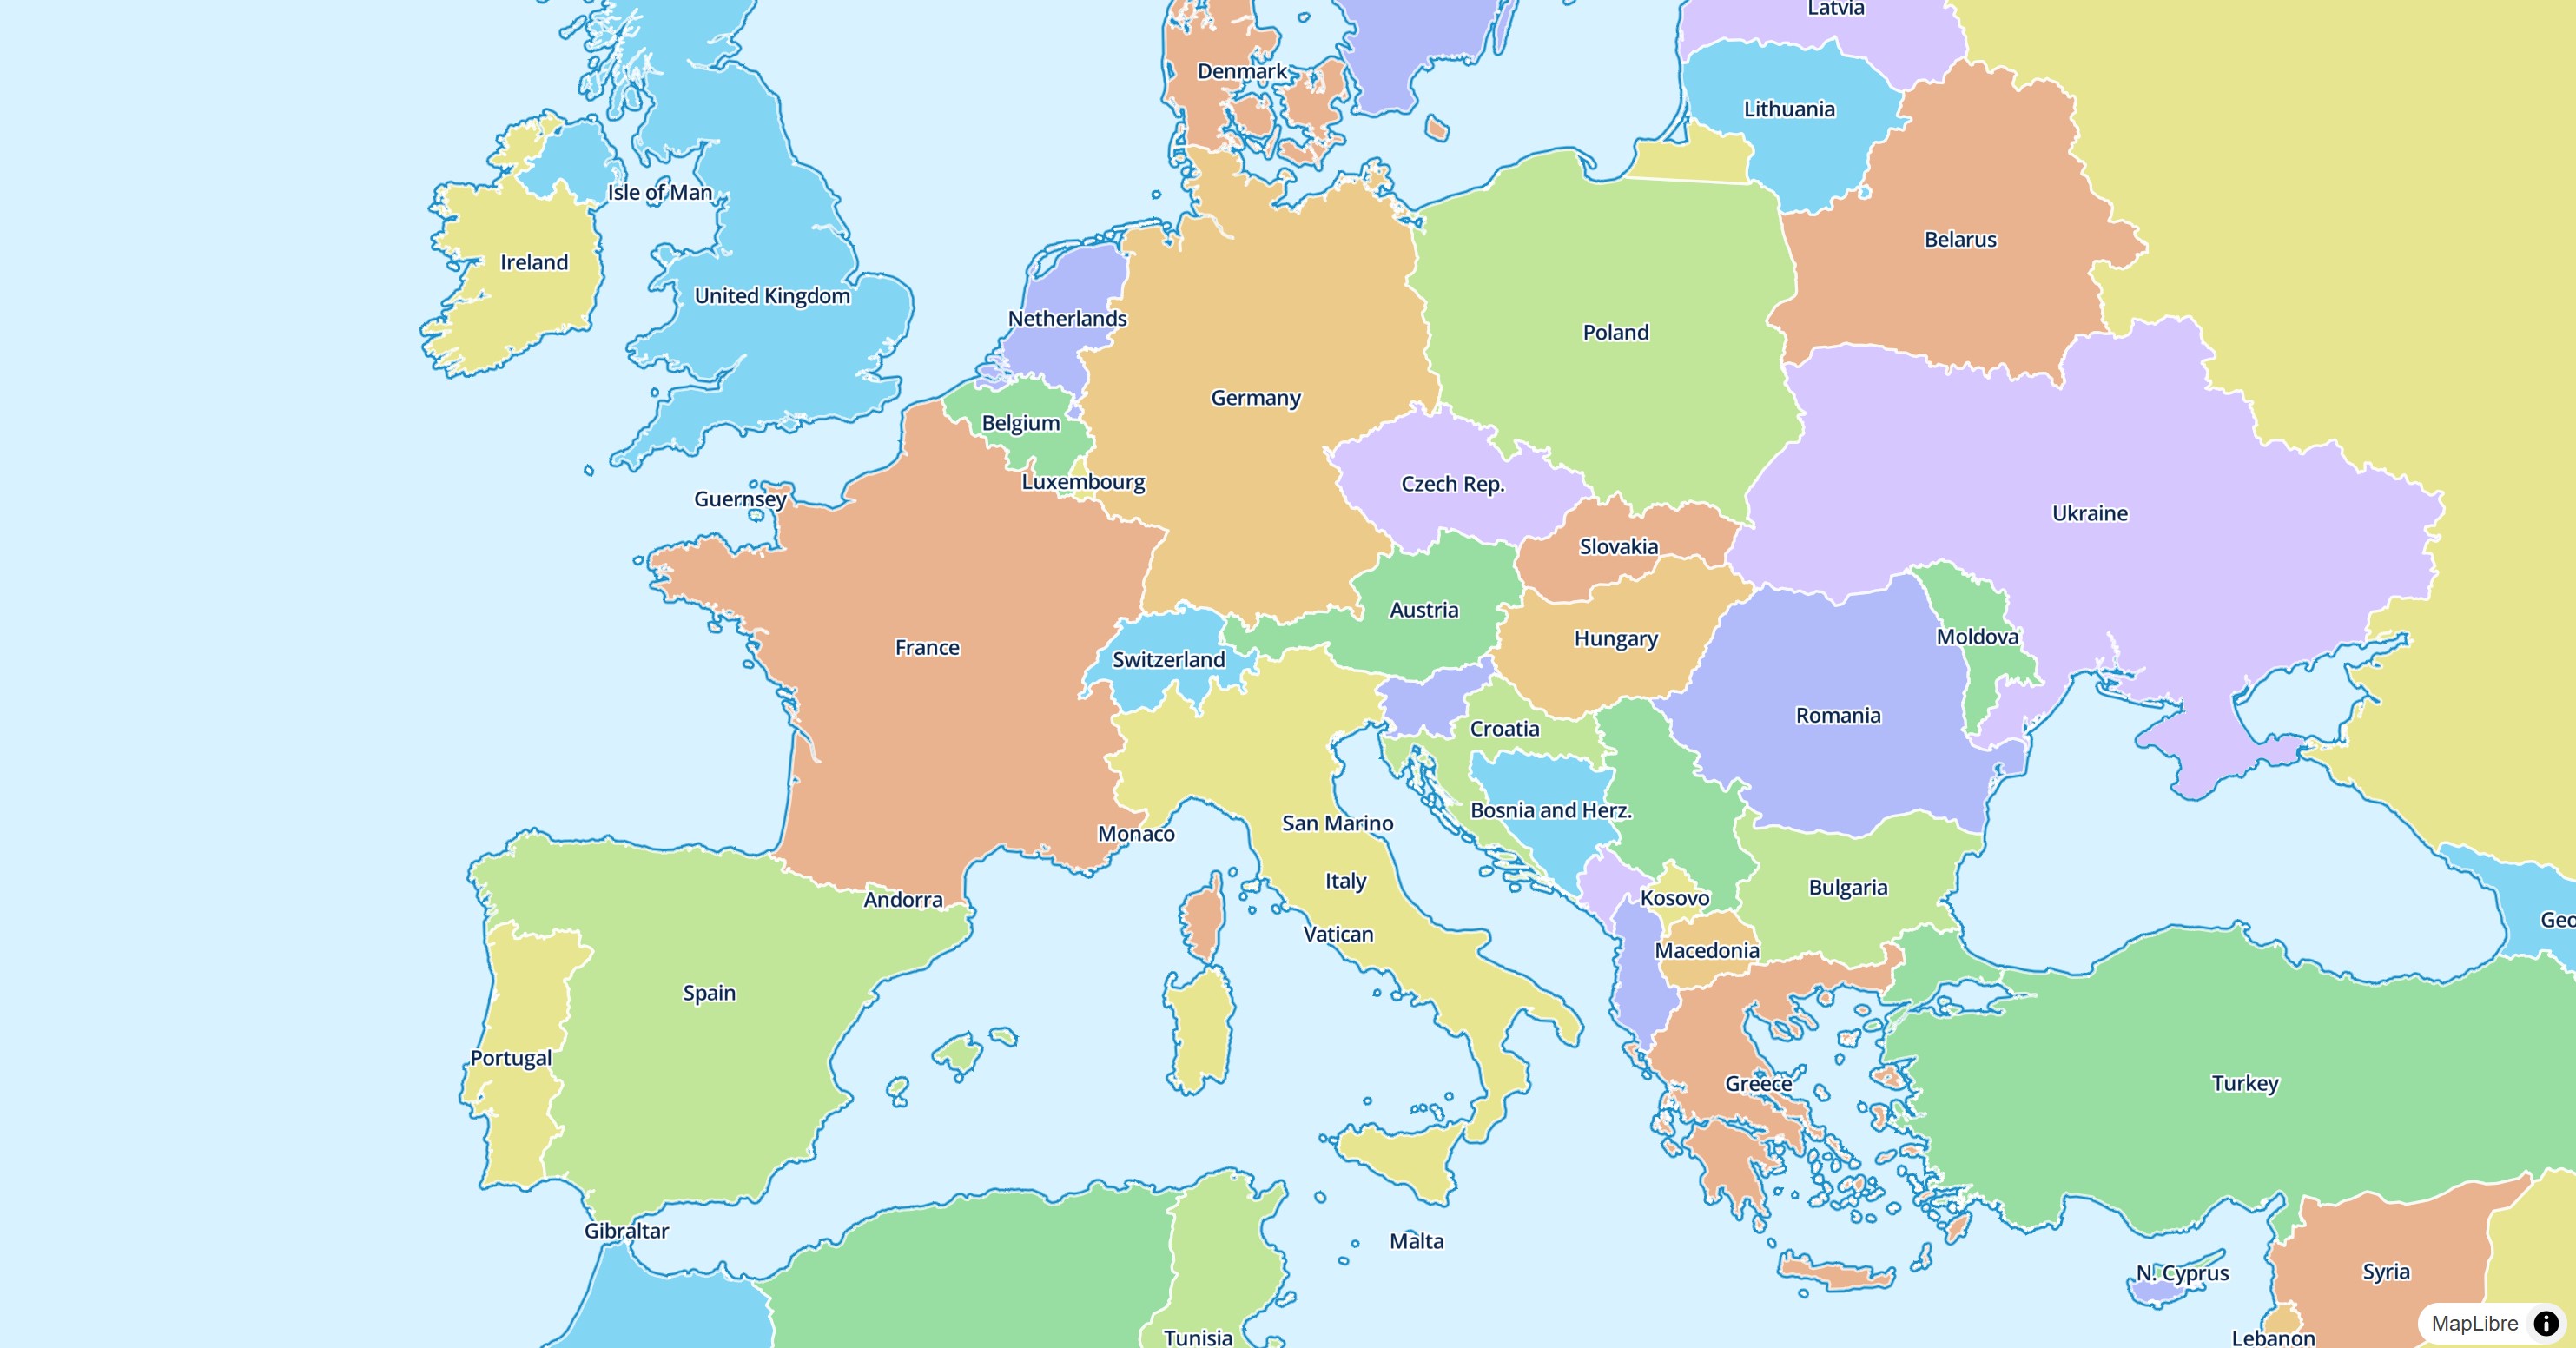 |
| Pitch or rotate the map | 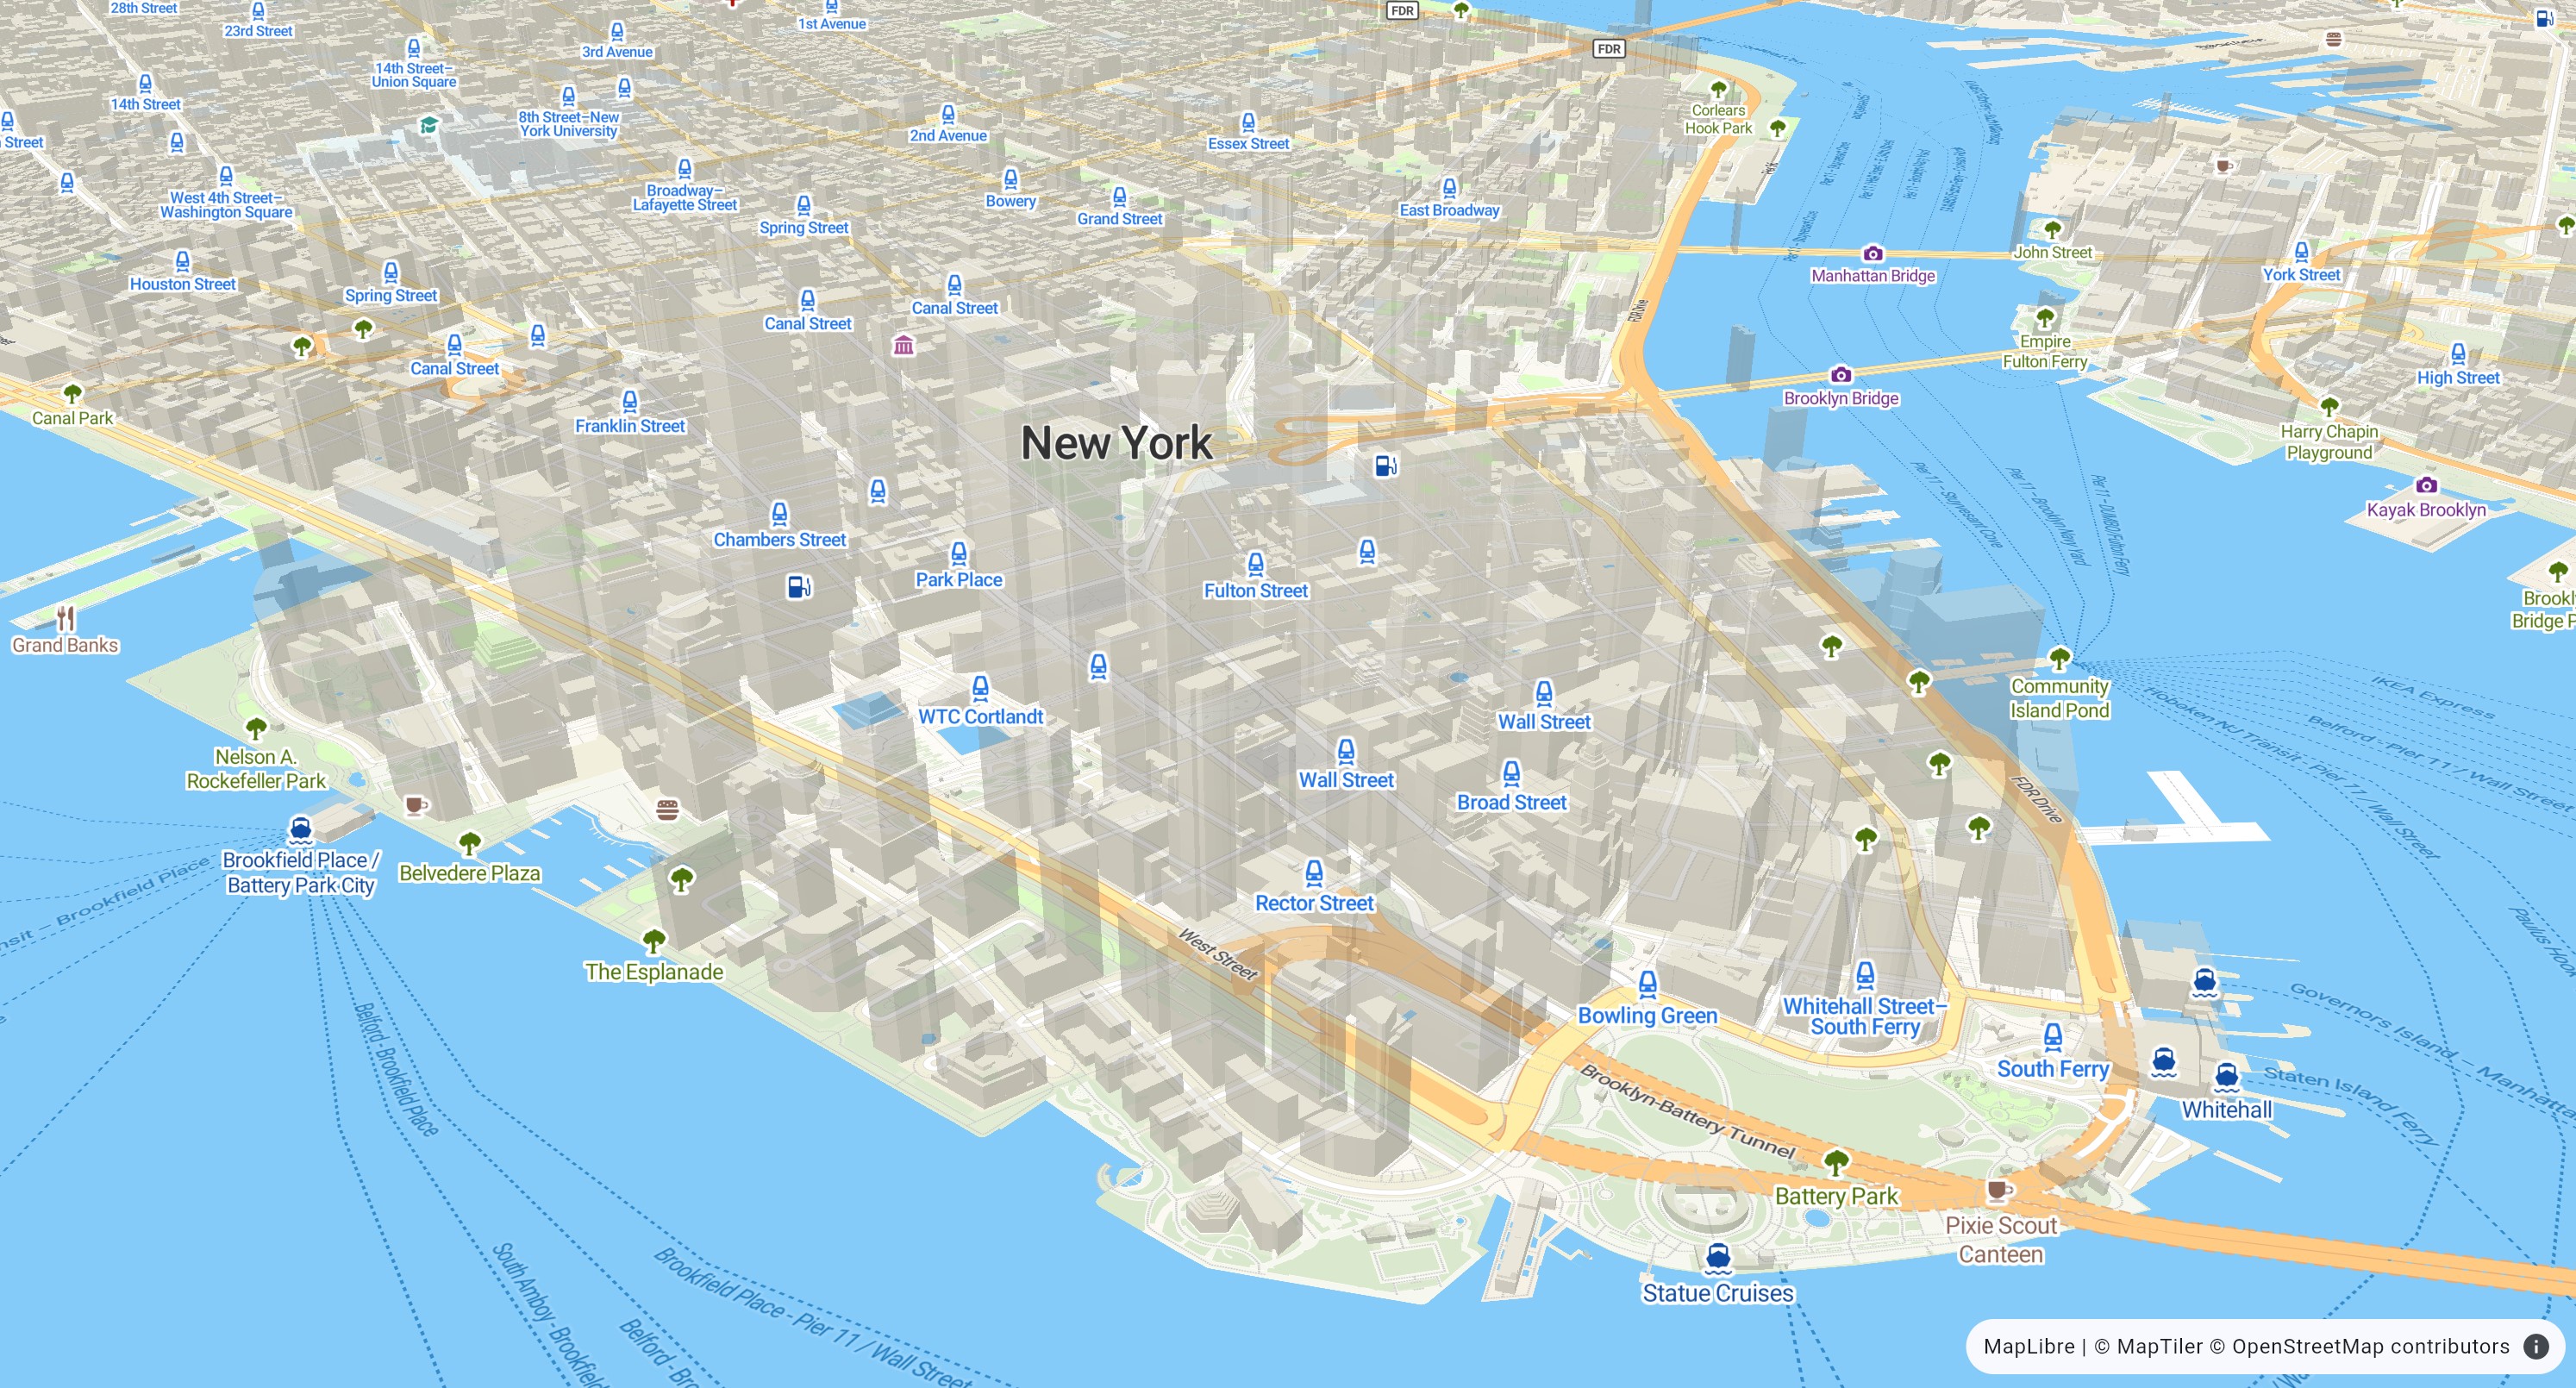 |
| Use raster tiles | 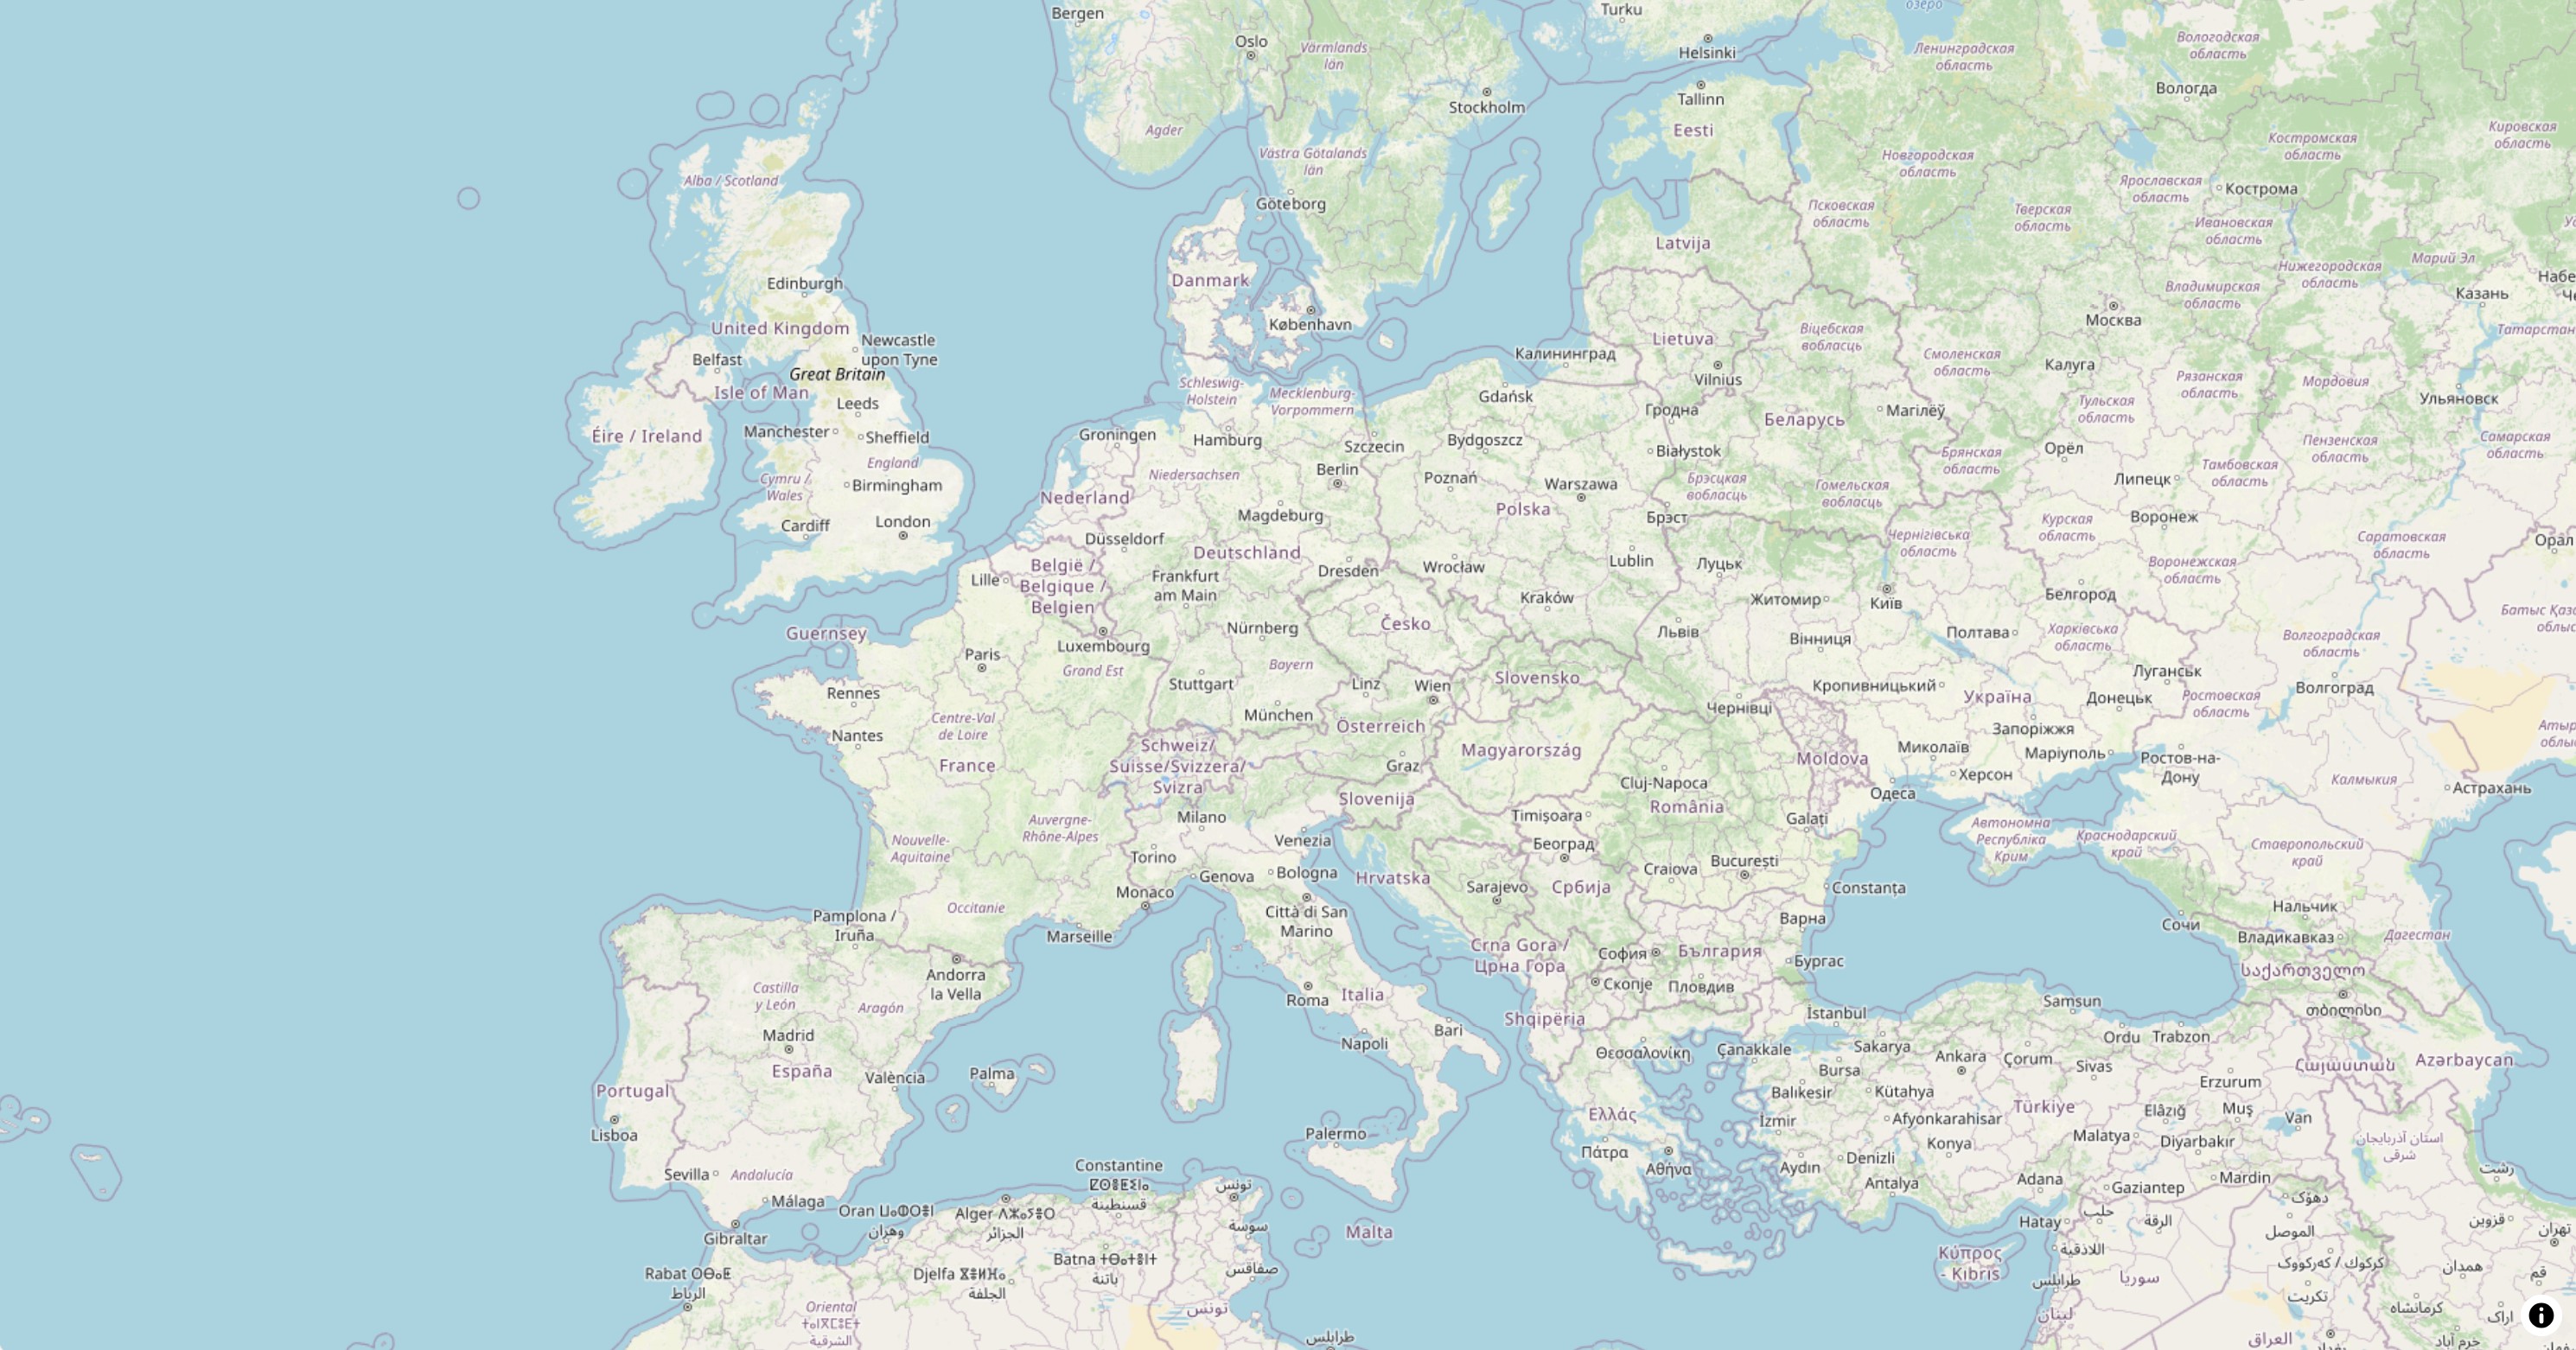 |
| Add 3D building outlines | 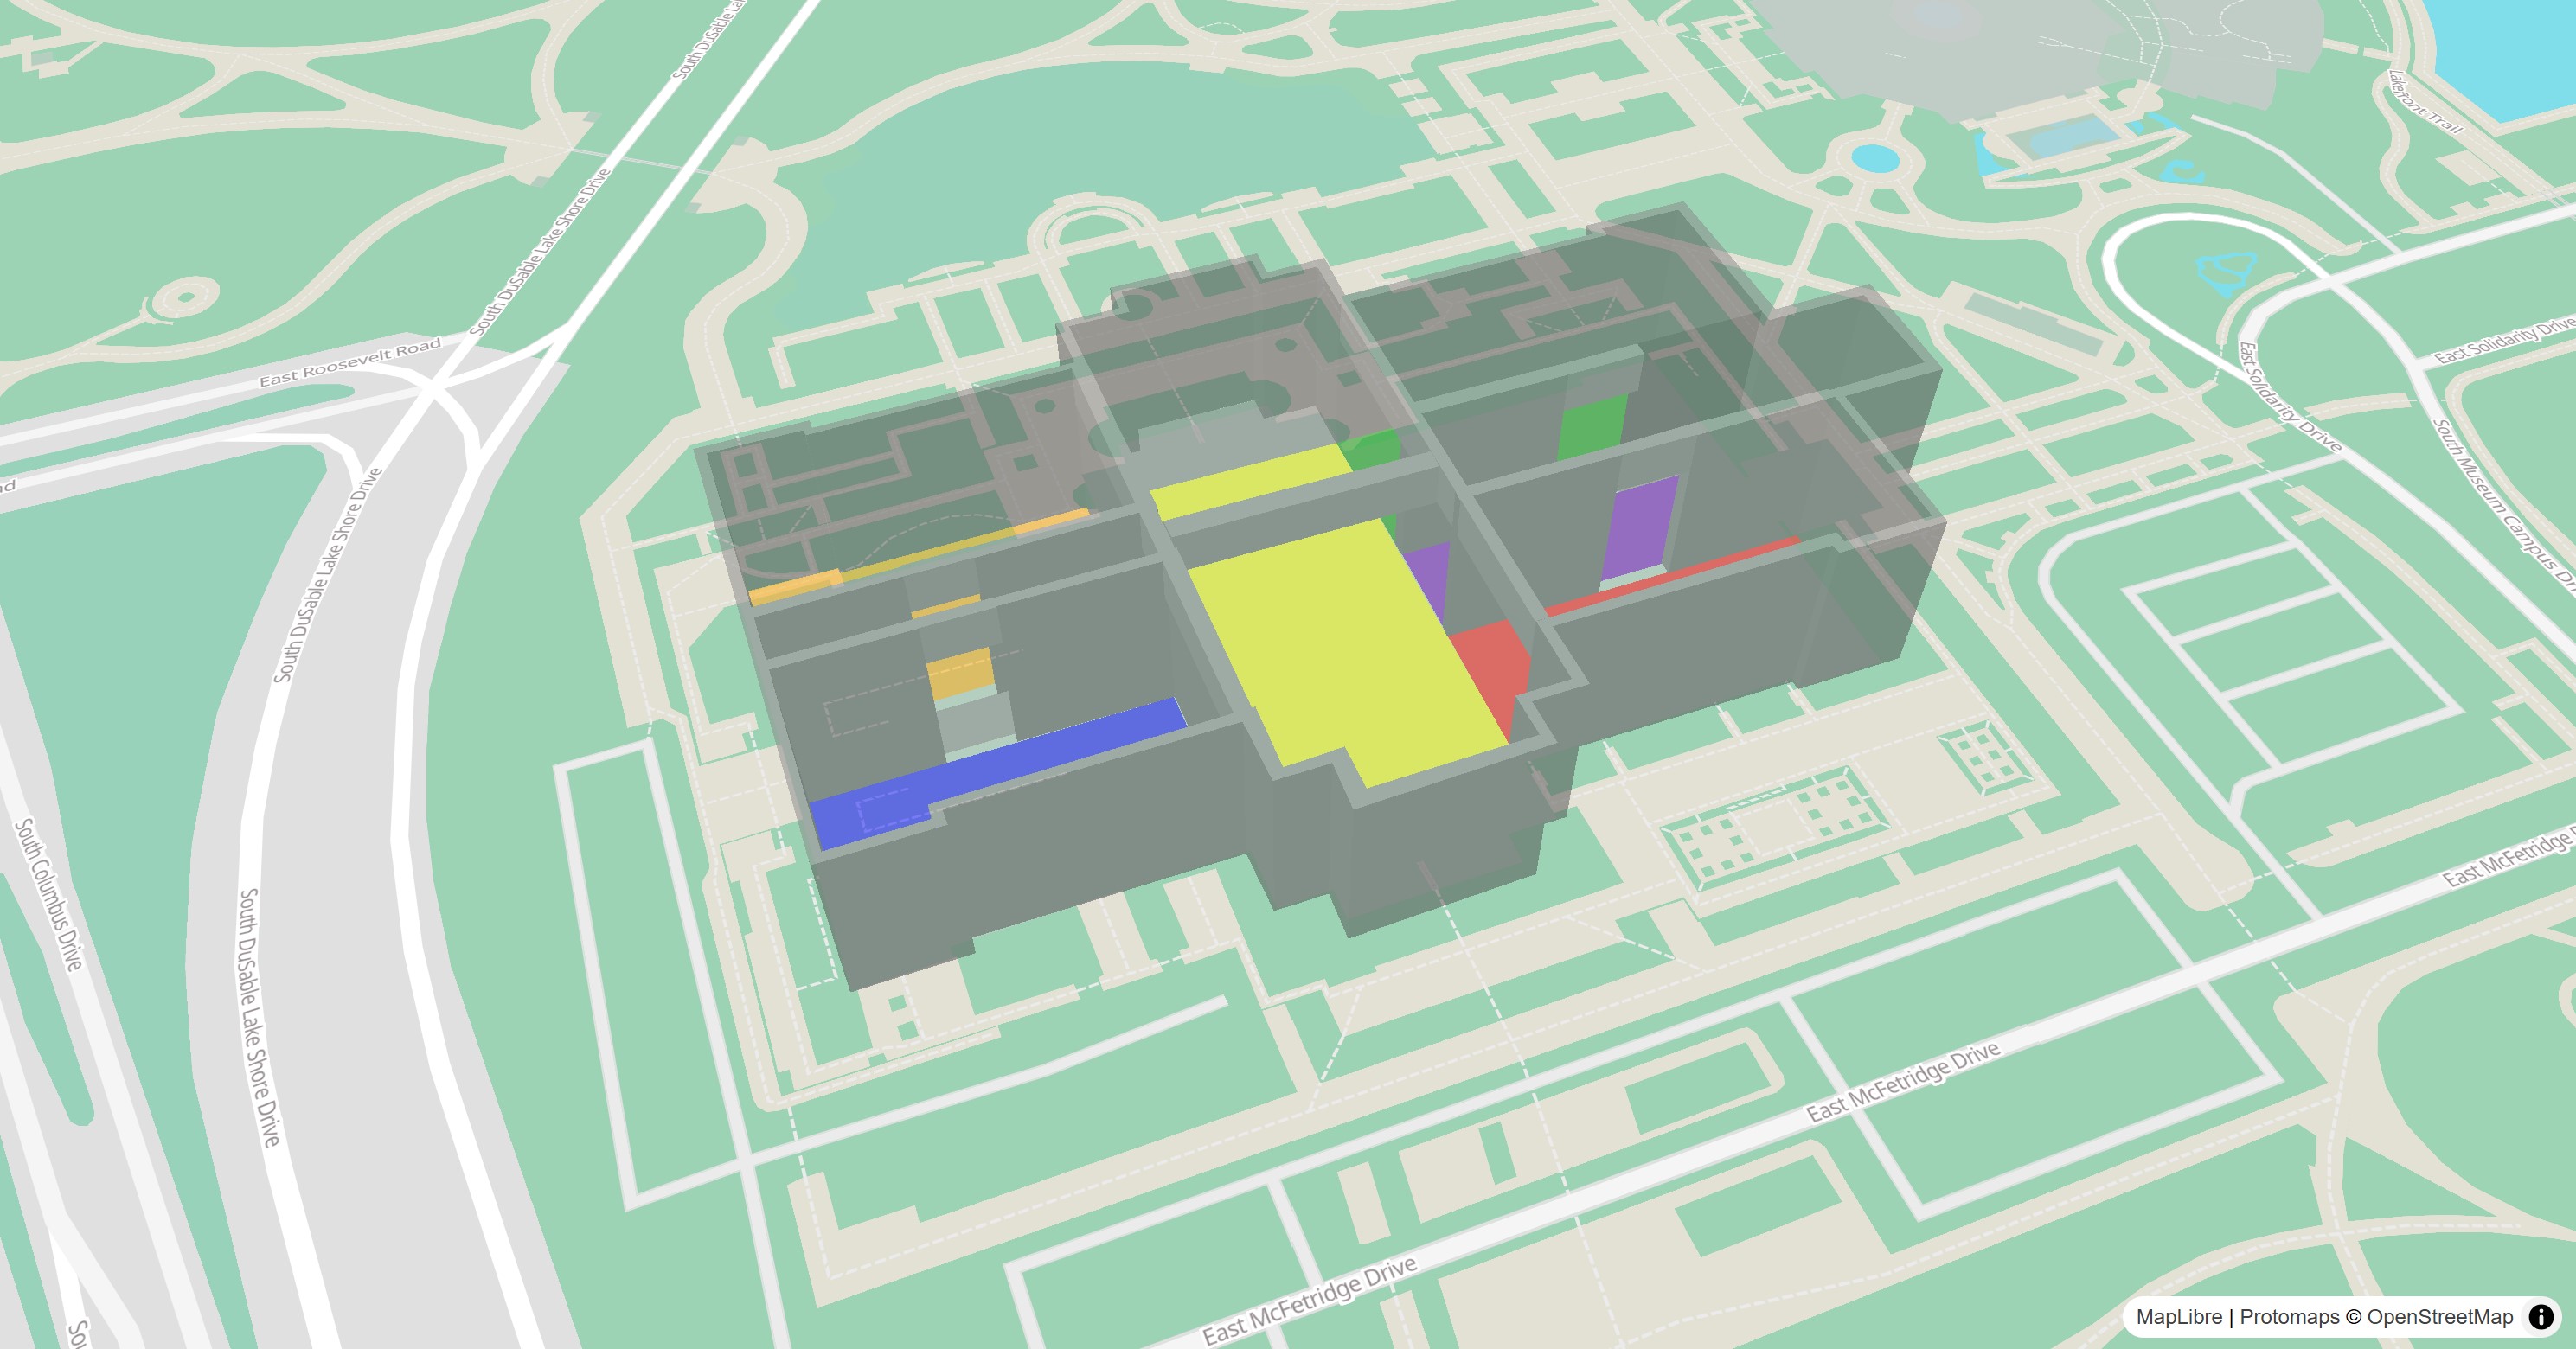 |
| Add heatmaps | 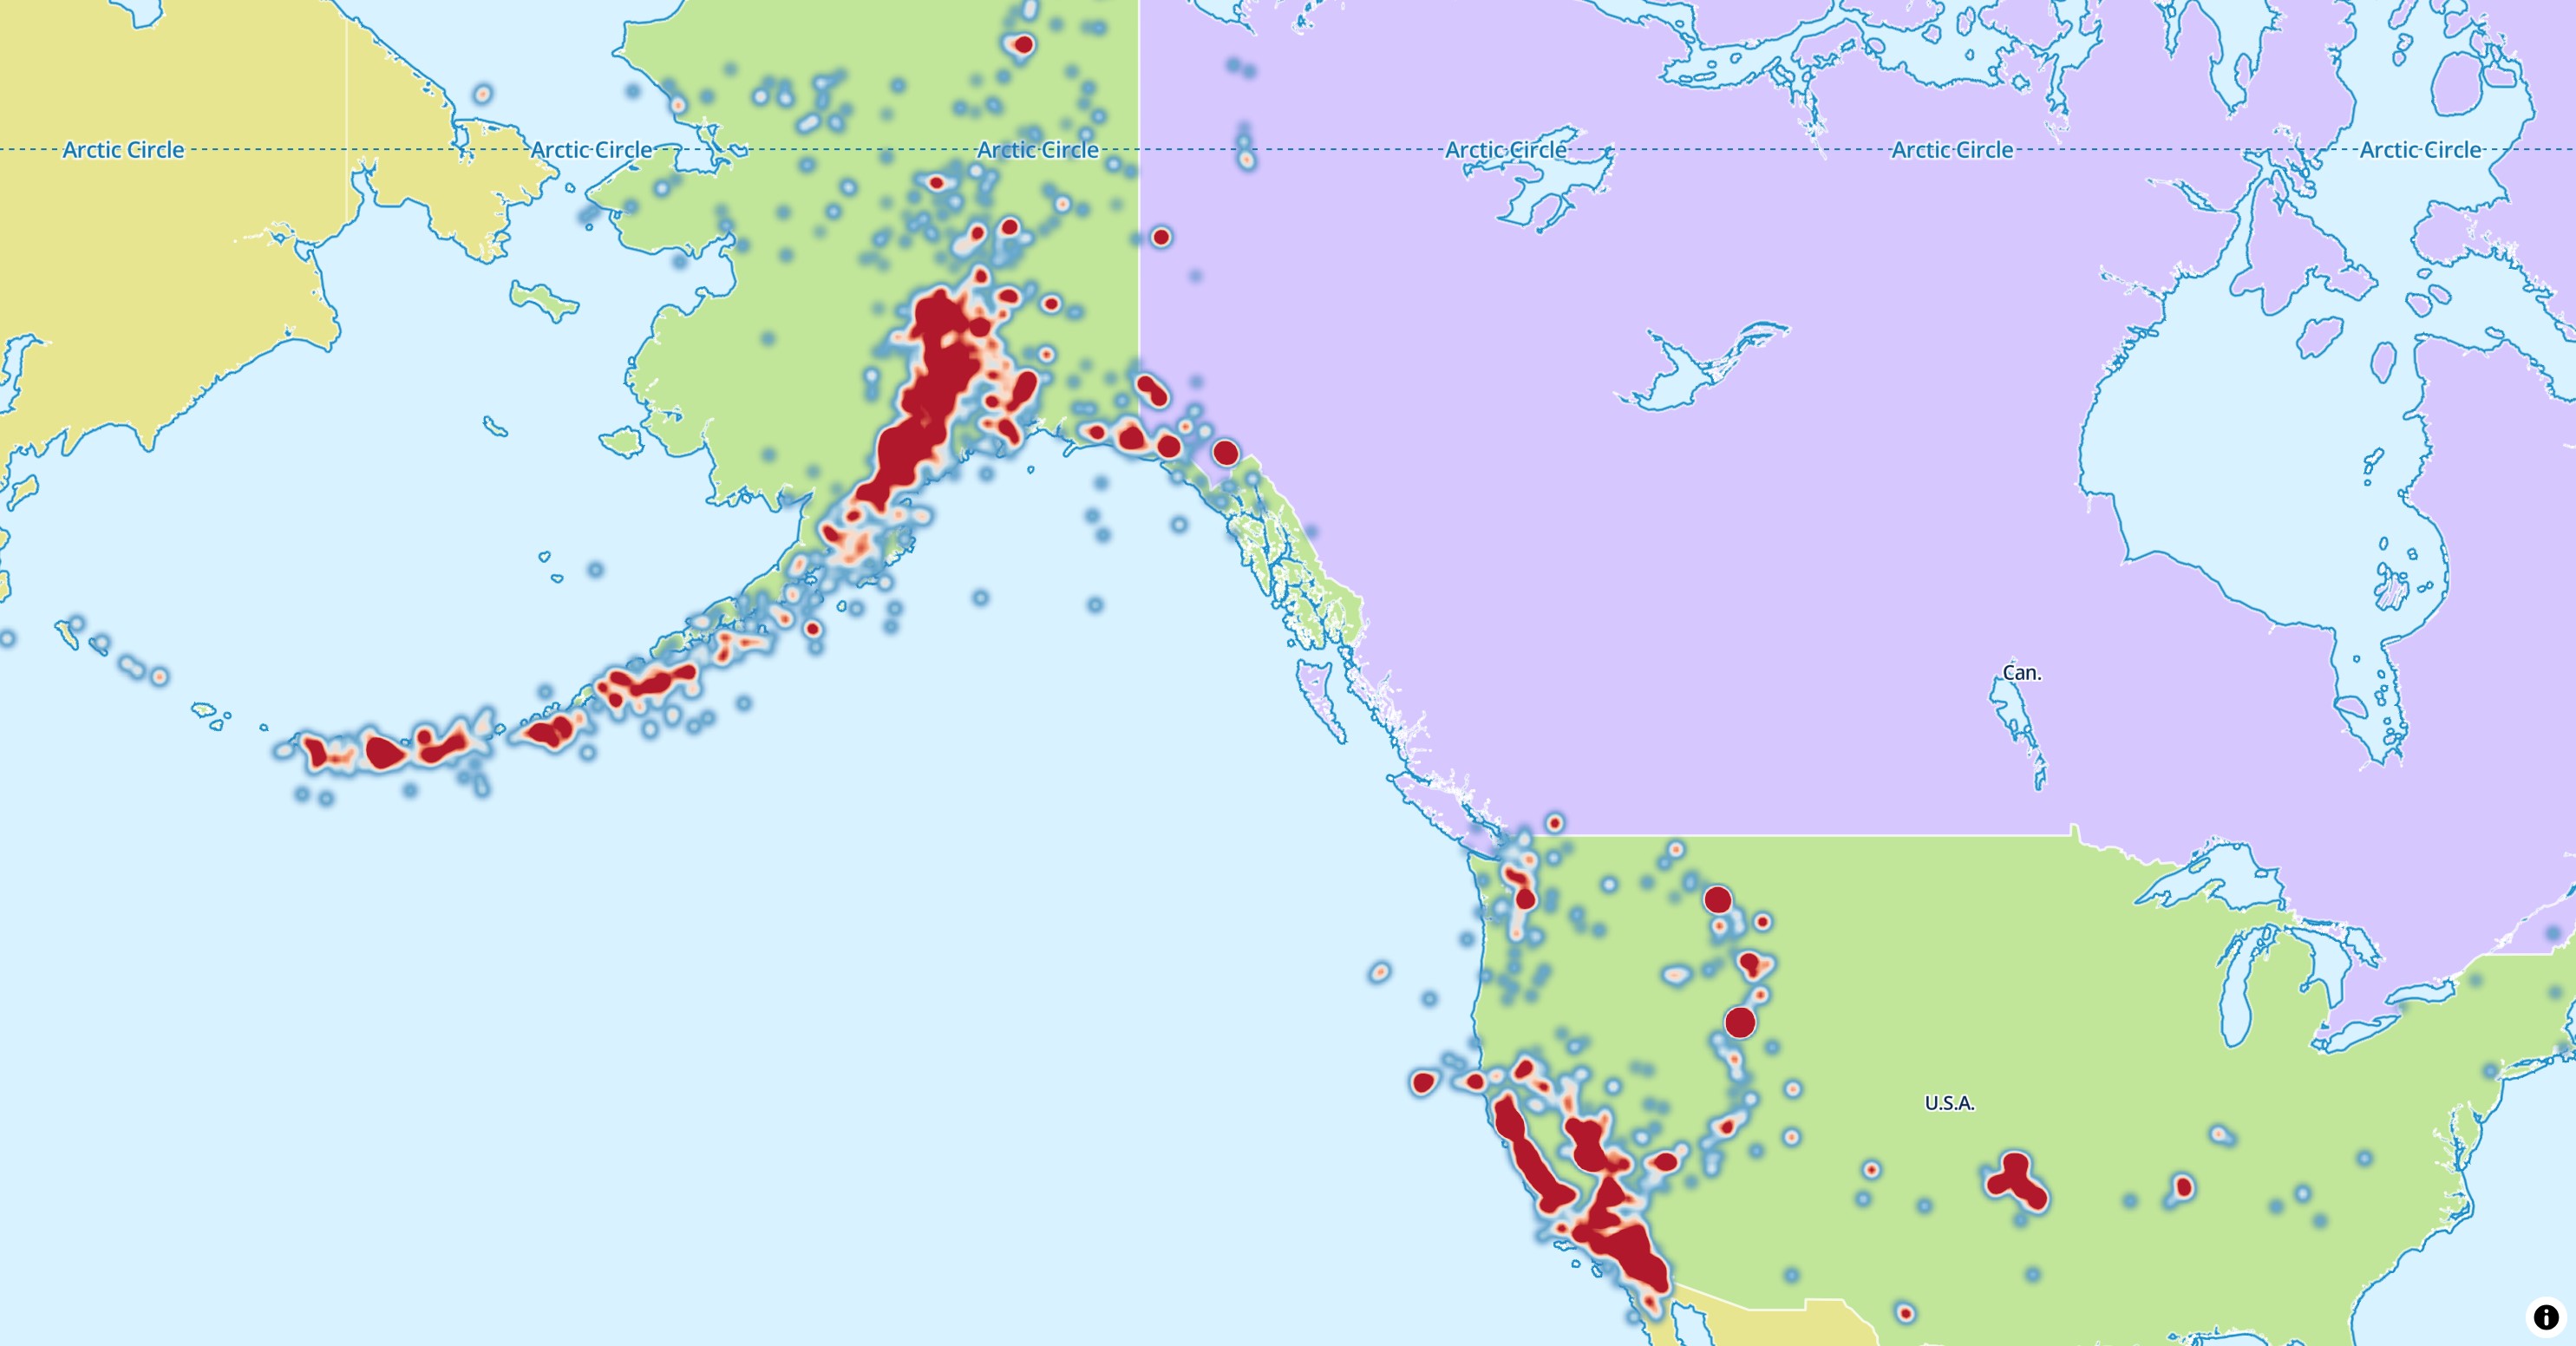 |
| Add polygons |  |
| Render elevation | 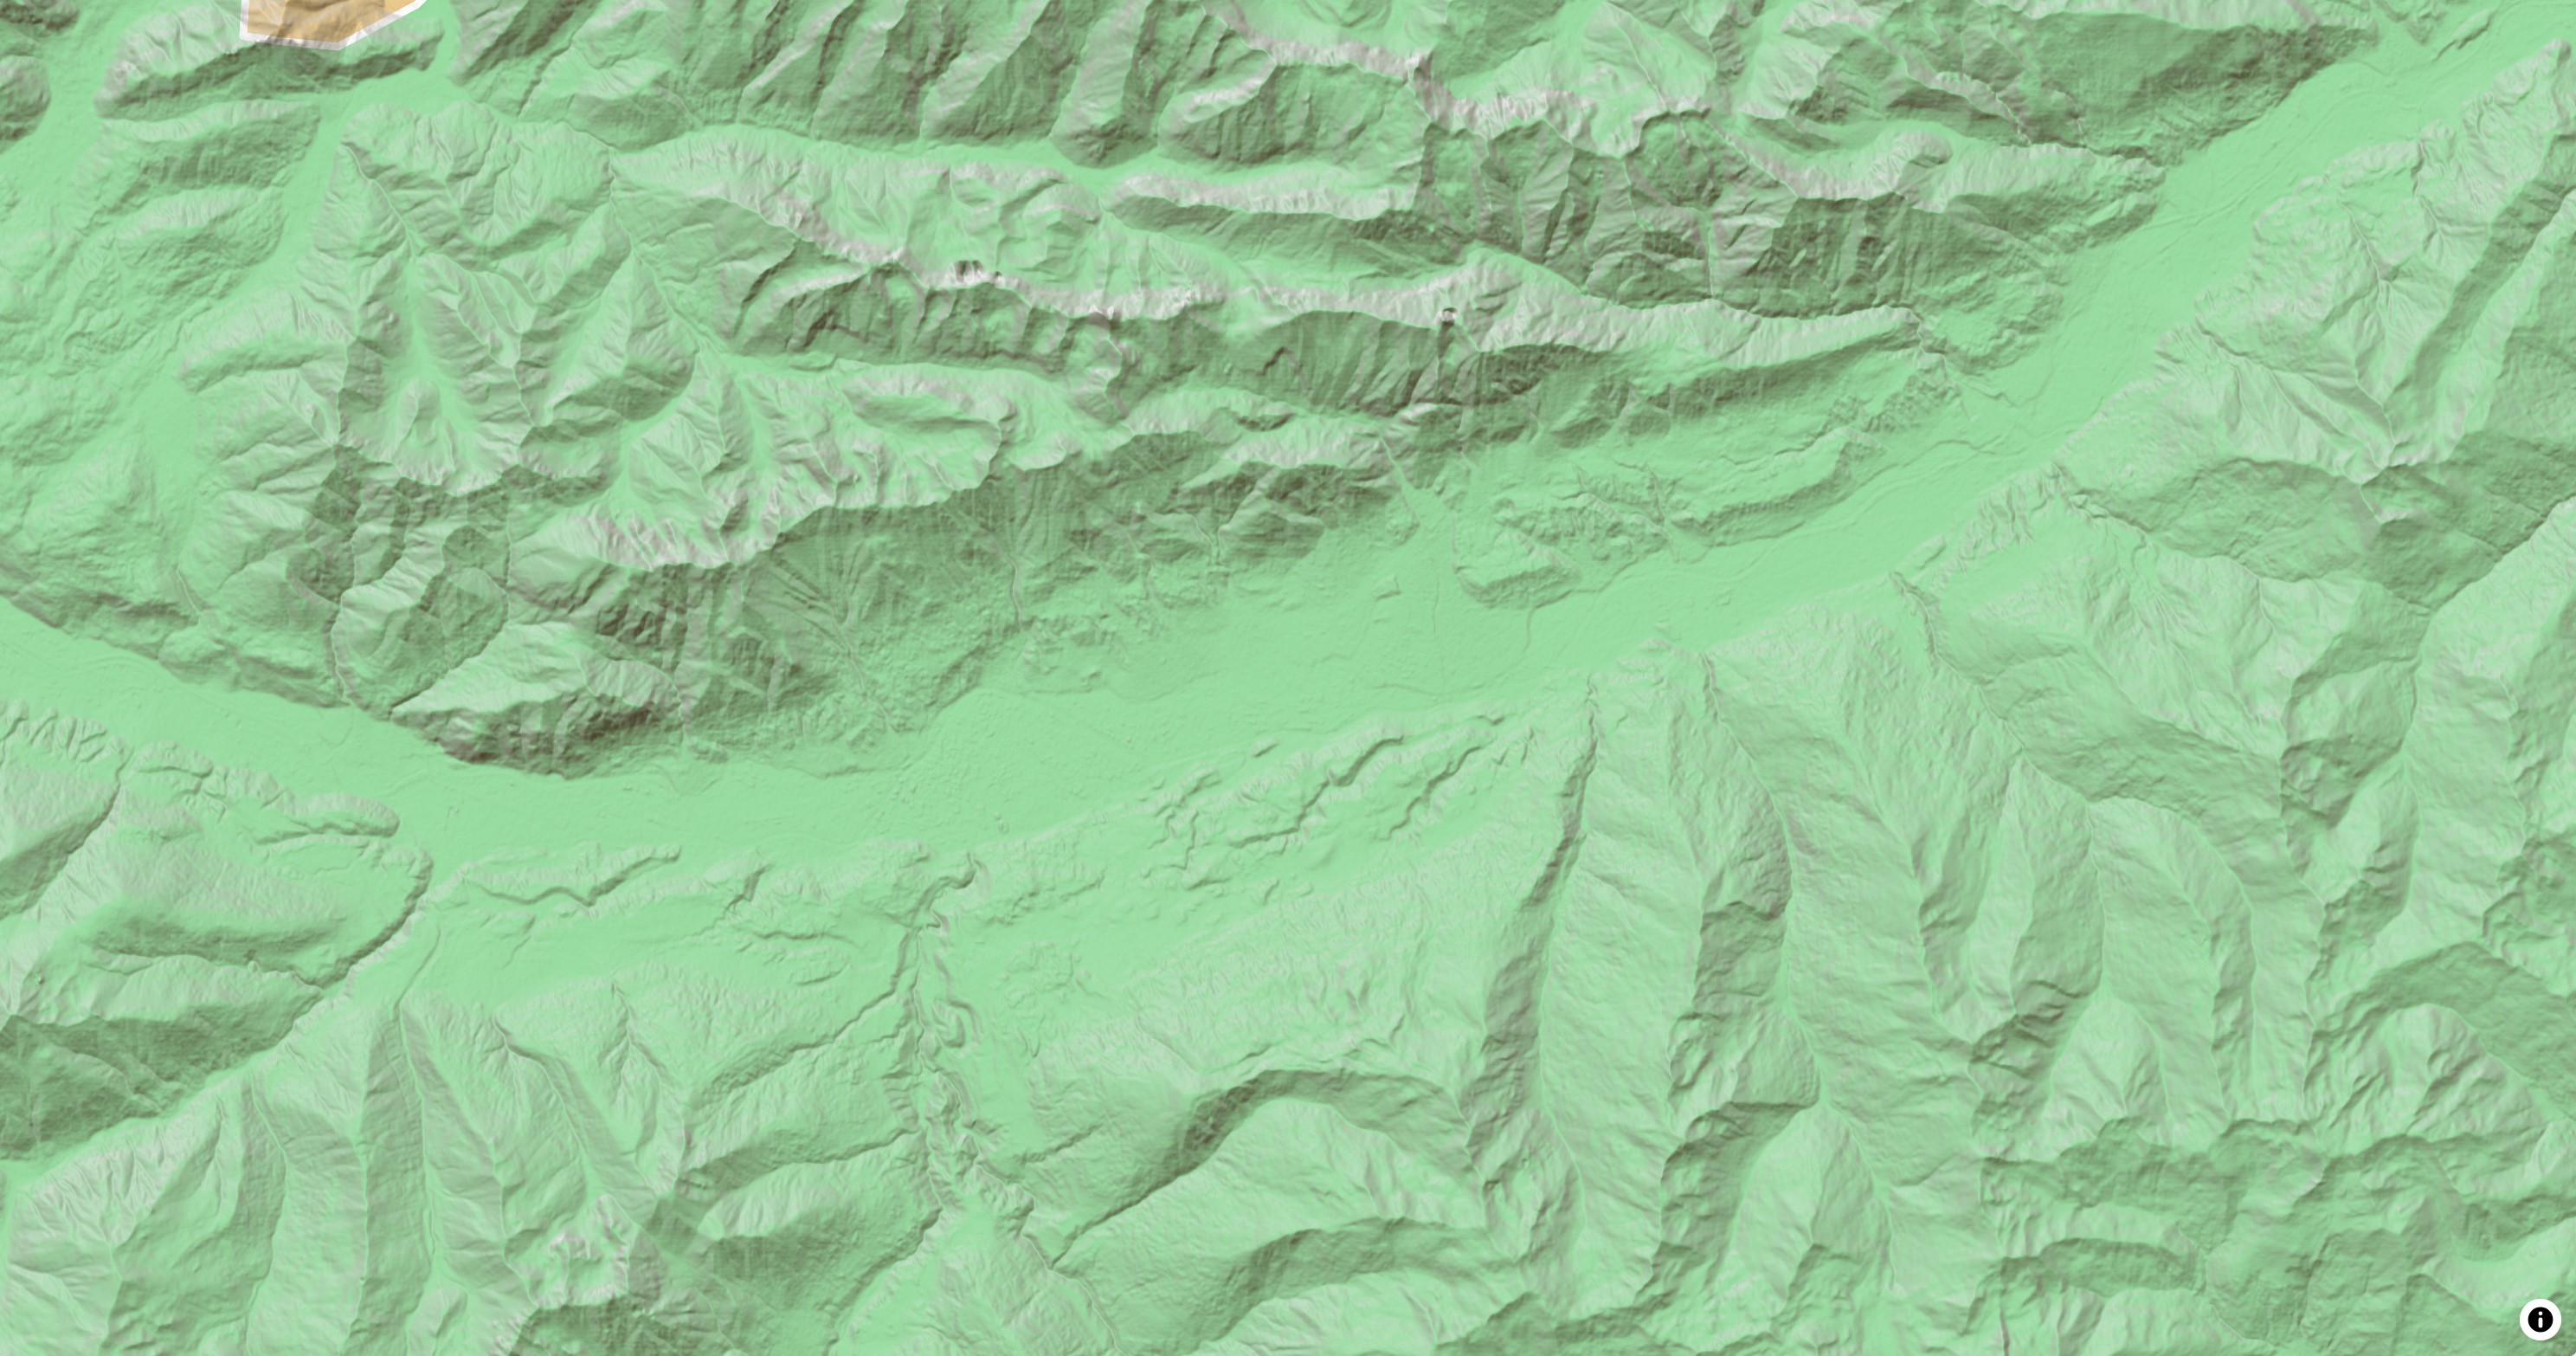 |
| Add lines | 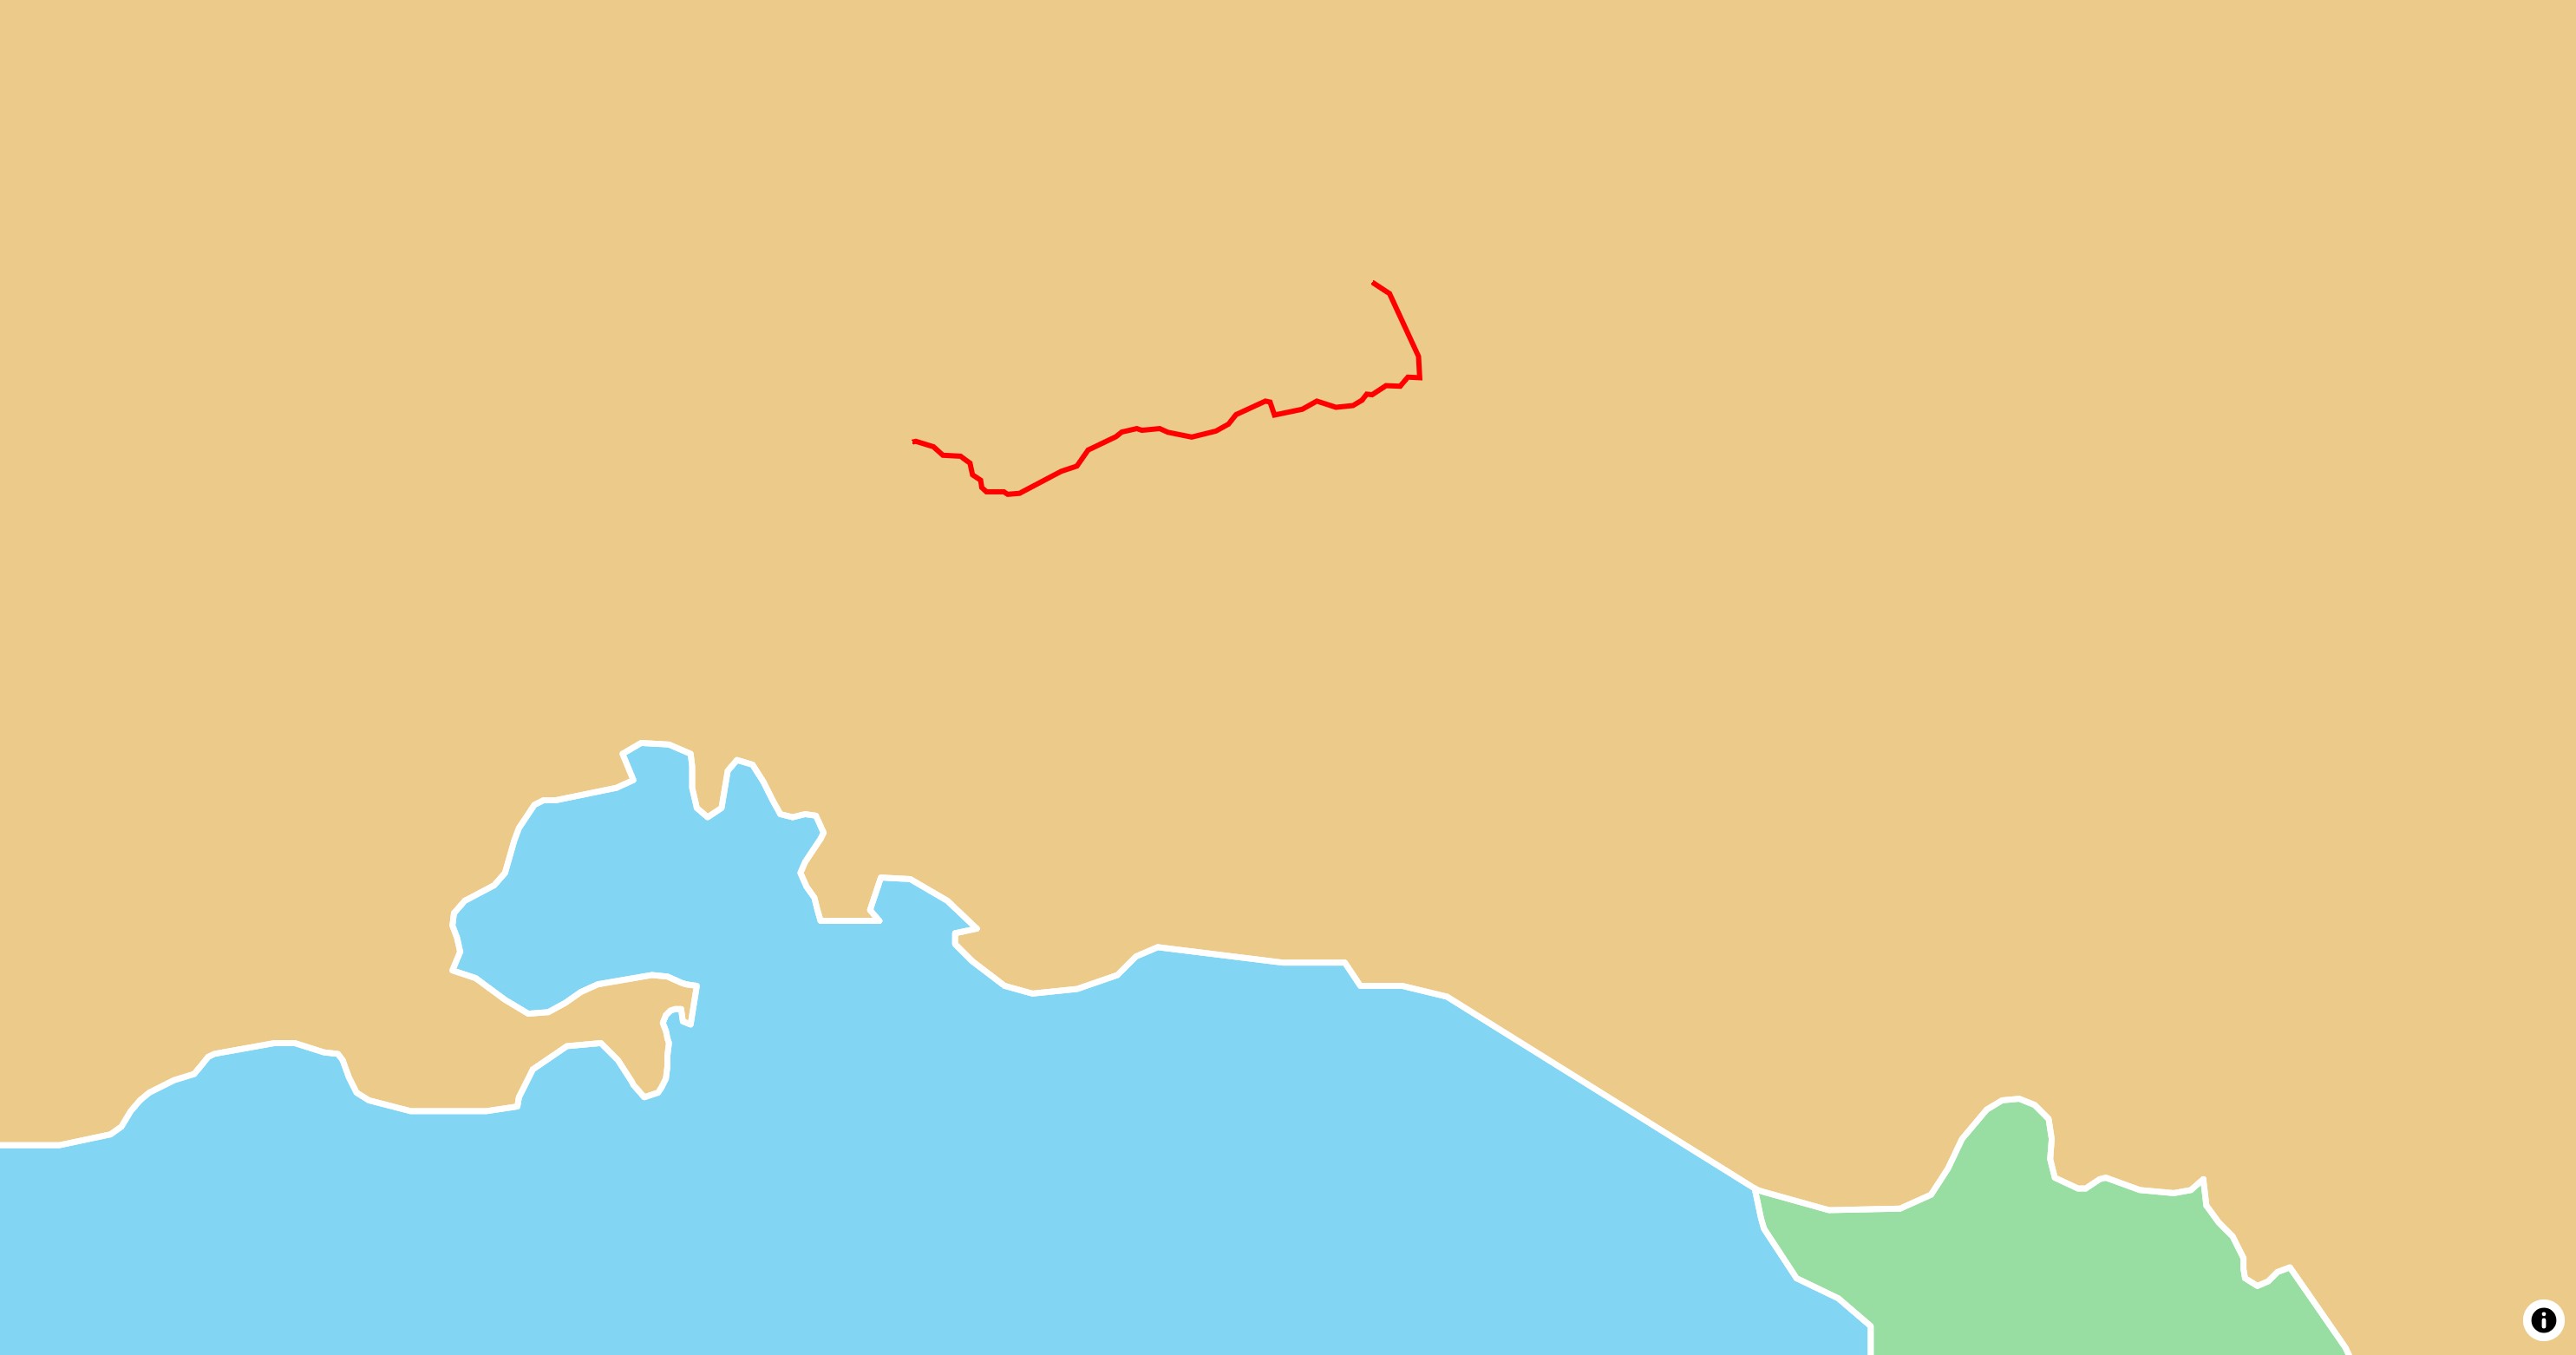 |
| Add circles | 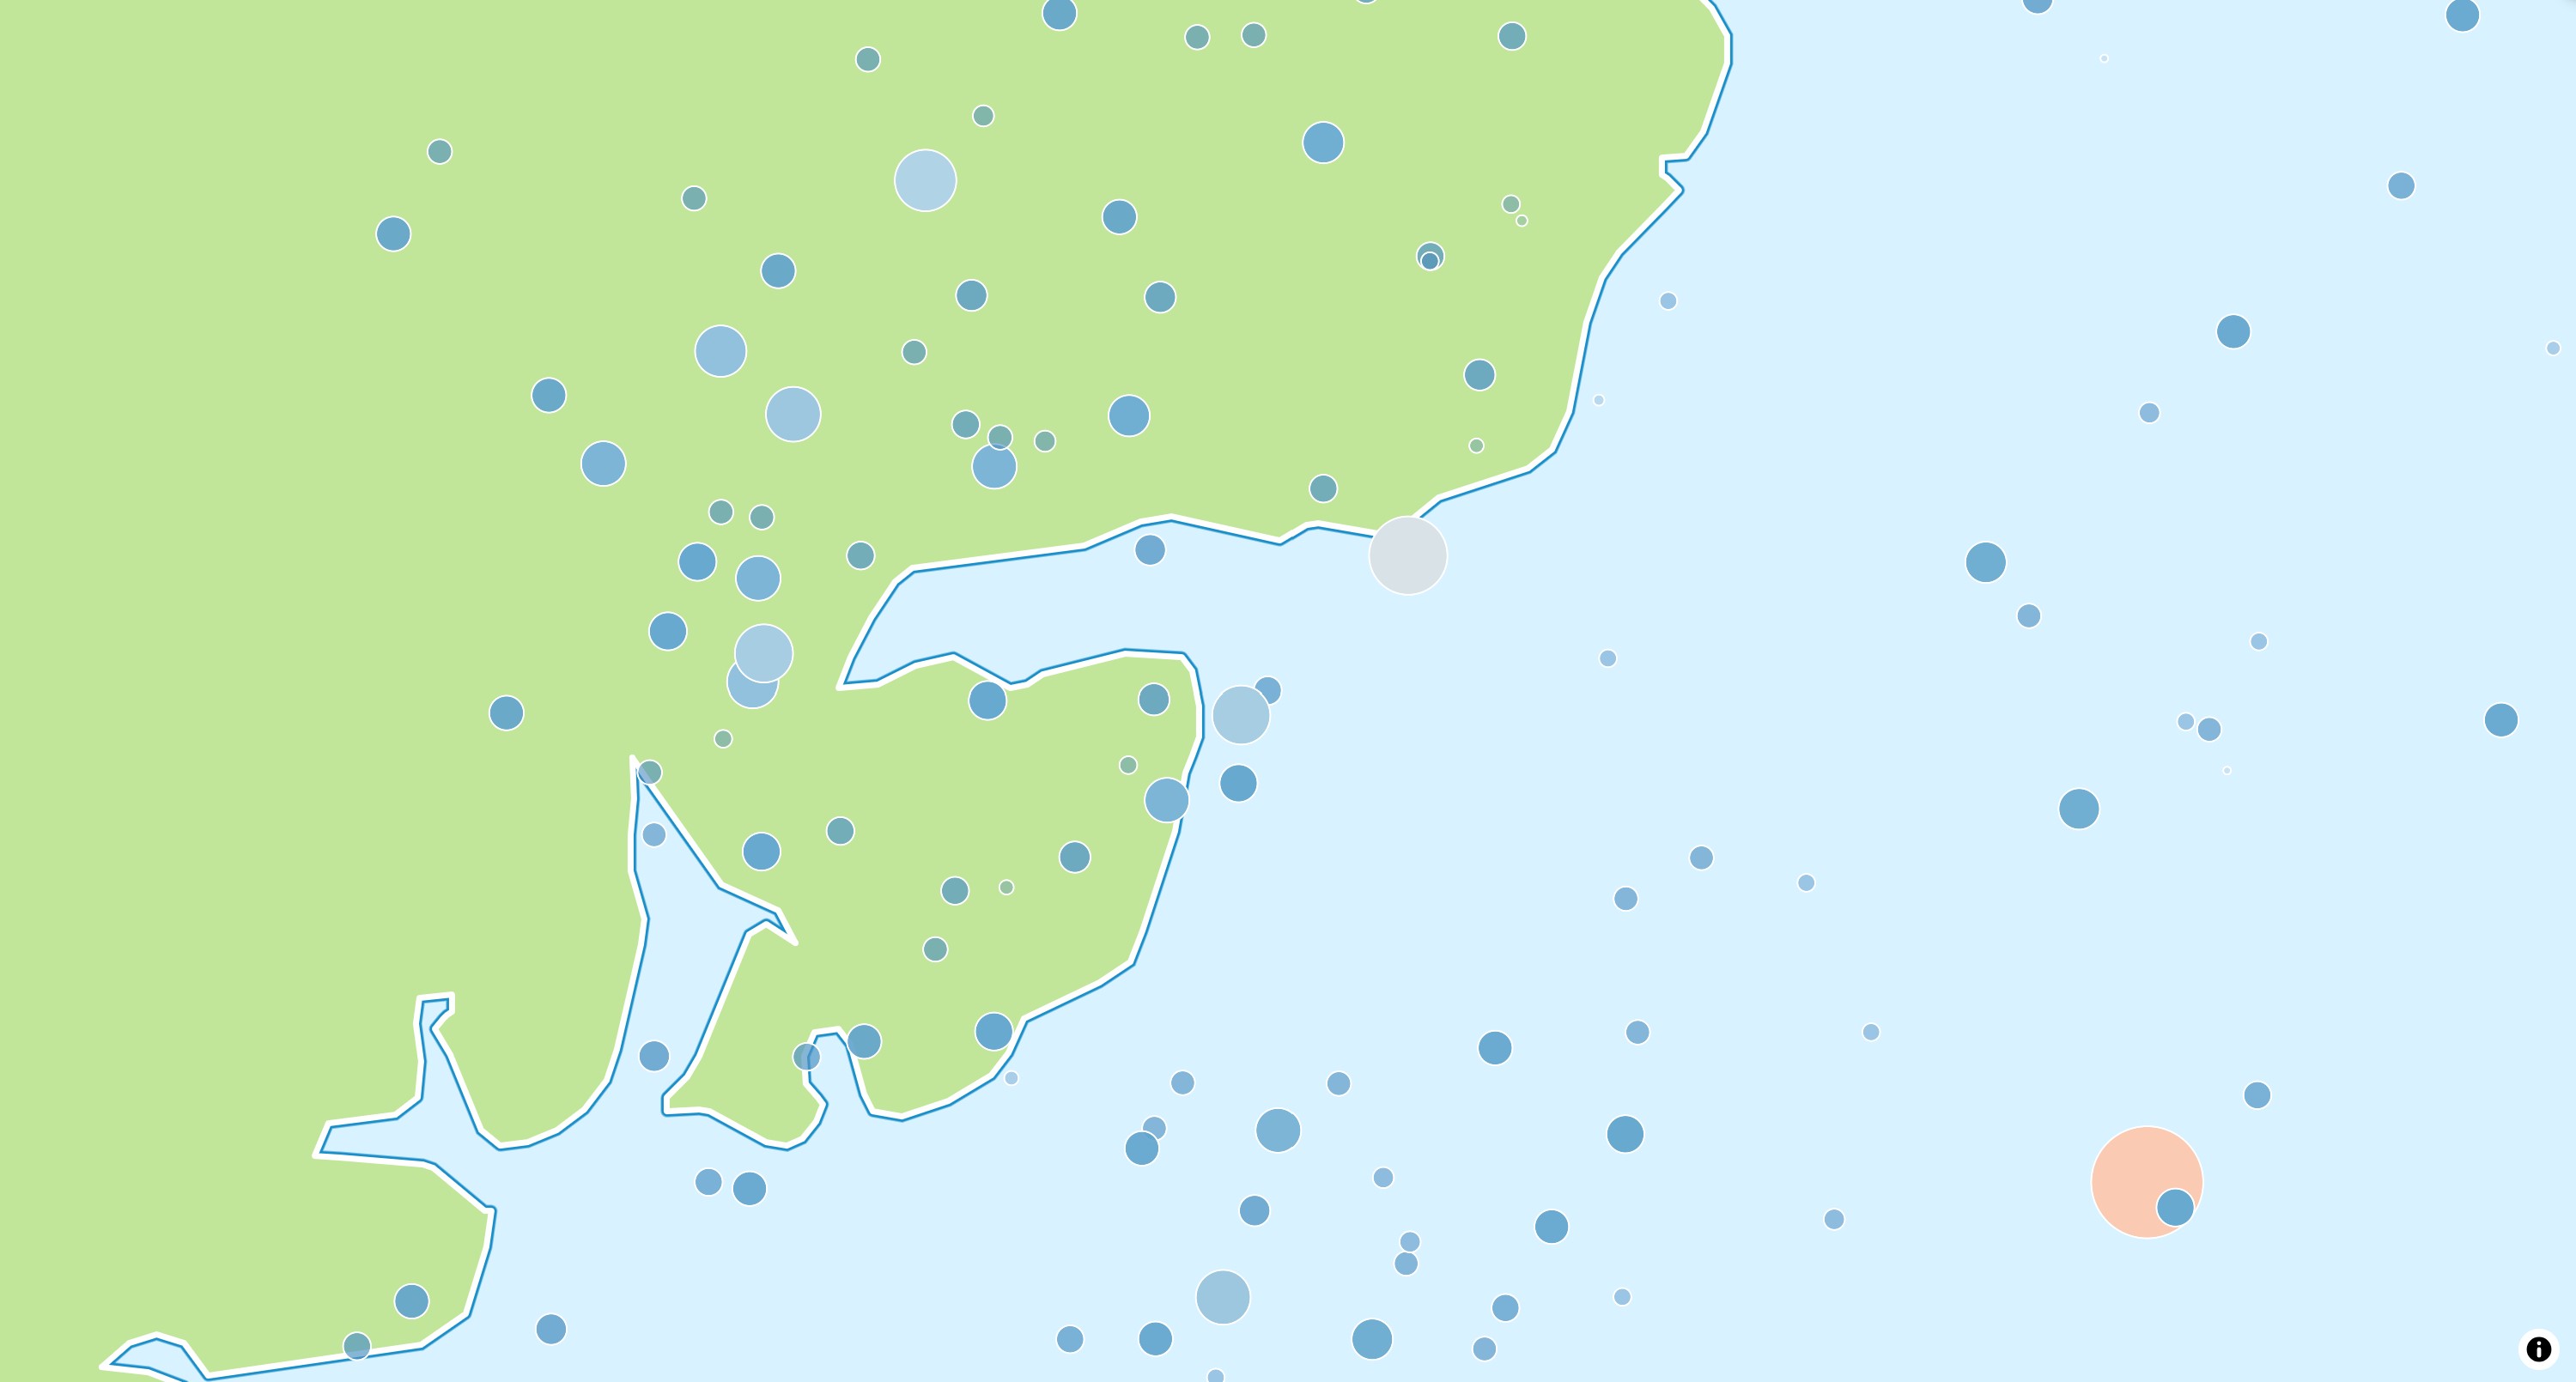 |
| Add markers | 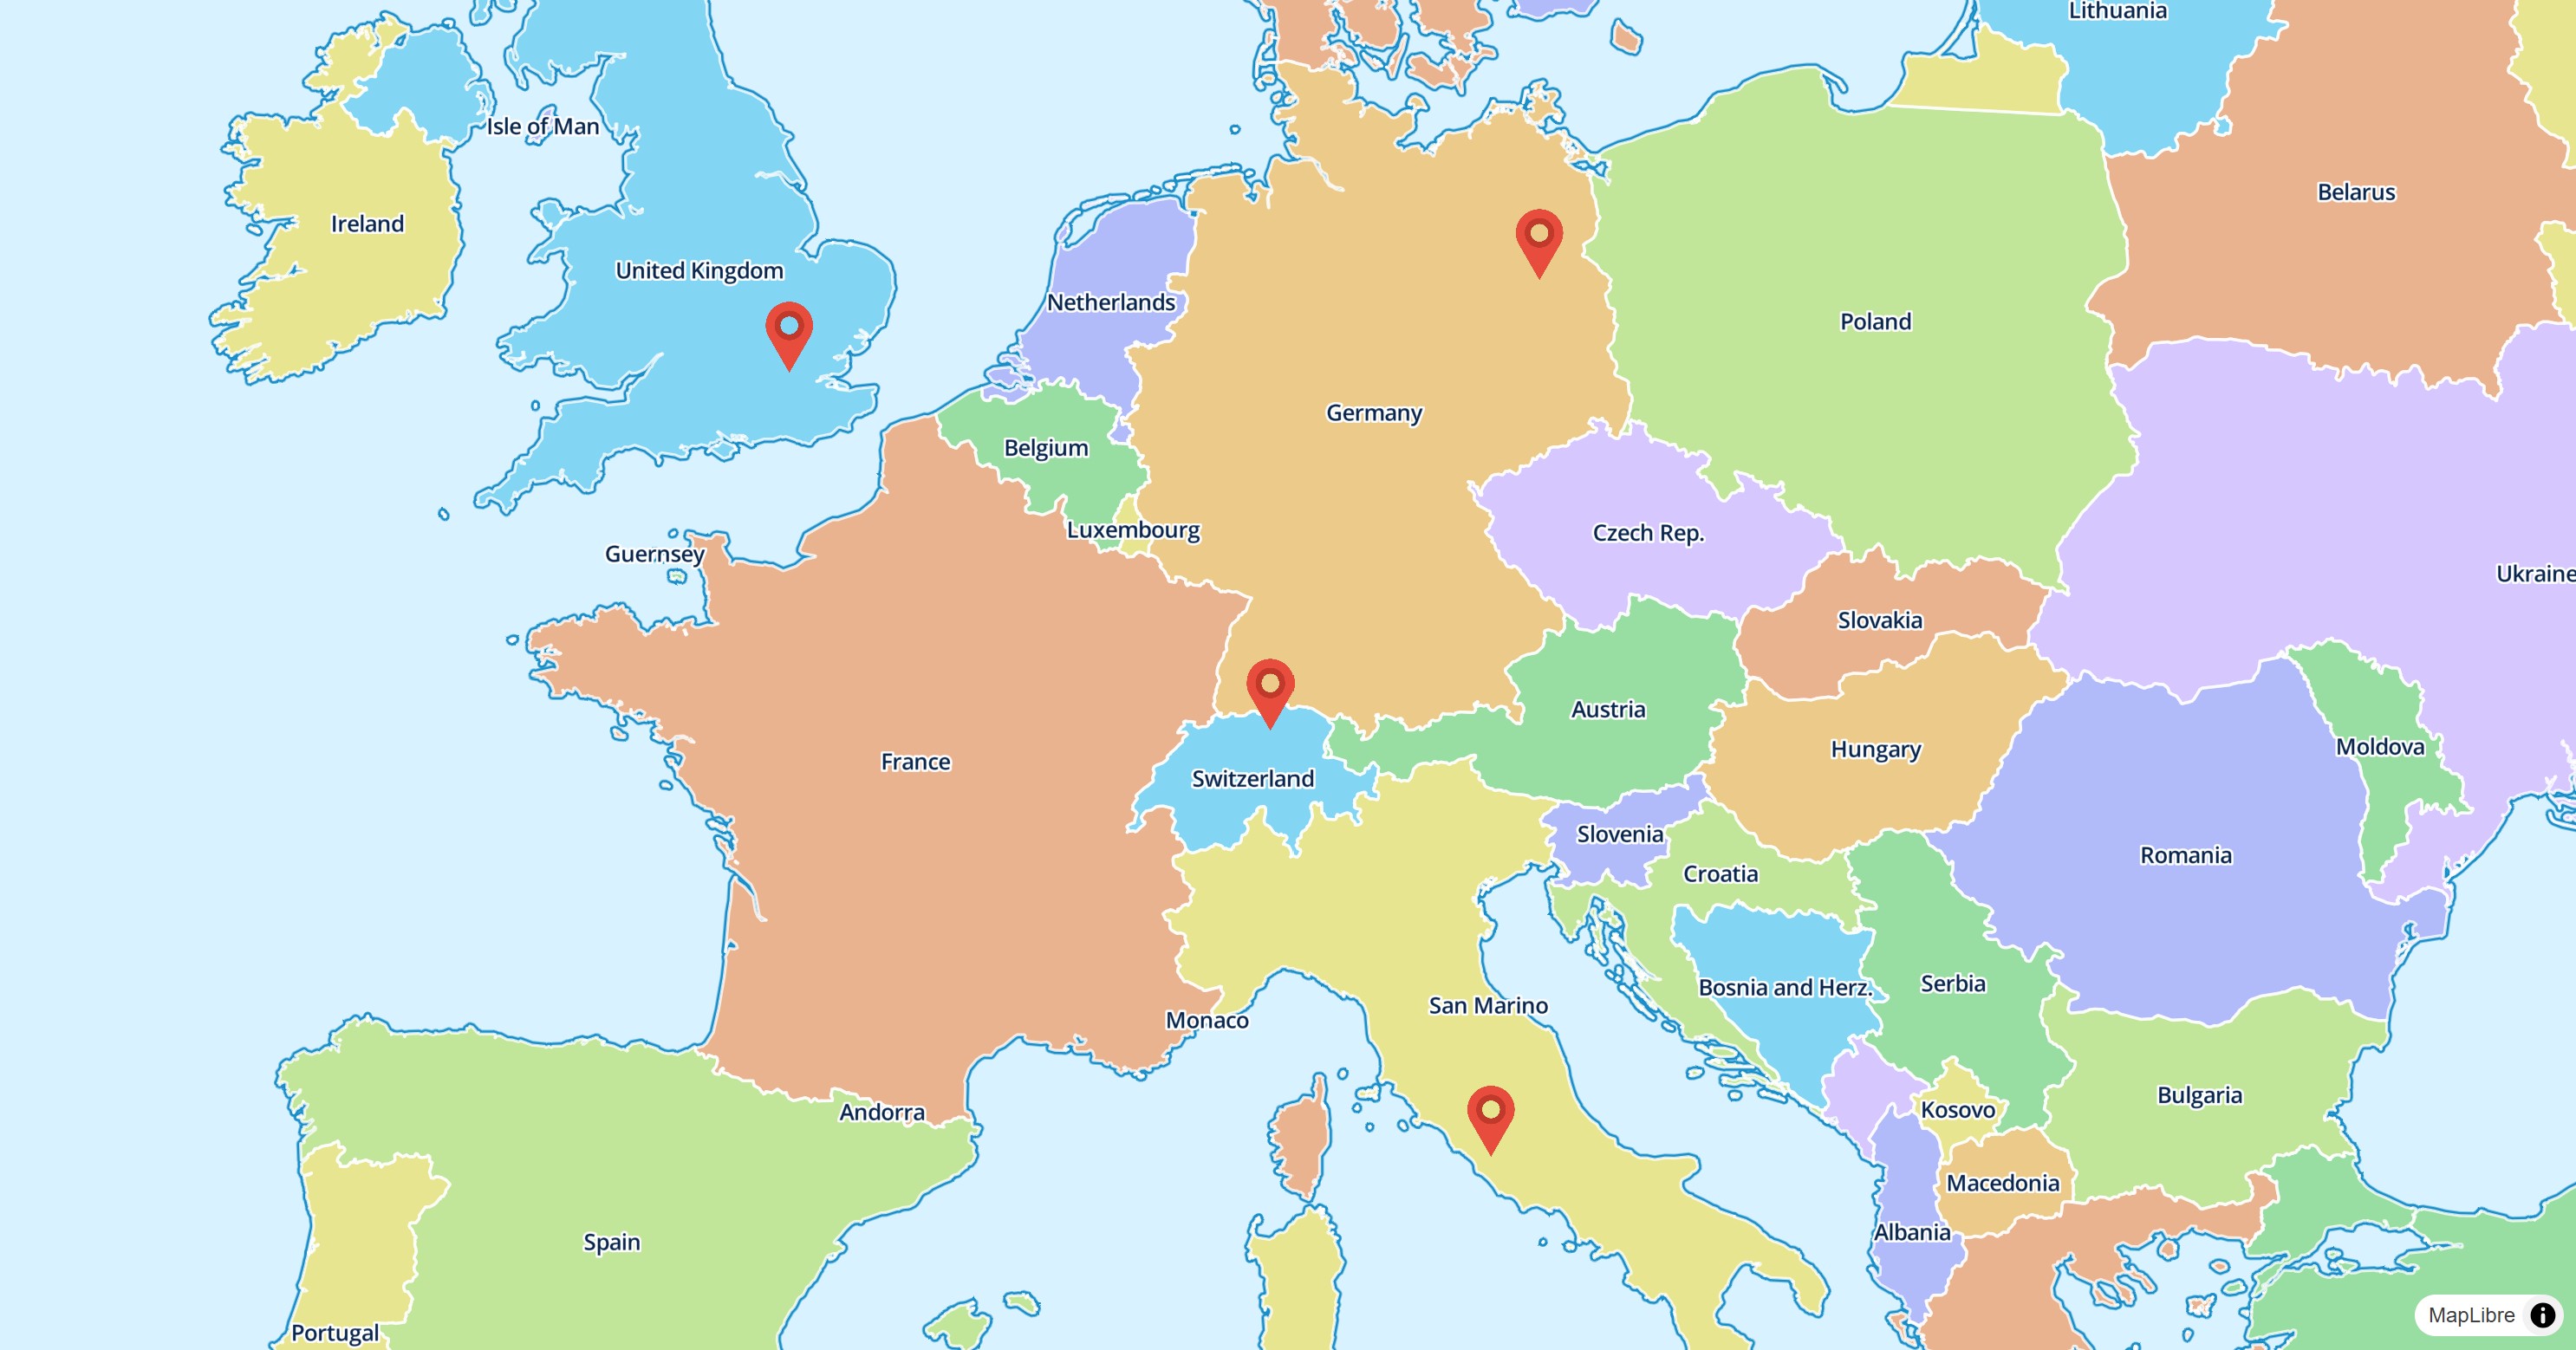 |
资源
示例应用
入门与文档
访问Get Started学习如何在项目中使用maplibre。
如果你想了解更多关于包的类和属性,可以查看API docs。
开发与贡献
所有形式的贡献都是受欢迎的。如果你考虑以任何方式贡献,非常感谢!你可以通过以下方式帮助开发:
- 在你的项目中使用该包并分享反馈。
- 如果你发现任何问题,请提交bug报告。
- 如果你需要特定的功能,请提出功能请求或发布你的想法作为讨论。
- 增强包的文档。
- 赞助这个项目。
示例代码
以下是example/lib/main.dart文件的内容,展示了如何创建一个包含多个页面的应用程序,每个页面演示了不同的MapLibre功能:
import 'package:flutter/material.dart';
import 'package:maplibre_example/animation_page.dart';
import 'package:maplibre_example/controller_page.dart';
import 'package:maplibre_example/events_page.dart';
import 'package:maplibre_example/gestures_page.dart';
import 'package:maplibre_example/kiosk_page.dart';
import 'package:maplibre_example/layers_circle_page.dart';
import 'package:maplibre_example/layers_marker_page.dart';
import 'package:maplibre_example/layers_mixed_page.dart';
import 'package:maplibre_example/layers_polygon_page.dart';
import 'package:maplibre_example/layers_polyline_page.dart';
import 'package:maplibre_example/menu_page.dart';
import 'package:maplibre_example/offline_page.dart';
import 'package:maplibre_example/parameters_page.dart';
import 'package:maplibre_example/permissions_page.dart';
import 'package:maplibre_example/style_layers_circle_page.dart';
import 'package:maplibre_example/style_layers_fill_extrusion_page.dart';
import 'package:maplibre_example/style_layers_fill_page.dart';
import 'package:maplibre_example/style_layers_heatmap_page.dart';
import 'package:maplibre_example/style_layers_hillshade_page.dart';
import 'package:maplibre_example/style_layers_line_page.dart';
import 'package:maplibre_example/style_layers_raster_page.dart';
import 'package:maplibre_example/style_layers_symbol_page.dart';
import 'package:maplibre_example/styled_map_page.dart';
import 'package:maplibre_example/two_maps_page.dart';
import 'package:maplibre_example/user_interface_page.dart';
import 'package:maplibre_example/user_location_page.dart';
import 'package:maplibre_example/widget_layer_page.dart';

void main() {
  runApp(const MyApp());
}

class MyApp extends StatelessWidget {
  const MyApp({super.key});

  @override
  Widget build(BuildContext context) {
    return MaterialApp(
      title: 'MapLibre Demo',
      initialRoute: MenuPage.location,
      theme: ThemeData(colorSchemeSeed: Colors.blue),
      darkTheme: ThemeData(
        brightness: Brightness.dark,
        colorSchemeSeed: Colors.blue,
      ),
      routes: {
        MenuPage.location: (context) => const MenuPage(),
        KioskPage.location: (context) => const KioskPage(),
        AnimationPage.location: (context) => const AnimationPage(),
        GesturesPage.location: (context) => const GesturesPage(),
        EventsPage.location: (context) => const EventsPage(),
        StyledMapPage.location: (context) => const StyledMapPage(),
        UserLocationPage.location: (context) => const UserLocationPage(),
        UserInterfacePage.location: (context) => const UserInterfacePage(),
        WidgetLayerPage.location: (context) => const WidgetLayerPage(),
        OfflinePage.location: (context) => const OfflinePage(),
        PermissionsPage.location: (context) => const PermissionsPage(),
        StyleLayersSymbolPage.location: (context) =>
            const StyleLayersSymbolPage(),
        StyleLayersCirclePage.location: (context) =>
            const StyleLayersCirclePage(),
        StyleLayersHeatmapPage.location: (context) =>
            const StyleLayersHeatmapPage(),
        StyleLayersHillshadePage.location: (context) =>
            const StyleLayersHillshadePage(),
        StyleLayersFillPage.location: (context) => const StyleLayersFillPage(),
        StyleLayersFillExtrusionPage.location: (context) =>
            const StyleLayersFillExtrusionPage(),
        StyleLayersRasterPage.location: (context) =>
            const StyleLayersRasterPage(),
        StyleLayersLinePage.location: (context) => const StyleLayersLinePage(),
        LayersMixedPage.location: (context) => const LayersMixedPage(),
        LayersCirclePage.location: (context) => const LayersCirclePage(),
        LayersMarkerPage.location: (context) => const LayersMarkerPage(),
        LayersPolylinePage.location: (context) => const LayersPolylinePage(),
        LayersPolygonPage.location: (context) => const LayersPolygonPage(),
        ParametersPage.location: (context) => const ParametersPage(),
        ControllerPage.location: (context) => const ControllerPage(),
        TwoMapsPage.location: (context) => const TwoMapsPage(),
      },
    );
  }
}
以上内容涵盖了MapLibre for Flutter的基本介绍、资源链接以及一个完整的示例应用程序代码,希望对你有所帮助。
更多关于Flutter地图展示插件maplibre的使用的实战教程也可以访问 https://www.itying.com/category-92-b0.html

更多关于Flutter地图展示插件maplibre的使用的实战系列教程也可以访问 https://www.itying.com/category-92-b0.html
当然,下面是一个关于如何在Flutter中使用MapLibre插件来展示地图的示例代码。
首先,确保你已经在Flutter项目中添加了MapLibre的依赖。在你的pubspec.yaml文件中添加以下依赖:
dependencies:
  flutter:
    sdk: flutter
  maplibre_gl: ^0.14.0  # 请检查最新版本号并替换
然后运行flutter pub get来安装依赖。
接下来,创建一个新的Flutter页面或修改现有的页面来展示地图。以下是一个完整的示例,展示如何在Flutter中使用MapLibre插件来展示一个基本的地图:
import 'package:flutter/material.dart';
import 'package:maplibre_gl/maplibre_gl.dart';

void main() {
  runApp(MyApp());
}

class MyApp extends StatelessWidget {
  @override
  Widget build(BuildContext context) {
    return MaterialApp(
      title: 'Flutter MapLibre Demo',
      theme: ThemeData(
        primarySwatch: Colors.blue,
      ),
      home: MapScreen(),
    );
  }
}

class MapScreen extends StatefulWidget {
  @override
  _MapScreenState createState() => _MapScreenState();
}

class _MapScreenState extends State<MapScreen> {
  MapController? _mapController;

  @override
  Widget build(BuildContext context) {
    return Scaffold(
      appBar: AppBar(
        title: Text('MapLibre Demo'),
      ),
      body: MapboxMap(
        mapController: _mapController,
        initialCameraPosition: CameraPosition(
          target: LatLng(37.7749, -122.4194), // 旧金山坐标
          zoom: 12.0,
        ),
        mapboxAccessToken: 'YOUR_MAPBOX_ACCESS_TOKEN', // 请替换为你的MapLibre访问令牌
        styleURL: MapStyle.street, // 选择一个预设的地图样式
      ),
      floatingActionButton: FloatingActionButton(
        onPressed: () {
          // 通过MapController来设置新的中心位置
          if (_mapController != null) {
            _mapController!.animateCamera(CameraUpdate.newCameraPosition(CameraPosition(
              target: LatLng(34.0522, -118.2437), // 洛杉矶坐标
              zoom: 12.0,
            )));
          }
        },
        tooltip: 'Move to Los Angeles',
        child: Icon(Icons.map),
      ),
    );
  }

  @override
  void onMapCreated(MapController mapController) {
    _mapController = mapController;
  }
}
在这个示例中,我们做了以下几件事:
- 定义了
MyApp和MapScreen两个Widget,其中MapScreen是展示地图的页面。 - 使用
MapboxMapWidget来展示地图,并设置了初始的相机位置和访问令牌。 - 通过
onMapCreated回调方法来保存MapController的实例,以便后续可以通过它来操作地图(例如改变相机位置)。 - 添加了一个浮动按钮,点击按钮时,地图的中心位置会移动到洛杉矶。
请确保将YOUR_MAPBOX_ACCESS_TOKEN替换为你从MapLibre获取的访问令牌。
这个示例展示了基本的地图展示和简单的交互操作。你可以根据需要进一步扩展和自定义地图的功能和样式。