


Flutter二维码读取插件flutter_qr_reader_copy的使用
Flutter二维码读取插件flutter_qr_reader_copy的使用
复制flutter_qr_reader插件进行修改,主要是增加一种扫码识别方式,因为有遇到oppo手机使用zxing无法识别的情况 QR code (扫二维码 / 图片识别) (AndroidView/UiKitView)
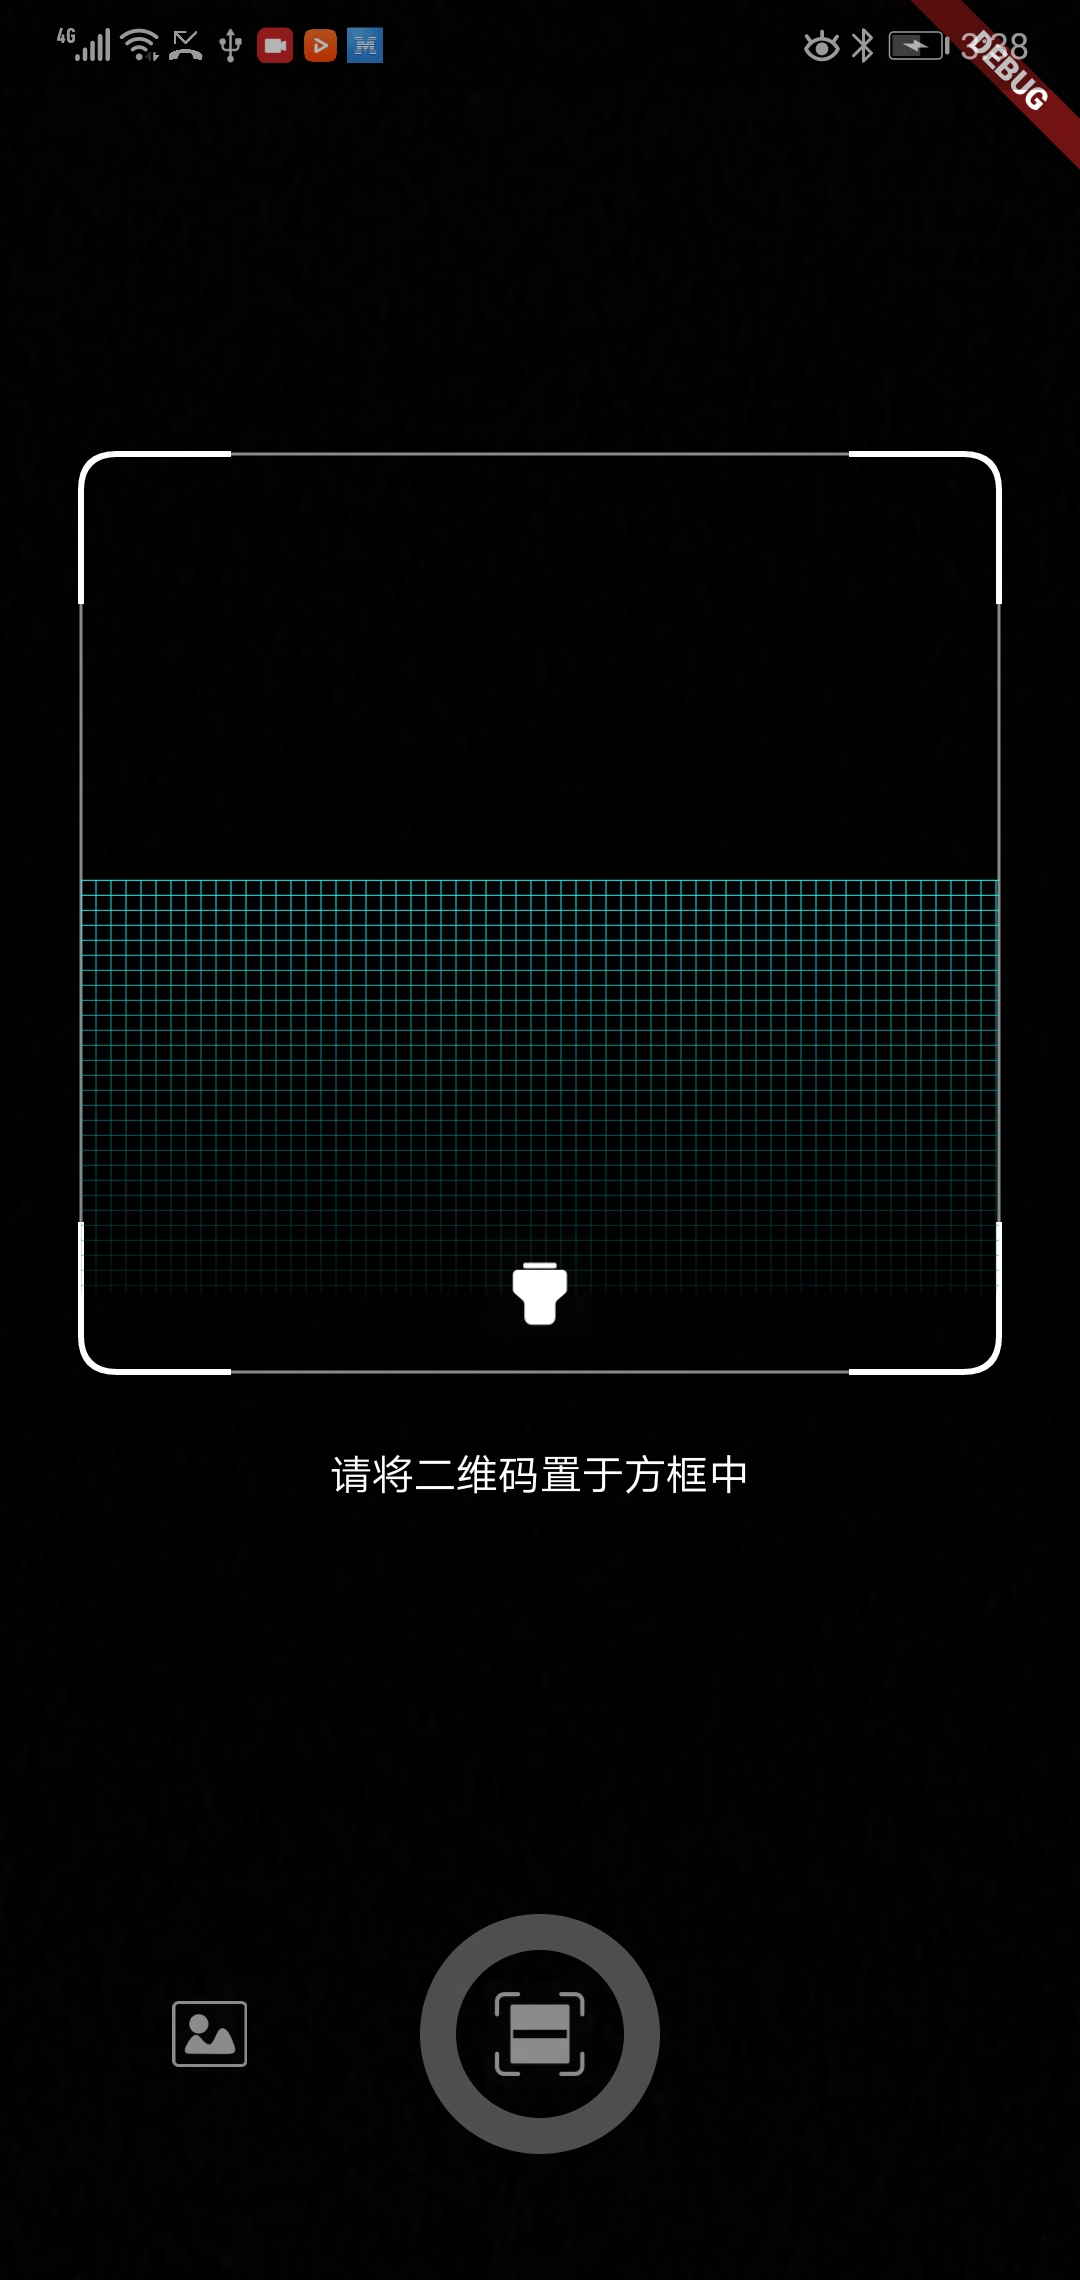
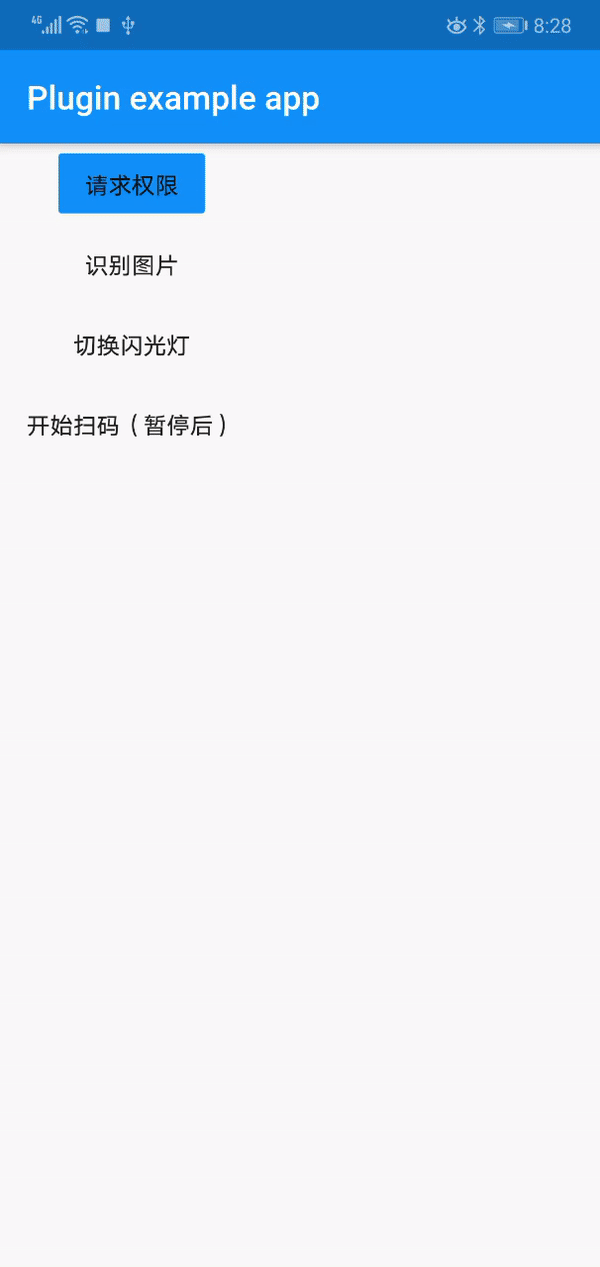
DEMO
Getting Started
import 'package:flutter_qr_reader/flutter_qr_reader.dart';

// 识别图片
final String data = await FlutterQrReader.imgScan(File);

// 嵌入视图
QrReaderView(
  width: 320,
  height: 350,
  callback: (container) {},
)
// 打开手电筒
..setFlashlight
// 开始扫码
..startCamera
// 结束扫码
..stopCamera
For IOS
Opt-in to the embedded views preview by adding a boolean property to the app’s Info.plist file with the key io.flutter.embedded_views_preview and the value YES.
<key>io.flutter.embedded_views_preview</key>
<string>YES</string>
And you will need provide the description of camera’s permission to work properly, otherwise will crash your app.
<key>NSCameraUsageDescription</key>
<string>The porpuse explaining why you will use the camera</string>
Built-in UI
以下是一个完整的示例代码,展示了如何使用flutter_qr_reader_copy插件来实现二维码的扫描功能。
import 'package:flutter/material.dart';
import 'package:flutter_qr_reader_copy/flutter_qr_reader_copy.dart';
import 'dart:async';

import 'package:flutter_qr_reader_example/qrcode_reader_view.dart';
import 'package:image_picker/image_picker.dart';
import 'package:permission_handler/permission_handler.dart';

void main() {
  runApp(MyApp());
}

class MyApp extends StatefulWidget {
  [@override](/user/override)
  _MyAppState createState() => _MyAppState();
}

class _MyAppState extends State<MyApp> with WidgetsBindingObserver {
  GlobalKey<ScaffoldState> scaffoldKey = GlobalKey<ScaffoldState>();

  bool _flashlightState = false;
  bool _showScanView = false;
  QrReaderViewController? _controller;

  [@override](/user/override)
  void initState() {
    super.initState();
    WidgetsBinding.instance!.addObserver(this);
  }

  [@override](/user/override)
  void dispose() {
    WidgetsBinding.instance!.removeObserver(this);
    super.dispose();
  }

  [@override](/user/override)
  void didChangeAppLifecycleState(AppLifecycleState state) {
    print("-didChangeAppLifecycleState-" + state.toString());
    switch (state) {
      case AppLifecycleState.inactive: // 处于这种状态的应用程序应该假设它们可能在任何时候暂停。
        break;
      case AppLifecycleState.resumed: //从后台切换前台,界面可见
        startScan(); // android使用
        break;
      case AppLifecycleState.paused: // 界面不可见,后台
        _controller?.onStop(); // android使用
        break;
      case AppLifecycleState.detached: // APP结束时调用
        break;
    }
  }

  void alert(String tip) {
    ScaffoldMessenger.of(scaffoldKey.currentContext!)
        .showSnackBar(SnackBar(content: Text(tip)));
  }

  void openScanUI(BuildContext context) async {
    if (_showScanView) {
      await stopScan();
    }
    Navigator.of(context).push(MaterialPageRoute(builder: (context) {
      return new Scaffold(
        body: QrcodeReaderView(
          onScan: (result) async {
            // Navigator.of(context).pop();
            // alert(result);
          },
          headerWidget: AppBar(
            backgroundColor: Colors.transparent,
            elevation: 0.0,
          ),
        ),
        floatingActionButton: ElevatedButton(
          onPressed: () {},
          child: Text('关闭或者打开'),
        ),
      );
    }));
  }

  Future<bool> permission() async {
    if (_openAction) return false;
    _openAction = true;
    var status = await Permission.camera.status;
    print(status);
    if (status.isDenied || status.isPermanentlyDenied) {
      status = await Permission.camera.request();
      print(status);
    }

    if (status.isRestricted) {
      alert("请必须授权照相机权限");
      await Future.delayed(Duration(seconds: 3));
      openAppSettings();
      _openAction = false;
      return false;
    }

    if (!status.isGranted) {
      alert("请必须授权照相机权限");
      _openAction = false;
      return false;
    }
    _openAction = false;
    return true;
  }

  bool _openAction = false;

  Future openScan(BuildContext context) async {
    if (false == await permission()) {
      return;
    }

    setState(() {
      _showScanView = true;
    });
  }

  Future startScan() async {
    assert(_controller != null);
    _controller?.startCamera((String result, _) async {
      await stopScan();
      showDialog(
        context: scaffoldKey.currentContext!,
        builder: (context) {
          return AlertDialog(
            title: Text('扫码结果'),
            content: Text(result),
          );
        },
      );
    });
  }

  Future stopScan() async {
    assert(_controller != null);
    await _controller?.stopCamera();
    setState(() {
      _showScanView = false;
    });
  }

  Future flashlight() async {
    assert(_controller != null);
    final state = await _controller?.setFlashlight();
    setState(() {
      _flashlightState = state ?? false;
    });
  }

  Future imgScan() async {
    var image = await ImagePicker().getImage(source: ImageSource.gallery);
    if (image == null) return;
    final rest = await FlutterQrReader.imgScan(image.path);

    showDialog(
      context: scaffoldKey.currentContext!,
      builder: (context) {
        return AlertDialog(
          title: Text('扫码结果'),
          content: Text(rest),
        );
      },
    );
  }

  [@override](/user/override)
  Widget build(BuildContext context) {
    return MaterialApp(
      home: Scaffold(
        key: scaffoldKey,
        appBar: AppBar(
          title: const Text('二维码扫描演示'),
        ),
        body: Builder(builder: (context) {
          return Column(
            children: [
              TextButton(
                  onPressed: () => openScanUI(context), child: Text('打开扫描界面')),
              TextButton(
                onPressed: imgScan,
                child: Text("识别图片"),
              ),
              Container(
                height: 1,
                margin: EdgeInsets.symmetric(vertical: 12),
                color: Colors.black12,
              ),
              _showScanView == false
                  ? TextButton(
                      onPressed: () => openScan(context), child: Text('启动扫描视图'))
                  : Text('扫描视图已经启动'),
              TextButton(
                  onPressed: flashlight,
                  child: Text(_flashlightState == false ? '打开手电筒' : '关闭手电筒')),
              Container(
                height: 12,
                color: Colors.black12,
              ),
              _showScanView == true
                  ? Container(
                      width: MediaQuery.of(context).size.width,
                      height: 350,
                      child: QrReaderView(
                        width: MediaQuery.of(context).size.width,
                        height: 350,
                        rectWidth: 240,
                        isOnlyDecodeScanBoxArea: 1,
                        callback: (container) {
                          this._controller = container;
                          this.startScan();
                        },
                      ),
                    )
                  : Container()
            ],
          );
        }),
        floatingActionButton: ElevatedButton(
          onPressed: () {
            if (_showScanView) {
              stopScan();
            } else {
              startScan();
            }
          },
          child: Text('启动或者停止'),
        ),
      ),
    );
  }
}
更多关于Flutter二维码读取插件flutter_qr_reader_copy的使用的实战教程也可以访问 https://www.itying.com/category-92-b0.html

更多关于Flutter二维码读取插件flutter_qr_reader_copy的使用的实战系列教程也可以访问 https://www.itying.com/category-92-b0.html
flutter_qr_reader_copy 是一个用于在 Flutter 应用中读取二维码的插件。它提供了一种简单的方式来扫描和解码二维码。下面是关于如何使用 flutter_qr_reader_copy 插件的基本步骤。
1. 添加依赖
首先,你需要在 pubspec.yaml 文件中添加 flutter_qr_reader_copy 插件的依赖。
dependencies:
  flutter:
    sdk: flutter
  flutter_qr_reader_copy: ^1.0.0  # 请使用最新的版本号
然后运行 flutter pub get 来获取依赖。
2. 导入插件
在你的 Dart 文件中导入插件:
import 'package:flutter_qr_reader_copy/flutter_qr_reader_copy.dart';
3. 初始化 QR 读取器
你可以通过 FlutterQrReader 类来初始化二维码读取器。
FlutterQrReader qrReader = FlutterQrReader();
4. 开始扫描
使用 qrReader.scan() 方法来启动二维码扫描。这个方法会返回一个 Future,当扫描到二维码时,它会返回二维码的内容。
Future<void> scanQRCode() async {
  try {
    String qrCode = await qrReader.scan();
    print("Scanned QR Code: $qrCode");
  } catch (e) {
    print("Failed to scan QR Code: $e");
  }
}
5. 在 UI 中使用
你可以在按钮的 onPressed 事件中调用 scanQRCode() 方法来启动扫描。
ElevatedButton(
  onPressed: scanQRCode,
  child: Text("Scan QR Code"),
);
6. 处理权限
在 Android 和 iOS 上,扫描二维码需要相机权限。你需要在 AndroidManifest.xml 和 Info.plist 中添加相应的权限声明。
AndroidManifest.xml:
<uses-permission android:name="android.permission.CAMERA" />
Info.plist:
<key>NSCameraUsageDescription</key>
<string>We need access to your camera to scan QR codes.</string>
7. 处理结果
当扫描到二维码时,你可以在 scanQRCode() 方法中处理扫描结果,比如显示在界面上或者进行其他操作。
String scannedQRCode = "";

Future<void> scanQRCode() async {
  try {
    String qrCode = await qrReader.scan();
    setState(() {
      scannedQRCode = qrCode;
    });
  } catch (e) {
    print("Failed to scan QR Code: $e");
  }
}

[@override](/user/override)
Widget build(BuildContext context) {
  return Scaffold(
    appBar: AppBar(
      title: Text("QR Code Scanner"),
    ),
    body: Center(
      child: Column(
        mainAxisAlignment: MainAxisAlignment.center,
        children: [
          ElevatedButton(
            onPressed: scanQRCode,
            child: Text("Scan QR Code"),
          ),
          SizedBox(height: 20),
          Text("Scanned QR Code: $scannedQRCode"),
        ],
      ),
    ),
  );
}
8. 释放资源
如果你不再需要 QR 读取器,可以调用 qrReader.dispose() 方法来释放资源。
[@override](/user/override)
void dispose() {
  qrReader.dispose();
  super.dispose();
}