


Flutter性能监控插件firebase_performance_dio4的使用
Flutter性能监控插件firebase_performance_dio4的使用
 <svg xmlns="http://www.w3.org/2000/svg" width="1" height="1">
<foreignObject width="1" height="1">
<svg xmlns="http://www.w3.org/2000/svg" width="1" height="1">
<foreignObject width="1" height="1">

描述
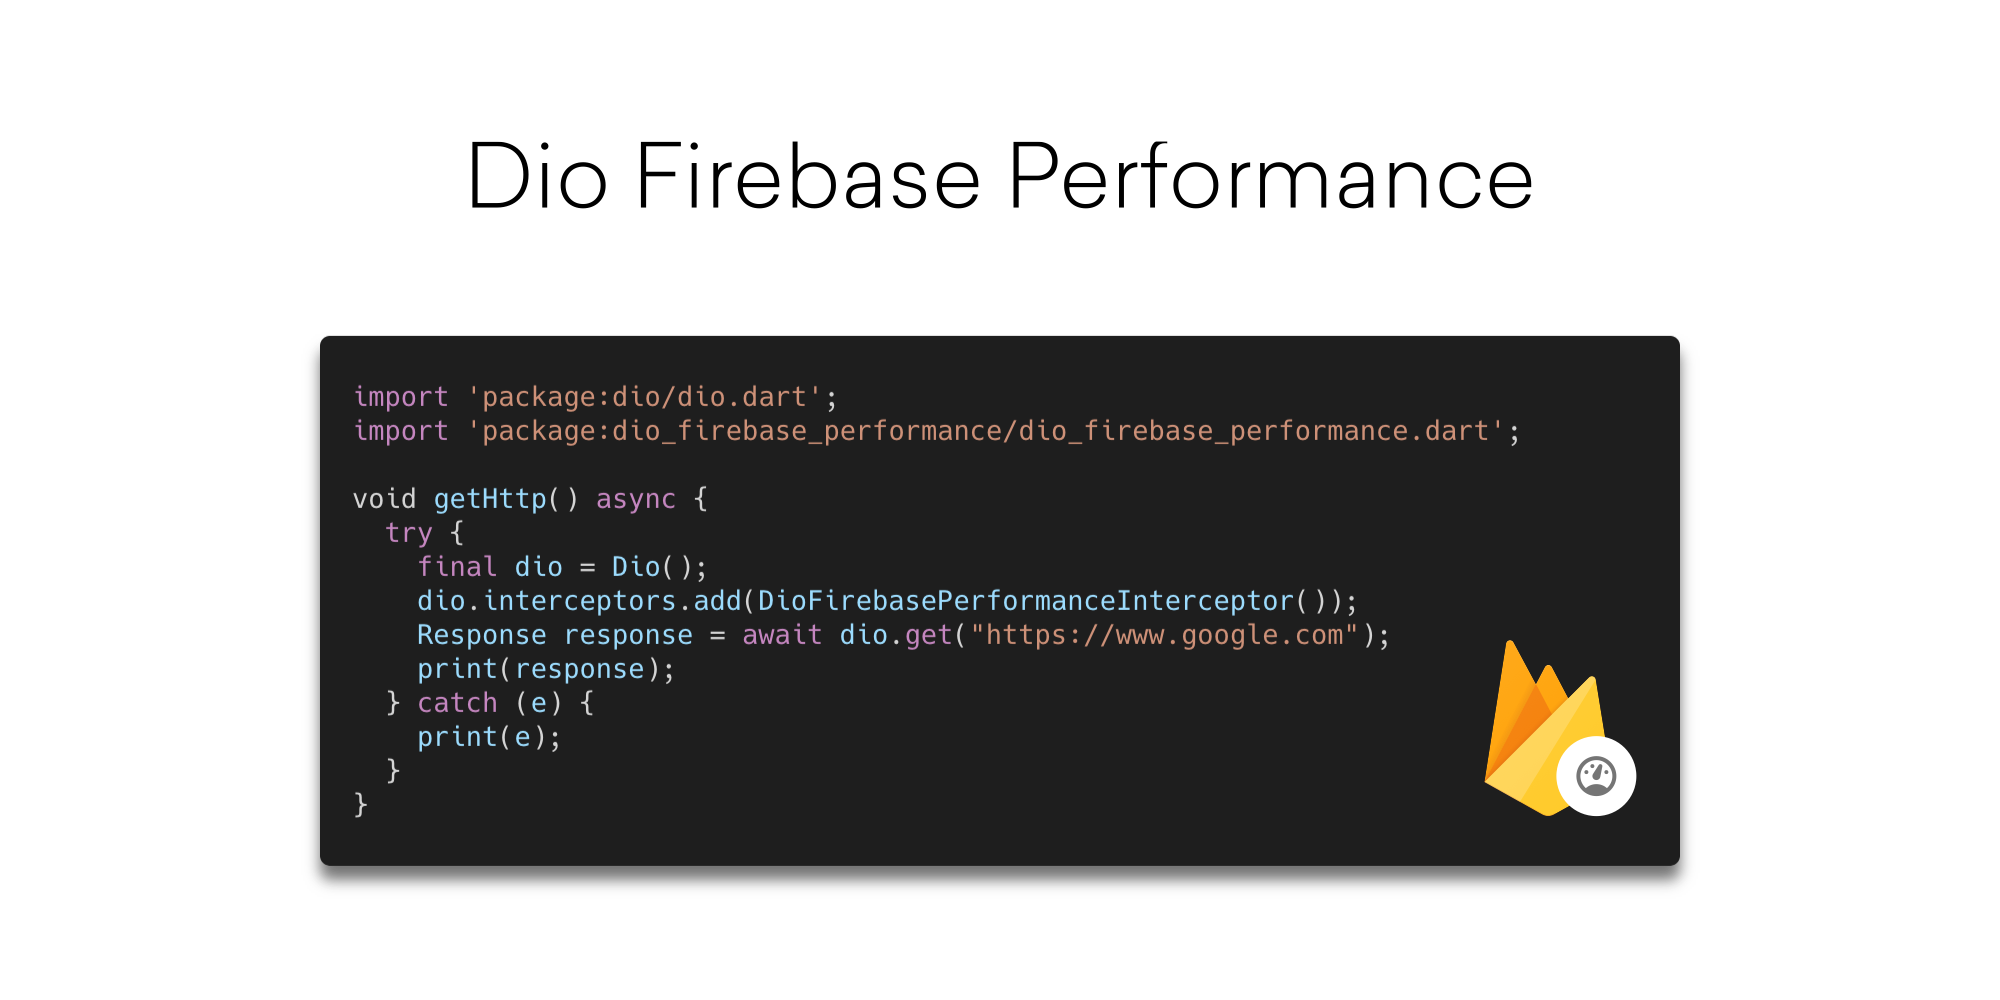
Dio的拦截器实现,用于将HTTP请求指标数据发送到Firebase。
使用方法
首先,确保你已经安装了firebase_performance_dio包。在你的pubspec.yaml文件中添加以下依赖:
dependencies:
  firebase_performance_dio: ^x.y.z
然后,在你的Dio客户端上添加DioFirebasePerformanceInterceptor拦截器:
import 'package:dio/dio.dart';
import 'package:firebase_performance_dio/firebase_performance_dio.dart';

void main() {
  // 创建一个Dio实例
  final dio = Dio();

  // 创建一个性能拦截器实例
  final performanceInterceptor = DioFirebasePerformanceInterceptor();

  // 将性能拦截器添加到Dio实例中
  dio.interceptors.add(performanceInterceptor);

  // 现在所有的HTTP请求都会被跟踪并上报到Firebase
}
单例模式
如果你希望将Dio客户端作为单例使用,也可以将性能拦截器作为单例使用。这样可以避免每次创建新的拦截器实例时的开销。
class MyApiClient {
  static final MyApiClient _instance = MyApiClient._internal();
  factory MyApiClient() => _instance;

  late Dio dio;

  MyApiClient._internal() {
    dio = Dio();
    final performanceInterceptor = DioFirebasePerformanceInterceptor();
    dio.interceptors.add(performanceInterceptor);
  }
}

void main() {
  final apiClient = MyApiClient();
  // 使用apiClient.dio进行HTTP请求
}
更多关于Flutter性能监控插件firebase_performance_dio4的使用的实战教程也可以访问 https://www.itying.com/category-92-b0.html

更多关于Flutter性能监控插件firebase_performance_dio4的使用的实战系列教程也可以访问 https://www.itying.com/category-92-b0.html
firebase_performance_dio4 是一个用于监控 Flutter 应用中网络请求性能的插件,它结合了 Dio(一个强大的 Dart HTTP 客户端)和 Firebase Performance Monitoring(Firebase 的性能监控工具)。通过使用这个插件,你可以轻松地将网络请求的性能数据发送到 Firebase,并在 Firebase 控制台中进行分析。
安装插件
首先,你需要在 pubspec.yaml 文件中添加 firebase_performance_dio4 和 firebase_core 依赖:
dependencies:
  flutter:
    sdk: flutter
  dio: ^4.0.0
  firebase_core: ^latest_version
  firebase_performance: ^latest_version
  firebase_performance_dio4: ^latest_version
然后运行 flutter pub get 来安装依赖。
初始化 Firebase
在使用 Firebase 性能监控之前,你需要在 Flutter 应用中初始化 Firebase。通常是在 main.dart 文件中进行初始化:
import 'package:firebase_core/firebase_core.dart';
import 'package:flutter/material.dart';

void main() async {
  WidgetsFlutterBinding.ensureInitialized();
  await Firebase.initializeApp();
  runApp(MyApp());
}

class MyApp extends StatelessWidget {
  @override
  Widget build(BuildContext context) {
    return MaterialApp(
      title: 'Flutter Demo',
      theme: ThemeData(
        primarySwatch: Colors.blue,
      ),
      home: MyHomePage(),
    );
  }
}
使用 firebase_performance_dio4
接下来,你可以在你的代码中使用 firebase_performance_dio4 来监控网络请求。以下是一个简单的示例:
import 'package:dio/dio.dart';
import 'package:firebase_performance_dio4/firebase_performance_dio4.dart';

void fetchData() async {
  // 创建 Dio 实例
  final dio = Dio();

  // 添加 FirebasePerformanceInterceptor 拦截器
  dio.interceptors.add(FirebasePerformanceInterceptor());

  // 发起网络请求
  try {
    final response = await dio.get('https://jsonplaceholder.typicode.com/posts');
    print(response.data);
  } catch (e) {
    print(e);
  }
}
在这个示例中,FirebasePerformanceInterceptor 会自动监控所有的网络请求,并将性能数据发送到 Firebase Performance Monitoring。
在 Firebase 控制台中查看性能数据
- 打开 Firebase 控制台。
- 选择你的项目。
- 在左侧菜单中选择 Performance。
- 在这里,你可以看到应用的性能数据,包括网络请求的响应时间、成功率等。
自定义监控
你可以通过 FirebasePerformanceInterceptor 的构造函数来自定义监控行为,例如设置自定义的请求名称、忽略某些请求等。例如:
dio.interceptors.add(FirebasePerformanceInterceptor(
  requestNameBuilder: (requestOptions) => 'CustomRequestName',
  shouldSkip: (requestOptions) => requestOptions.uri.host.contains('skip-me'),
));