


HarmonyOS鸿蒙Next中怎么把后端传过来的字节流转换成图片显示在页面上
HarmonyOS鸿蒙Next中怎么把后端传过来的字节流转换成图片显示在页面上 已把流转换为ArrayBuffer,怎么转换为图片显示在页面上?不需要保存图片到本地

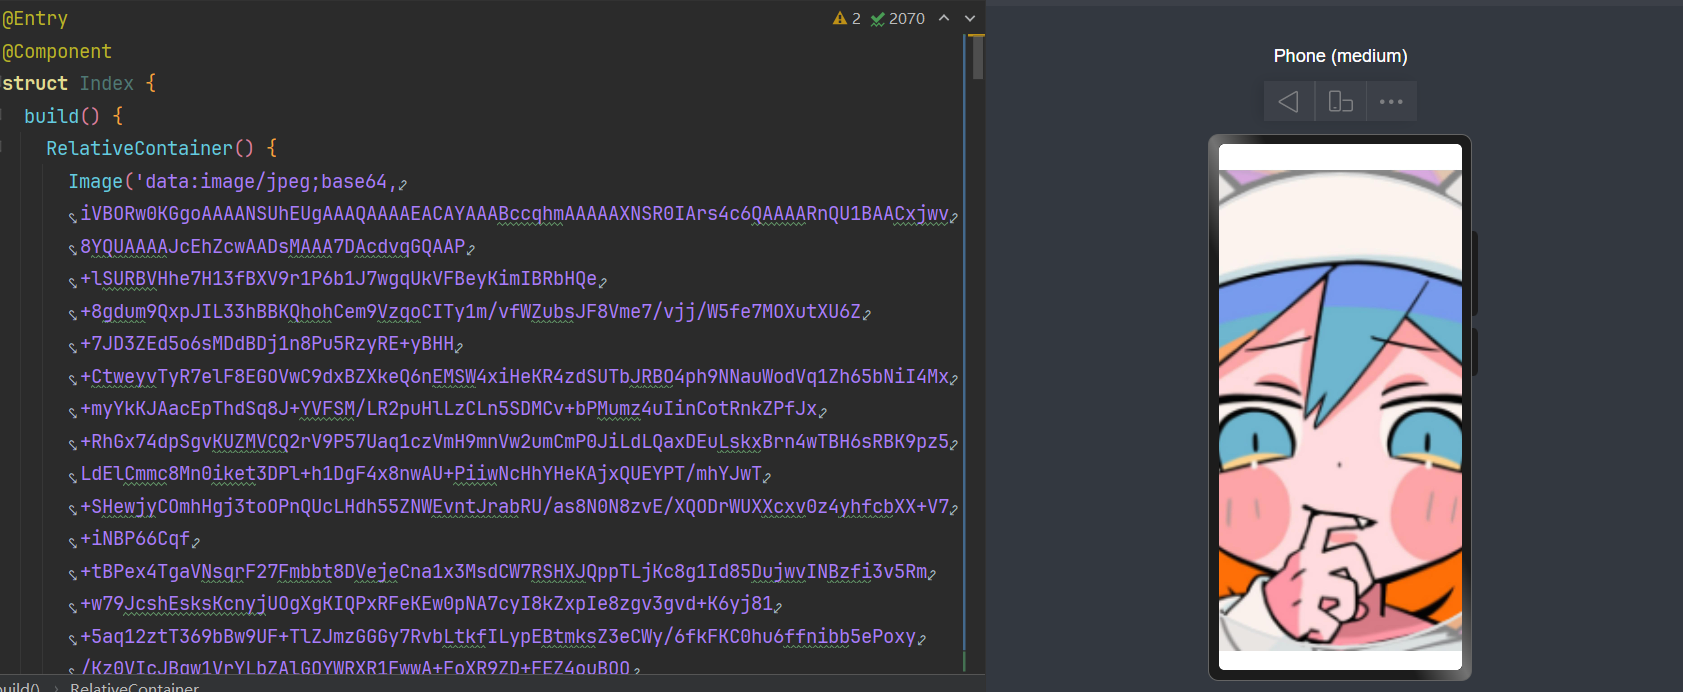
使用secureImageBuffer.slice分离出与图片相关的imageData,再通过buffer.from转换成Base64字符串数据。 具体实现可参考如下示例:
let imageData = secureImageBuffer.slice(4 + userDataLength, 4 + userDataLength + imageBufferLength);
let uint8Array = imageData;// 这个就是分离出的imageData
let base64Str= buffer.from(uint8Array.buffer).toString() // 转换成Base64字符串数据
this.imageStr = 'data:image/png;base64,' + base64Str // 拼接成可展示的图片数据

Image(this.imagestr).width(300).height(100) // 使用Image组件展示
更多关于HarmonyOS鸿蒙Next中怎么把后端传过来的字节流转换成图片显示在页面上的实战系列教程也可以访问 https://www.itying.com/category-93-b0.html

/**
 * Set src to obtain images
 *
 * @param { PixelMap | ResourceStr | DrawableDescriptor | ImageContent } src
 * @returns { ImageAttribute }
 * @syscap SystemCapability.ArkUI.ArkUI.Full
 * @crossplatform
 * @form
 * @atomicservice
 * @since 12
 */
(src: PixelMap | ResourceStr | DrawableDescriptor | ImageContent): ImageAttribute;
Image() 是可以接受 PixelMap 作为参数的。将你的 ArrayBuffer 转为 PixelMap 就行。
import { image } from "@kit.ImageKit";

const imageSource = image.createImageSource(buffer)
const pixelMap = imageSource.createPixelMapSync()
// const pixelMap = await imageSource.createPixelMap() //异步

若 ArrayBuffer 数据是标准的图片格式( PNG、JPEG),可以直接将其转换为 PixelMap 或 ImageSource 后绑定到 Image 组件:
使用 Image 模块的 createImageSource 接口处理二进制数据:
import image from '@kit.ImageKit';

// 假设已获取到 ArrayBuffer 数据

let arrayBuffer: ArrayBuffer = ...;

// 转换为 Uint8Array

let uint8Array = new Uint8Array(arrayBuffer);

// 创建 ImageSource 对象

let imageSource = image.createImageSource(uint8Array.buffer, {

  format: 'png', // 根据实际格式调整(如 'jpeg')

});

// 生成 PixelMap

let pixelMap = await imageSource.createPixelMap();
将生成的 PixelMap 绑定到 Image 组件的 src 属性:
@Entry
@Component
struct ImageDisplayExample {
  private pixelMap: PixelMap | null = null;
  build() {
    Column() {
      if (this.pixelMap) {
        Image(this.pixelMap)
          .width(200)
          .height(200)
      }
    }
    .onAppear(() => {
      // 调用上述转换逻辑,并赋值 this.pixelMap
    })
  }
}
建议楼主还是存储在沙箱后再取出来使用,我之前使用将 ArrayBuffer 转为 PixelMap放在内存里面直接使用,没存几张图片我的应用UI明显的就发生了卡顿,PixelMap占用的内存挺大的
Interface (ImageSource)-@ohos.multimedia.image (图片处理)-ArkTS API-Image Kit(图片处理服务)-媒体 - 华为HarmonyOS开发者

可以通过以下步骤实现:
1.字节流转PixelMap
使用@kit.ImageKit模块的createImageSource接口,将字节流转换为PixelMap对象:
let buffer: ArrayBuffer = ... // 后端传入的字节流数据let imageSource = image.createImageSource(buffer)

let options = {
alphaType: 0, // 透明度类型
pixelFormat: 3, // 像素格式
editable: false,
size: { width: 100, height: 100 } // 指定生成图片尺寸
}
imageSource.createPixelMap(options).then((pixelMap) => {
this.imagePixelMap = pixelMap // 存储到组件状态变量

})
2.绑定到Image组件
在ArkUI声明式范式中,将生成的PixelMap对象传递给Image组件:
Image(this.imagePixelMap)
.width(100)
.height(100)
在 ArkTS 中,将后端传来的 ArrayBuffer(字节流)直接转换为图片并显示在页面上,无需保存到本地,核心是通过 image 模块解码二进制数据为 PixelMap,再通过 Image 组件渲染。
关键步骤解析
- 获取 ArrayBuffer:通过后端接口获取图片字节流(示例中用
mockBackendArrayBuffer模拟,实际项目中替换为真实请求)。 - 转换为 Uint8Array:
ArrayBuffer是二进制数据的原始容器,需转为Uint8Array才能被图像解码接口处理。 - 创建 ImageSource:
image.createImageSource(uint8Array)将字节数组包装为图像源,支持解码各种格式(PNG、JPG 等)。 - 解码为 PixelMap:
imageSource.createPixelMap()异步解码图像,得到PixelMap对象(内存中的可渲染图像)。 - 显示图片:
Image组件直接接收PixelMap作为source,无需本地文件路径,实现内存中直接渲染。
注意事项
- 图片格式支持:确保后端返回的字节流是
Image组件支持的格式(如 PNG、JPG、WEBP 等),否则解码会失败。 - 异常处理:解码过程可能因格式错误、数据损坏等失败,需通过
try/catch捕获错误并提示用户。 - 性能优化:大图片解码可能耗时,建议在子线程处理(使用
worker),避免阻塞 UI 线程。 - 资源释放:不再需要图片时,调用
pixelMap.release()释放内存,避免内存泄漏:


在HarmonyOS Next中,将后端字节流转换为图片显示,主要使用Image组件和PixelMap。首先通过HTTP请求获取字节流数据(ArrayBuffer或Uint8Array),然后使用image.createPixelMap方法将字节流解码为PixelMap对象。最后,将PixelMap设置为Image组件的src属性即可显示。关键代码涉及@ohos.multimedia.image和@ohos.net.http模块。

在HarmonyOS Next中,将ArrayBuffer转换为图片并显示,核心是使用Image组件和PixelMap。以下是关键步骤:
-
解码ArrayBuffer:使用
image.createImageSource()创建图像源,然后解码为PixelMap。import image from '[@ohos](/user/ohos).multimedia.image'; // 假设arrayBuffer是已获取的ArrayBuffer数据 let imageSource = image.createImageSource(arrayBuffer); let pixelMap = await imageSource.createPixelMap(); -
显示图片:在ArkUI(声明式开发范式)中,使用
Image组件显示PixelMap。// 在State中存储PixelMap [@State](/user/State) imgPixelMap: PixelMap | undefined = undefined; // 在构建UI时使用 Image(this.imgPixelMap) .width(200) .height(200) -
完整示例(假设在
.ets文件中):import image from '[@ohos](/user/ohos).multimedia.image'; [@Entry](/user/Entry) [@Component](/user/Component) struct DisplayImagePage { [@State](/user/State) pixelMap: PixelMap | undefined = undefined; async aboutToAppear() { // 从网络或后端获取ArrayBuffer,这里用伪代码表示 let arrayBuffer: ArrayBuffer = await this.fetchImageData(); // 创建ImageSource并解码 let imageSource = image.createImageSource(arrayBuffer); this.pixelMap = await imageSource.createPixelMap(); } build() { Column() { if (this.pixelMap) { Image(this.pixelMap) .width('100%') .height(400) } else { Text('加载中...') } } } // 模拟获取ArrayBuffer的方法 async fetchImageData(): Promise<ArrayBuffer> { // 实际开发中替换为真实的网络请求,例如使用[@ohos](/user/ohos).net.http // 这里返回一个空的ArrayBuffer示例 return new ArrayBuffer(0); } }
注意事项:
- 确保在
module.json5中申请ohos.permission.INTERNET网络权限(如果需要从网络获取字节流)。 createPixelMap()是异步操作,建议使用async/await处理。- 如果字节流是常见图片格式(如JPEG、PNG),
createImageSource()会自动识别。
此方法直接操作内存数据,不会保存到本地文件系统。