


HarmonyOS鸿蒙Next应用如何实现截屏?源码和步骤讲解
HarmonyOS鸿蒙Next应用如何实现截屏?源码和步骤讲解
鸿蒙应用如何实现截屏?源码和步骤讲解
3 回复

一、结论
1、系统提供componentSnapshot接口的get函数,将需要截图的组件设置id传进去即可截图。
2、对于使用XComponent的场景,例如:Video或者相机流媒体展示类组件,不建议使用组件截图相关接口,建议从surface直接获取图片。效率更高些。
二、代码实现和详细解释
1、组件截图:
示例效果请以真机运行为准,当前 IDE 预览器不支持。
import { componentSnapshot } from '@kit.ArkUI';
import { image } from '@kit.ImageKit';
/**
* 截图
*/
@Entry
@Component
@Preview
struct SnapShotPage {
@State mImageSnapShot: image.PixelMap | null = null;
@Styles ImgStyle(){
.size({
width: px2vp(350),
height: px2vp(350)
})
}
build() {
Column(){
Blank()
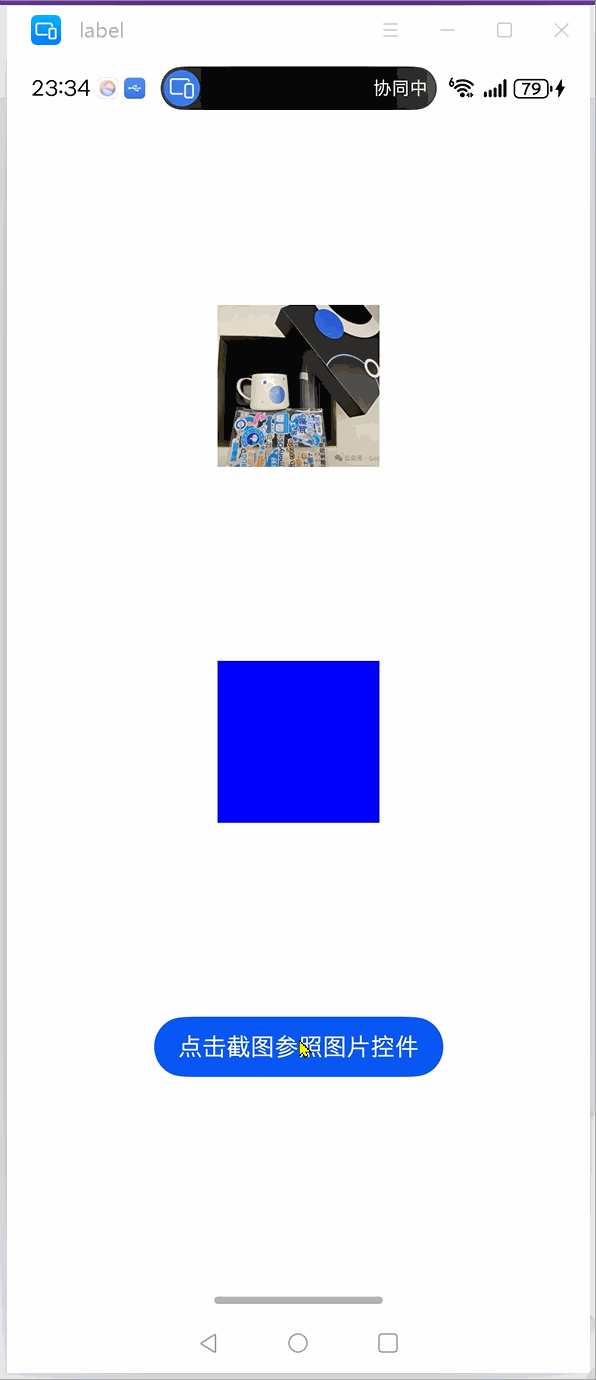
// 参照图片
Image($r("app.media.icon_img"))
.ImgStyle()
.id("target")
.autoResize(true)
Blank()
// 展示截图
Image(this.mImageSnapShot)
.ImgStyle()
.backgroundColor(Color.Blue)
Blank()
Button("点击截图参照图片控件")
.onClick(()=>{
componentSnapshot.get("target", (error: Error, pixmap: image.PixelMap)=>{
if (error) {
console.log("SnapShotDebug", "error: " + JSON.stringify(error));
return;
}
console.log("SnapShotDebug", "pixmap: " + JSON.stringify(pixmap));
this.mImageSnapShot = pixmap;
});
})
Blank()
}
.size({
width: "100%",
height: "100%"
})
}
}
2、流媒体截图:
  private cutImage(surfaceId: string){
    let region: image.Region = {
      x: 0,
      y: 0,
      size:
      {
        height: 100,
        width: 100
      }
    };

    image.createPixelMapFromSurface(surfaceId, region).then(() => {
      console.info("SnapShotDebug", 'Succeeded in creating pixelmap from Surface');
    }).catch((error: BusinessError) => {
      console.error("SnapShotDebug", `Failed to create pixelmap. code is ${error.code}, message is ${error.message}`);
    });
  }
更多关于HarmonyOS鸿蒙Next应用如何实现截屏?源码和步骤讲解的实战系列教程也可以访问 https://www.itying.com/category-93-b0.html

鸿蒙Next应用实现截屏的核心是使用ScreenCapture类。主要步骤:1. 获取ScreenCapture实例;2. 调用capture方法获取image.PixelMap对象;3. 将PixelMap保存为图片文件。关键源码涉及@ohos.screenCapture和@ohos.image模块。

在HarmonyOS Next中,应用可以通过ScreenCapture API实现屏幕或窗口的截屏功能。以下是核心步骤与示例代码:
一、权限申请
在module.json5配置文件中添加截屏权限:
"requestPermissions": [
  {
    "name": "ohos.permission.CAPTURE_SCREEN"
  }
]
二、核心代码实现
import { screenCapture } from '@kit.ScreenCaptureKit';
import { BusinessError } from '@kit.BasicServicesKit';
import { image } from '@kit.ImageKit';

class ScreenCaptureDemo {
  // 1. 创建截屏对象
  private screenCaptureInstance: screenCapture.ScreenCapture | undefined;

  // 2. 开始截屏
  async startCapture() {
    try {
      // 获取默认显示ID
      const displayId = screenCapture.getDefaultDisplaySync();

      // 创建截屏实例
      this.screenCaptureInstance = await screenCapture.createScreenCapture(displayId);

      // 设置截屏参数(可选)
      const captureOptions: screenCapture.CaptureOptions = {
        width: 1920,    // 输出图像宽度
        height: 1080,   // 输出图像高度
        rotation: 0     // 旋转角度
      };

      // 执行截屏
      const imageSource: image.ImageSource = await this.screenCaptureInstance.capture(captureOptions);

      // 3. 处理截屏图像
      await this.processImage(imageSource);

    } catch (error) {
      const err: BusinessError = error as BusinessError;
      console.error(`截屏失败: ${err.code}, ${err.message}`);
    }
  }

  // 4. 图像处理示例
  private async processImage(imageSource: image.ImageSource) {
    // 获取PixelMap对象
    const pixelMap: image.PixelMap = await imageSource.createPixelMap();

    // 保存到文件
    const imagePacker = image.createImagePacker();
    const filePath = '截屏保存路径/xxx.jpg';
    await imagePacker.packing(pixelMap, { format: 'image/jpeg', quality: 100 }, filePath);

    // 释放资源
    imageSource.release();
    pixelMap.release();
  }

  // 5. 释放截屏实例
  releaseCapture() {
    if (this.screenCaptureInstance) {
      this.screenCaptureInstance.release();
      this.screenCaptureInstance = undefined;
    }
  }
}
三、关键说明
- 权限要求:必须申请
CAPTURE_SCREEN权限,并在应用首次使用时动态申请 - 显示源选择:可通过
getAllDisplaysSync()获取所有显示源,选择特定屏幕 - 性能优化:建议在非UI线程执行截屏操作,避免阻塞主线程
- 格式支持:支持JPEG、PNG、WEBP等常见图像格式
- 错误处理:需处理权限拒绝、显示源无效等异常情况
四、窗口截屏(扩展)
如需截取特定窗口:
import { window } from '@kit.ArkUI';

// 获取窗口对象
const windowClass = window.getLastWindow(this.context);
const windowId = windowClass.getWindowProperties().id;

// 使用窗口ID创建截屏
const windowCapture = await screenCapture.createScreenCapture(windowId);
该API提供了灵活的截屏控制能力,开发者可根据实际需求调整输出分辨率、图像格式等参数。注意及时释放ImageSource和PixelMap资源,避免内存泄漏。